


Genshin Impact Mona Build Guide
09.07.2026 - 03:59:24
Game Guides , Genshin Impact


The best Genshin Impact Mona build is usually a support setup built around her Elemental Burst. Give her enough Energy Recharge to cast it every rotation, then use 4-piece Noblesse Oblige to buff the team or 4-piece Emblem of Severed Fate if you want Mona’s own Burst to hit harder.
For weapons, Thrilling Tales of Dragon Slayers is the cheap support pick, Favonius Codex helps with Energy, and The Widsith is the go-to 4-star option for Burst damage.
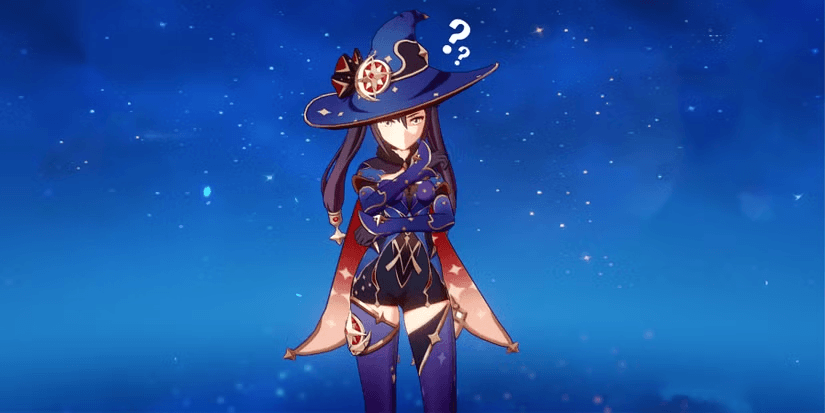
Mona is not the best Hydro character for constant reactions. Her real strength is Omen, the damage-increasing debuff from her Burst. She works best with characters who deal most of their damage in a short window.
That makes her a good fit for Freeze teams, quickswap setups, and damage showcase comps. This guide is full-on about Mona. If you want to see the Pyro characters for Genshin Impact, check our guide.
Mona Role and Playstyle
Mona is a Hydro support and quickswap Burst character. She usually comes on the field, uses her Skill and Burst, then swaps straight into the team’s main damage dealer.
A normal rotation looks like this:
- Set up your other buffs.
- Use Mona’s Elemental Skill.
- Cast her Elemental Burst.
- Swap to your main DPS.
- Use your strongest attacks while Omen is active.
Her Elemental Burst, Stellaris Phantasm, applies an Illusory Bubble and the Omen effect. Omen makes enemies take more damage, so it buffs the entire team rather than only Mona.
That is why she works so well with characters like Ayaka and Ganyu. Their main damage comes out quickly, which makes it easier to fit everything inside Mona’s short buff window.
Best Mona Artifacts
With so many artifacts in the game, only a few are viable for Mona of course. Here are some of our best picks.
Noblesse Oblige
4-piece Noblesse Oblige is the best all-around support set for Mona.
The 2-piece bonus improves Burst damage, while the 4-piece bonus increases the party’s ATK after Mona casts her Burst. Since you already want to swap into your main DPS right after Stellaris Phantasm, the set fits her rotation perfectly.
Use Noblesse if no one else on the team is wearing it. The ATK buff does not stack, so there is no reason to run two full Noblesse sets in the same team.
This set is also easy to move between teams. You can use the same Mona build for Freeze, Vaporize, and general Burst support without changing every artifact.
Emblem of Severed Fate
4-piece Emblem of Severed Fate is better if you want Mona to deal more Burst damage.
It gives Energy Recharge and converts part of that stat into Burst damage. That is a great match for Mona because she already needs plenty of ER.
Emblem is also the safer choice if another support already handles Noblesse.
Do not take the Energy Recharge scaling too far. Once Mona can comfortably Burst every rotation, more CRIT and ATK usually help her personal damage more than stacking ER without a reason.
Tenacity of the Millelith
4-piece Tenacity of the Millelith can work because Mona’s Skill hits enemies several times.
It can buff the team’s ATK and improve shield strength, but it is less reliable than Noblesse. Enemies can walk out of the phantom’s range, and the buff only lasts while the Skill keeps hitting.
Use it as a backup option rather than the default.
Tenacity makes the most sense when another character already has Noblesse and your team also runs a shield. Otherwise, the extra setup and lower consistency are usually not worth it.
Two-Piece Sets
You do not need to force a full set right away.
Good temporary combinations include:
- 2-piece Noblesse and 2-piece Hydro DMG
- 2-piece Noblesse and 2-piece ATK
- 2-piece Energy Recharge and 2-piece Noblesse
- 2-piece Energy Recharge and 2-piece Hydro DMG
A mixed set with good stats is better than a bad 4-piece set.
This matters a lot while gearing several characters. If your best Emblem pieces are already on another Burst user, Mona can still perform well with a mixed set instead of taking weaker leftovers just to complete the bonus.
Best Main Stats
| Slot | Main Stat |
|---|---|
| Sands | Energy Recharge or ATK% |
| Goblet | Hydro DMG Bonus or ATK% |
| Circlet | CRIT Rate or CRIT DMG |
Use an Energy Recharge Sands if Mona cannot Burst every rotation. Once her Energy feels comfortable, you can switch to ATK%.
A Hydro DMG Goblet is normally best for personal damage, but a strong ATK Goblet can still work if it has much better substats.
Use CRIT Rate if you are short on it or running Favonius Codex. Otherwise, use whichever CRIT main stat gives you the better balance.
For a pure TTDS support, do not stress too much over perfect damage stats. A high-ER build with average CRIT can still do its main job as long as the Burst is ready on time.
Best Substats
For support Mona:
- Energy Recharge
- CRIT Rate for Favonius Codex
- CRIT Rate and CRIT DMG
- ATK%
- Elemental Mastery for Vaporize
For Burst Mona:
- Enough Energy Recharge to keep the rotation working
- CRIT Rate and CRIT DMG
- ATK%
- Elemental Mastery
- Flat ATK
Around 180% to 250% Energy Recharge is a solid range for most support builds. Solo-Hydro teams may need more, while double-Hydro teams or Favonius-heavy teams can get away with less.
Test it in a real fight. If Mona comes back on the field and her Burst is still empty, you need more ER.
Boss fights are the best test because you get fewer random particles than you do against groups of weaker enemies. A build that feels fine in an overworld camp may fall apart in a single-target Abyss chamber.
Common Artifact Mistakes
The biggest mistake is chasing CRIT before fixing Mona’s Energy.
Other common problems include:
- Running Noblesse on two teammates
- Using Favonius Codex with very low CRIT Rate
- Forcing a weak Hydro Goblet
- Ignoring how many particles the team generates
- Farming perfect artifacts for a low-investment support
Mona does not need a showcase build to be useful. If Omen is active every rotation and your main DPS gets the buff, the setup is already doing its job.
Best Mona Weapons
Thrilling Tales of Dragon Slayers
Thrilling Tales of Dragon Slayers, usually called TTDS, is Mona’s best cheap support weapon.
After Mona switches out, the next character gains a big ATK boost. At Refinement 5, the buff is strong enough to beat many higher-rarity weapons in support teams.
The only catch is that you need to swap directly from Mona into the character you want to buff.
TTDS is best for Ayaka, Ganyu, and other ATK-scaling damage dealers.
It is not always the right choice for HP- or DEF-scaling characters. Omen still works for them, but the weapon’s ATK buff may add very little.
Favonius Codex
Favonius Codex is the comfort pick.
It gives Energy Recharge and creates neutral particles when Mona lands a CRIT hit. Those particles help both Mona and the rest of the team.
Use it if your rotations feel messy, your Bursts are not ready, or the main DPS does not care much about the ATK from TTDS.
Make sure Mona has enough CRIT Rate to trigger the passive.
The repeated hits from her Skill give you several chances to trigger Favonius, which makes it easier to use than it first looks. Still, do not leave her at an extremely low CRIT Rate and expect the weapon to carry the rotation.
Prototype Amber
Prototype Amber restores Energy after Mona uses her Burst and gives the team a small amount of healing.
It will not replace a proper healer in difficult fights, but it can work in Freeze teams or controlled encounters where you only need a bit of sustain.
This is a nice option if you want Mona to cover Hydro support, buffs, and light healing in one slot.
It is especially useful when the rest of the team already has good crowd control or shielding. In those setups, the small healing can be enough to cover chip damage.
The Widsith
The Widsith is Mona’s best 4-star damage weapon.
It gives CRIT DMG and one of three random buffs when she enters the field: ATK, Elemental DMG, or Elemental Mastery. All three can help a Burst-focused Mona.
It is especially good for Vaporize setups and damage showcases, though the random buff and long cooldown make it less consistent in longer fights.
The Widsith is great when you care about one big Burst. It is less appealing if you want the same output every rotation without checking which buff appeared.
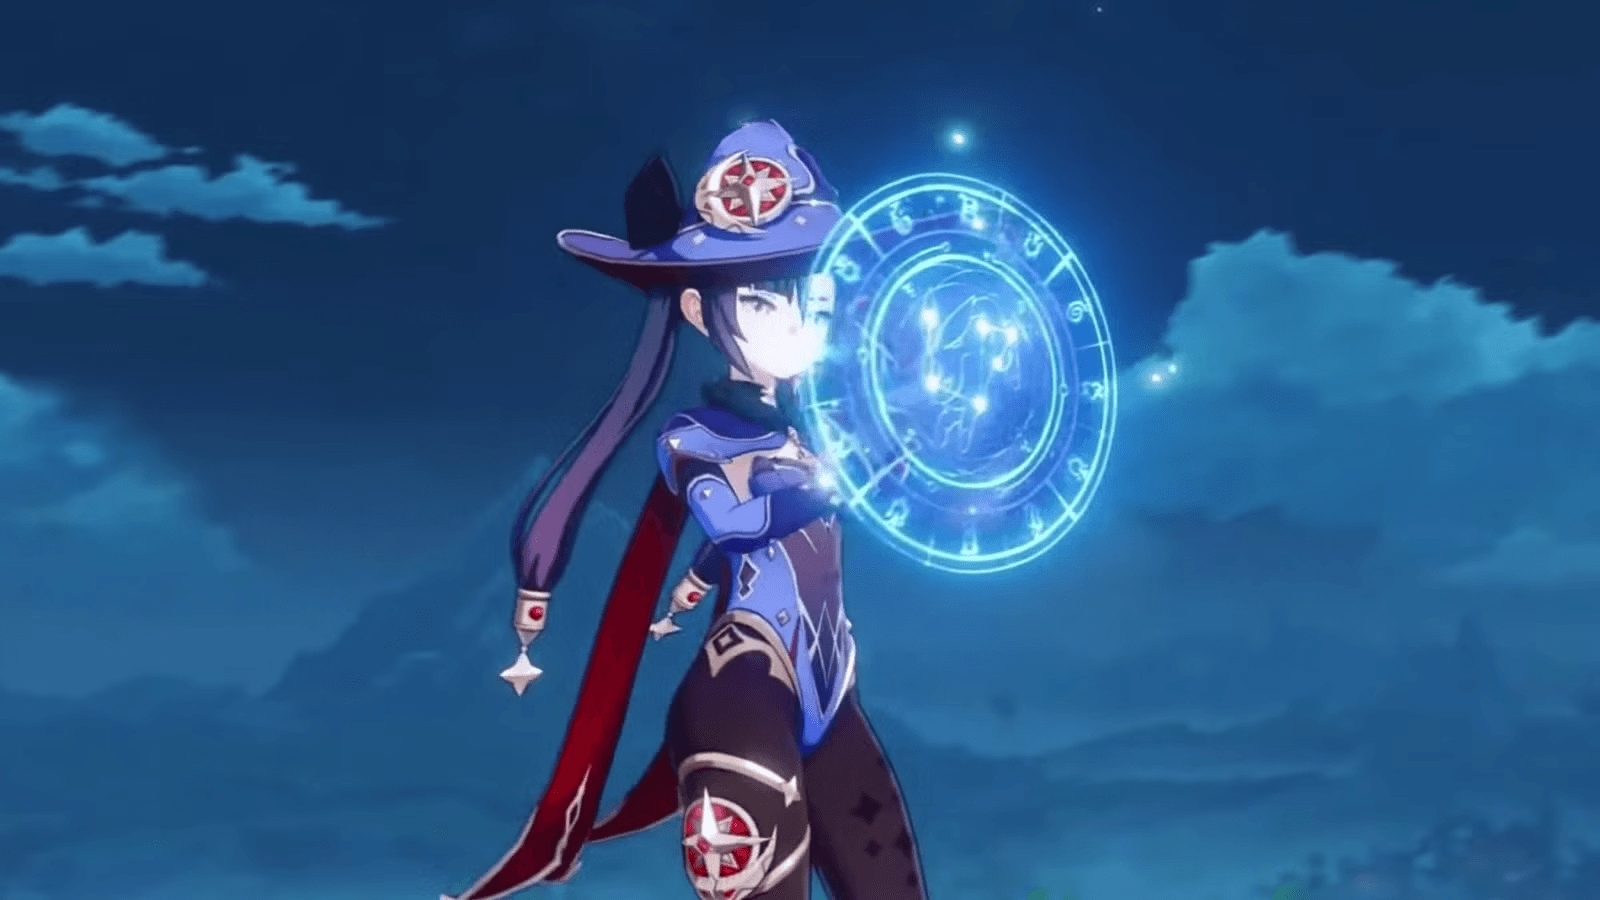
Other Options
Oathsworn Eye is a balanced event weapon that gives ATK and Energy Recharge after using Mona’s Skill.
Mappa Mare is a craftable choice for reaction damage, mainly if Mona is triggering Vaporize.
For 5-star weapons, Skyward Atlas is the easiest general damage option. Lost Prayer to the Sacred Winds gives CRIT Rate, though Mona usually does not stay on the field long enough to use the passive well.
Mona does not need a 5-star weapon for support duty. In many teams, TTDS or Favonius Codex is still the better pick.
Mona Talent Priority and Constellations
For support Mona, level talents in this order:
- Elemental Burst
- Elemental Skill
- Normal Attack
Her Burst matters most because it improves both her damage and the Omen bonus.
A casual stopping point is:
- Burst at Level 8 or higher
- Skill at Level 6
- Normal Attack at Level 1
You only need to level her Normal Attack if you want to play her on the field.
If resources are tight, you can leave the Skill lower and put most of your books into the Burst. Mona’s Skill damage is nice, but it is not the reason most teams use her.
Mona Constellations
Mona works fine at C0.
C1 improves Hydro-related reactions after hitting enemies affected by Omen.
C2 gives Normal Attacks a chance to trigger a Charged Attack, which is mainly useful for on-field Mona.
C3 increases her Burst level and is one of her better upgrades.
C4 gives extra CRIT Rate against enemies affected by Omen.
C5 improves her Skill.
C6 boosts Charged Attacks after using her alternate sprint.
C3 and C4 are nice, but you do not need any constellations for her normal support role.
Since Mona is a standard-banner character, most players will gain constellations slowly over time. There is no reason to plan your whole build around reaching a specific constellation.
Best Mona Team Comps
Freeze Team
A standard Mona Freeze team looks like this:
- Ayaka or Ganyu
- Mona
- Kazuha, Venti, or Sucrose
- Diona, Layla, Shenhe, or another Cryo support
Mona applies Hydro and Omen. The Anemo character groups enemies and reduces Cryo resistance. The second Cryo slot gives Resonance, healing, shielding, or extra buffs.
A simple rotation is:
- Apply Cryo.
- Use your Anemo support.
- Cast Mona’s Skill.
- Cast Mona’s Burst.
- Swap into Ayaka or Ganyu.
- Use the main damage combo right away.
This setup feels great against groups of enemies that can be frozen. Against bosses, Omen still works, but you lose the crowd control.
Freeze also makes Mona easier to play because enemies stay in place. Her phantom is more likely to keep hitting, and your main DPS is less likely to miss the short Omen window.
Vaporize Team
A common Mona Vaporize team uses:
- Mona
- Bennett
- Sucrose or Kazuha
- A Pyro character or extra buffer
For a big Burst hit, apply Pyro first, use Mona’s Burst, wait briefly, then apply Pyro again to pop the Bubble.
The timing can be picky. Random off-field attacks may pop the Bubble before you are ready.
You do not need to use the full showcase combo in normal gameplay. It is often enough to cast Mona’s Burst before your Pyro carry starts attacking.
Vaporize Mona takes more practice than Freeze Mona. If the aura order is wrong, the Bubble can pop without getting the reaction you wanted. Test the combo on a stationary boss before trying it in a busy Abyss chamber.
Burst Showcase Team
A typical showcase setup uses Mona, Bennett, an Anemo support, and one extra buffer or Pyro applier.
This kind of team is built around one large hit. It can produce impressive numbers, but it is not always practical in Spiral Abyss because the setup is long and the Energy can feel rough.
Use it for testing, screenshots, or bosses with a clear damage window.
A showcase build may also use food, potions, and specific weapons that are awkward in normal play. Do not judge your everyday Mona build against clips made under perfect conditions.
General Hydro Support
Mona can also fit into quickswap teams that only need occasional Hydro.
She works well if your team has short Bursts, strong front-loaded damage, or a clear setup phase.
She is weaker in Bloom and Hyperbloom teams that want steady Hydro application. Her Skill simply does not hit often enough to keep up.
She can still work in casual versions of those teams, but you may notice fewer Dendro Cores and less stable reactions than you would get from a dedicated off-field Hydro character.
Accessible Team Options
A budget Freeze team can use:
- Mona
- Kaeya
- Sucrose
- Diona
Kaeya handles Cryo damage, Sucrose groups enemies, and Diona provides healing, shielding, and Cryo Resonance.
Another simple option is:
- Mona
- Bennett
- Xiangling
- Sucrose
This team has good AoE damage and Vaporize potential, though Mona will not apply enough Hydro for every hit of Xiangling’s Burst.
Both teams are good places to learn Mona’s rotation before moving her into a more expensive setup.
Is Mona Still Worth Building?
Mona is still worth building if you want a Hydro support for Freeze, short Burst windows, or damage showcases.
Her main strengths are:
- Strong team damage buff from Omen
- Very little field time
- Easy access to TTDS
- Good use of Noblesse Oblige
- Solid value at C0
Her main weaknesses are:
- Limited off-field Hydro
- High Energy Recharge needs
- Short buff window
- Awkward Vaporize timing
- Less healing or defensive support than newer Hydro characters
Newer Hydro characters may offer better application, healing, personal damage, or team-specific buffs. That does not make Mona useless. It just means she works best in teams that can use her short damage window.
She is a good build if you already own Ayaka, Ganyu, or another character with a strong Burst phase.
She is a lower priority if your account mainly uses Bloom, Hyperbloom, or long reaction chains.
You also do not need to overinvest. A Level 70/80 Mona with a leveled Burst, enough Energy Recharge, TTDS, and Noblesse can already do her job.
That makes her a good side project after your main damage dealer is finished. You can build the basic support version quickly, test her in a few teams, and only farm a stronger Emblem set if you enjoy her playstyle.
If you want to save time while setting up characters or preparing another account, RPG Stash offers Genshin Impact Genesis Crystals with convenient ordering and customer support.
Mona Build FAQ
How much Energy Recharge does Mona need?
Most support builds want around 180% to 250% Energy Recharge.
The exact number depends on your team, weapon, and particle generation. Add more if her Burst is not ready every rotation.
Is Thrilling Tales or Favonius Codex better?
Use Thrilling Tales if your main DPS scales with ATK and Mona already has enough Energy Recharge.
Use Favonius Codex if the team needs more Energy or you want smoother rotations.
Should Mona use Noblesse or Emblem?
Use Noblesse Oblige for team support.
Use Emblem of Severed Fate if Mona’s own Burst damage matters or another teammate already carries Noblesse.