


OSRS Yama Guide: How to Beat the New Duo Boss, Drops, Gear, and Contracts
21.05.2025 - 15:02:09
Game Guides , OSRS Guides , Runescape


Yama is now ready for you in OSRS. Are you prepared to farm this boss to your heart’s content? Or are you going to be one of the many who’ll fall?
The world of Gielinor is expanding once again. This time, it’s with the introduction of Yama, a new duo boss. This OSRS Yama guide will be focused on helping you prepare everything you need so that you can beat him easily. That way, you can immediately start grinding Yama and get his best drops.
Since Yama is going to be an endgame boss, you can expect nothing but a tough challenge. You can drop by our OSRS store for some amazing deals on items, gold, services, and much more. Now, let’s talk about Yama and who he is in the expanding lore of Gielinor.
Who Is Yama?
Game-wise, Yama is a boss that was introduced to OSRS recently. It’s an endgame boss so you know that there’s a lot of deaths and retries that have followed already. But as with all things OSRS, Yama isn’t just a boss. He’s someone who’s a part of the overarching lore.
Yama is an entity that’s followed by the Disciples of Yama which is a group of Zamorakian cultists. Before becoming devoted to Yama, the cultists were called the Disciples of Chaos, which signifies their true intent.
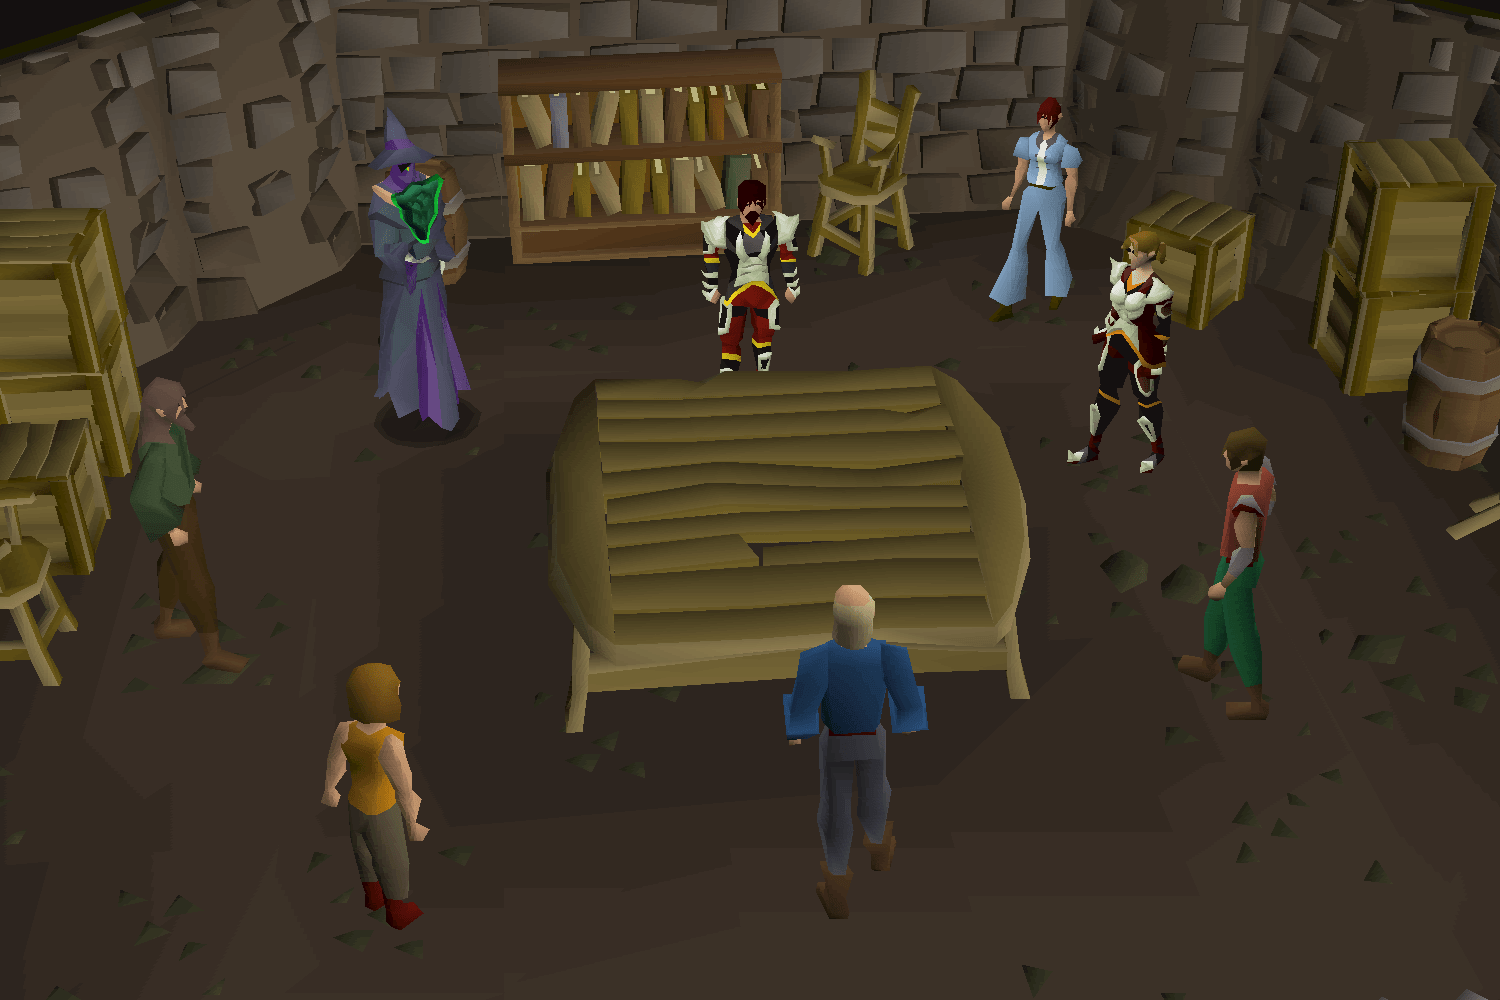
Aside from the cultists, Yama also gained influence over Great Kourend’s politics through Sophia Hughes. It’s said that Hughes is also a part of the cult, but it’s unknown whether she was a part of it before Yama’s takeover or after it.
To speak to those he has influence over, Yama uses a priest-like figure called the Voice of Yama. Aside from talking to his supporters, the Voice also acts as a judge to punish both his enemies and even his supporters who take advantage of his “generosity” and influence.
When Kourend opened up to the human kingdoms located on the eastern border, Yama let adventurers slay his own minions. You are that adventurer; to do this, you’ll need to be on a slayer task from Yama. As of now, it’s unknown why Yama let this happen at the expense of his minions.
Yama’s minions outside of the Voice include lesser, greater, and black demons, as well as imps. You can all fight these under his Slayer Tasks.
While doing " A Kingdom Divided", it was revealed that Sophia was taking advantage of Yama’s generosity, and he had her targeted for death. Lucky for Sophia, Yama’s minions were unable to find her. During this time, Sophia summons a Judge of Yama to kill an adventurer who was made responsible for her arrest. Commander Fullore was arrested as well.
The judge burnt Sophia to a crisp and eventually set his eyes on both the Adventurer and Commander Fullore. The judge declares the two as enemies of Yama because they were allegedly endangering the work of Yama’s disciples. You, the adventurer, challenged the Judge.
The challenge was that if they were proven not guilty, they’d be rid of their sins. The adventure wins the challenge, which would in turn make them innocent in the eyes of Yama. After this, you’re tasked with severing the connection between Yama and the followers using a device that is supported by the Dark Altar.
Unfortunately, Yama discovered the plot and had one of his disciples steal the device. To make matters worse, Yama made the adventurer believe that they had succeeded in their mission.
Once the quest is finished, you will discover that Yama has returned, and then you’ll confront him in his lair. You’ll want revenge against Yama because he had manipulated your fight. Yama agrees to a fight but only under one condition: should you lose, your soul will be Yama’s for eternity.
Since the risk was too much. You’ll negotiate with Yama: fight a weaker version of him, and should you lose, he’ll have your soul for a year. Yama agrees to the fight and will offer your character a contract. It’s during this that you’ll understand the true nature of Yama.
He has a list of many contracted fights. Yama explains that he wants to push his minions through these fights, and he would fight them in even stronger form for guaranteed rewards.
OSRS Yama Requirements And Recommendations
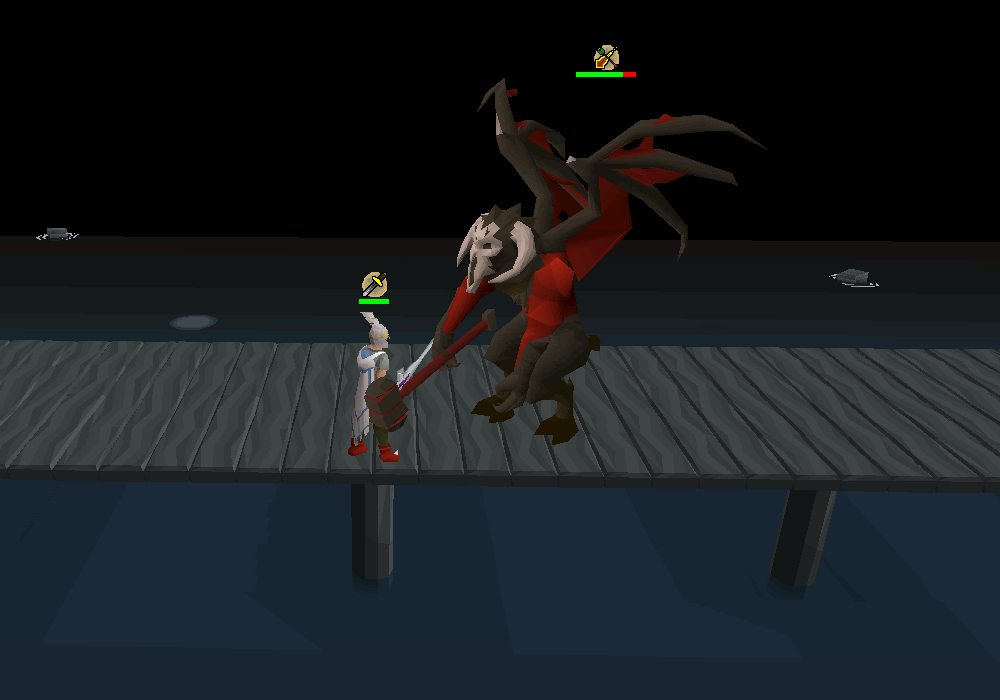
We know you’re excited to face Yama, but there are a few hoops that you need to go through before making this fight possible. In this next section, let’s talk about the requirements for the fight.
The most important requirement here is finishing A Kingdom Divided. It’s one of the main quests in OSRS, and chances are that you’ve probably done this at this point. But if you haven’t, here’s a quick summary.
Category | ? Details |
Start Point | Speak to Martin Holt at Kourend Castle in Kingstown (? map icon available) |
Official Difficulty | Experienced |
Official Quest Length | Long |
Essential Quest | A Kingdom Divided (must be completed) |
A Kingdom Divided Requirements
Type | Required Quests |
Primary | • The Depths of Despair • The Queen of Thieves • The Ascent of Arceuus • The Forsaken Tower • Tale of the Righteous |
Secondary (for above) | • Client of Kourend • X Marks the Spot |
Items Required
Category | ? Items & Notes |
Spellbook | Normal spellbook + runes to cast Fire Bolt or stronger |
Tools & Materials | Any axe, volcanic sulphur , molten glass |
Potions | Defence potion ( 3–4 doses ) |
Special Items | Dark essence block or pickaxe + chisel ( chisel can be found at the mine ) |
Skills Required (Unboostable)
Skill | Level |
Agility | 54 |
Thieving | 52 |
Woodcutting | 52 |
Herblore | 50 |
Mining | 42 |
Crafting | 38 |
Magic | 35 |
Recommended
Type | ? Recommended |
Combat Level | 70+ |
Prayer Level | 43 ( Protect from Melee/Magic ) |
Core Gear | Melee or Ranged setup (weapons, armor, food, potions) |
Additional Gear | Prep for: - ? Level 239 boss - ⚔️ Level 168 melee-only mob |
Helpful Potions | Stamina, Energy, Antipoison |
Recommended Teleports | • Kharedst’s memoirs • Xeric’s talisman • Games necklace (Wintertodt) • Skills necklace (Woodcutting Guild) • Rada’s blessing 1+ or 3+ • Fairy ring access |
Enemies to Defeat
Enemy | Combat Level |
Judge of Yama | 168 |
2x Assassins | 132 |
Lizardman Brute | 75 |
Xamphur | 239 |
Barbarian Warlord | 91 |
Quick Walkthrough
The quest itself is relatively long. If you need help unlocking the Yama fight, here’s a quick walkthrough to follow:
- Gear up with melee equipment, food, and potions. Keep one inventory slot free. Optional teleports: Xeric’s Talisman, Kharedst’s Memoirs, Arceuus Library, or Kourend Castle.
- Head east of Kourend Castle and strike up a conversation with Martin Holt.
- Inside Kourend Castle, ground floor — chat with Commander Fullore. A dramatic cutscene sets the tone.
- You’ll find yourself outside a modest house. Enter, ascend, and search the drawers in the eastern room. Read the suspicious receipt.
- Head downstairs and speak to Tomas Lawry by the roses — something's blooming... and it’s not just the flowers.
- Make your way to the Lovakengj pub northwest of Kourend Castle. Chat with the ever-charming Fuggy.
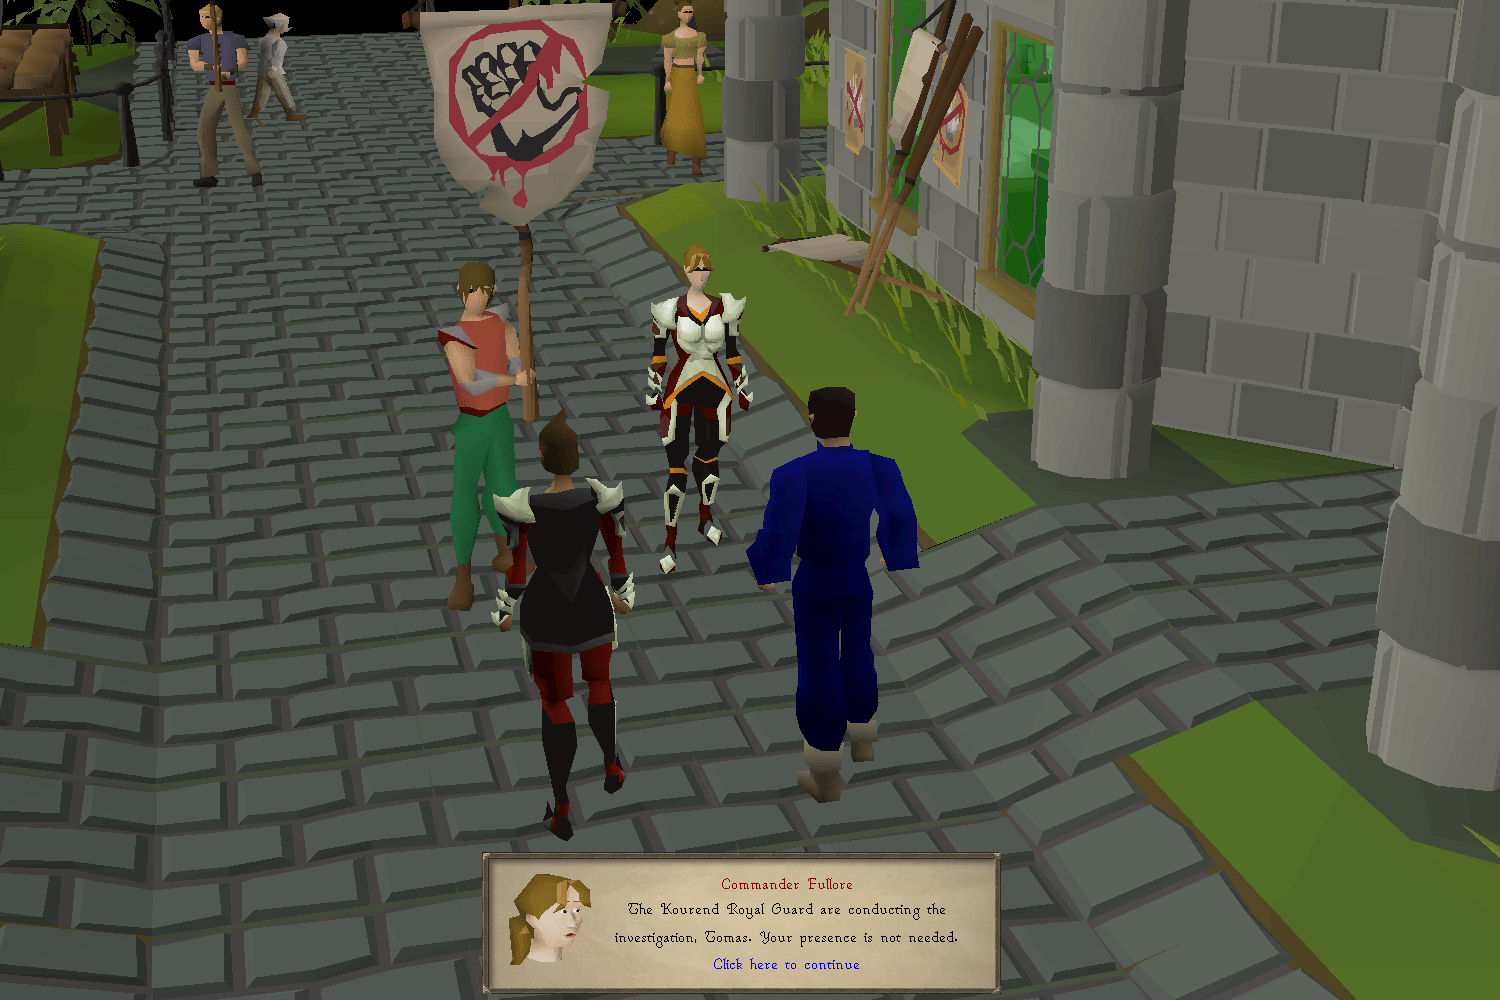
- Travel to Veos’s boat in southeast Port Piscarilius. Talk to Cabin Boy Herbert for Chat 2. Buckle up for another cinematic moment.
- Immediately after the scene, battle the Level 168 demon — Judge of Yama. He shields himself from magic and range, so bring melee might. Dodge fire waves, stay mobile, and land your hits.
- After victory, a scene plays back in Kourend Castle. The tension thickens.
- Find Commander Fullore standing southwest outside the castle, just north of the Shayzien mine.
- Back to Martin Holt east of Kourend’s gates. He’s got more breadcrumbs for your trail.
- Teleport to the Arceuus Library and right-click Archeio to beam down.
- Pickpocket Istoria for a Bluish key — stealth meets scholarship.
- In the southeast corner, open the pink case and claim Rose’s diary.
- Return to Martin Holt, diary in hand. A note slips out — intrigue intensifies.
- Read the note, then talk to Martin again. The plot thickens...
- Journey to Forthos Ruins, northeast of the Woodcutting Guild. Speak to Martin Holt once more.
- Search stone piles to discover a numeric code. Keep track — it’s personalized just for you.
- Cut the vines to the west, squeeze through, and enter the code matching “ROSE” (e.g., R-1, O-3, S-3, E-7 = 1337).
- Read the fresh note and report back to Martin.
- Dash southwest of Wintertodt to the Settlement Ruins. Find Martin in the northwest building.
- Kill the lurking assassin who ambushes you.
- Use Fire Bolt or higher to melt ice chunks near Martin. Search the remnants, then open the wall panel.
- Read yet another ominous note and update Martin again.
- Meet Martin at The Legless Faun in southern Piscarilius. Climb the southern pillar.
- Upstairs, examine the panel — memorize the house order shown.
- Return downstairs, push statue panels in the order revealed.
- Head back upstairs to confirm. A cutscene reveals more secrets.
- Read the new note.
- Venture to the shack northeast of the Farming Guild (just west of Fairy Ring CIR). Search the bed.
- Read the tatty note, inspect crates in the northwest corner, and descend via the trapdoor.
- Exit the shack and march south to Molch.
- Enter the easternmost building — the Lizard Dwelling.
- Inside, chat with Kaht B’alam to stir up some reptilian revelations.
- Leap into the hole west of the temple to exit.
- Go southwest to the stone bridge in Kebos Swamp, cross it, and examine the southeast Lizardman eggs — a brute ambushes you. No need to kill, just survive.
- Return to Kaht B’alam and hand over the egg. Receive the key.
- Use it on the door with the keyhole in the northern corridor.
- Battle Xamphur the spectral menace. Use Protect from Magic and dodge falling hands like a Vorkath pro. Kill summoned hands to avoid corruption.
- Search the northern table in the lab for vital clues.
- Return to the shack and descend once more. Time for diplomacy.
- Speak with each house leader in their respective locations. Teleports are highly recommended.
- Finally, head to Xeric’s Lookout and talk with Commander Fullore.
- After the cutscene, speak with all five leaders again — explore every floor including the basement. Outside, grab the broken redirector from Lord Arceuus.
- Ask Commander Fullore about Lady Lovakengj — the endgame begins.
- Head to Mount Karuulm and take the elevator down. Speak to Kaal-Mej-San.
- Mix a defence potion with volcanic sulphur to create a sulphur potion.
- Return to Kaal-Mej-San — receive the shielding enchantment.
- Use the potion on the Doors of Dinh at Wintertodt Camp.
- Go to the barbarian camp in Kourend Woodland. Climb down the southern ladder. Slay the Level 91 Warlord, then speak to Phileas Rimor.
- Head to the prison outside the Shayzien wall. Find Martin Holt down the staircase.
- Travel to the Graveyard of Heroes and speak to Jorra south of the church. Kill the Level 132 assassin and talk to Jorra again for the declaration.
- Prepare: pickaxe, chisel, molten glass, and dark essence block. Travel to the Arceuus Church and meet Mori on the upper levels. She’ll craft you a dark nullifier.
- (Need a dark essence block? Chip dense runestone east of the Dark Altar, then use it on the altar.)
- Attempt entry to the Chasm of Fire (near Fairy Ring DJR) and trigger the dialogue.
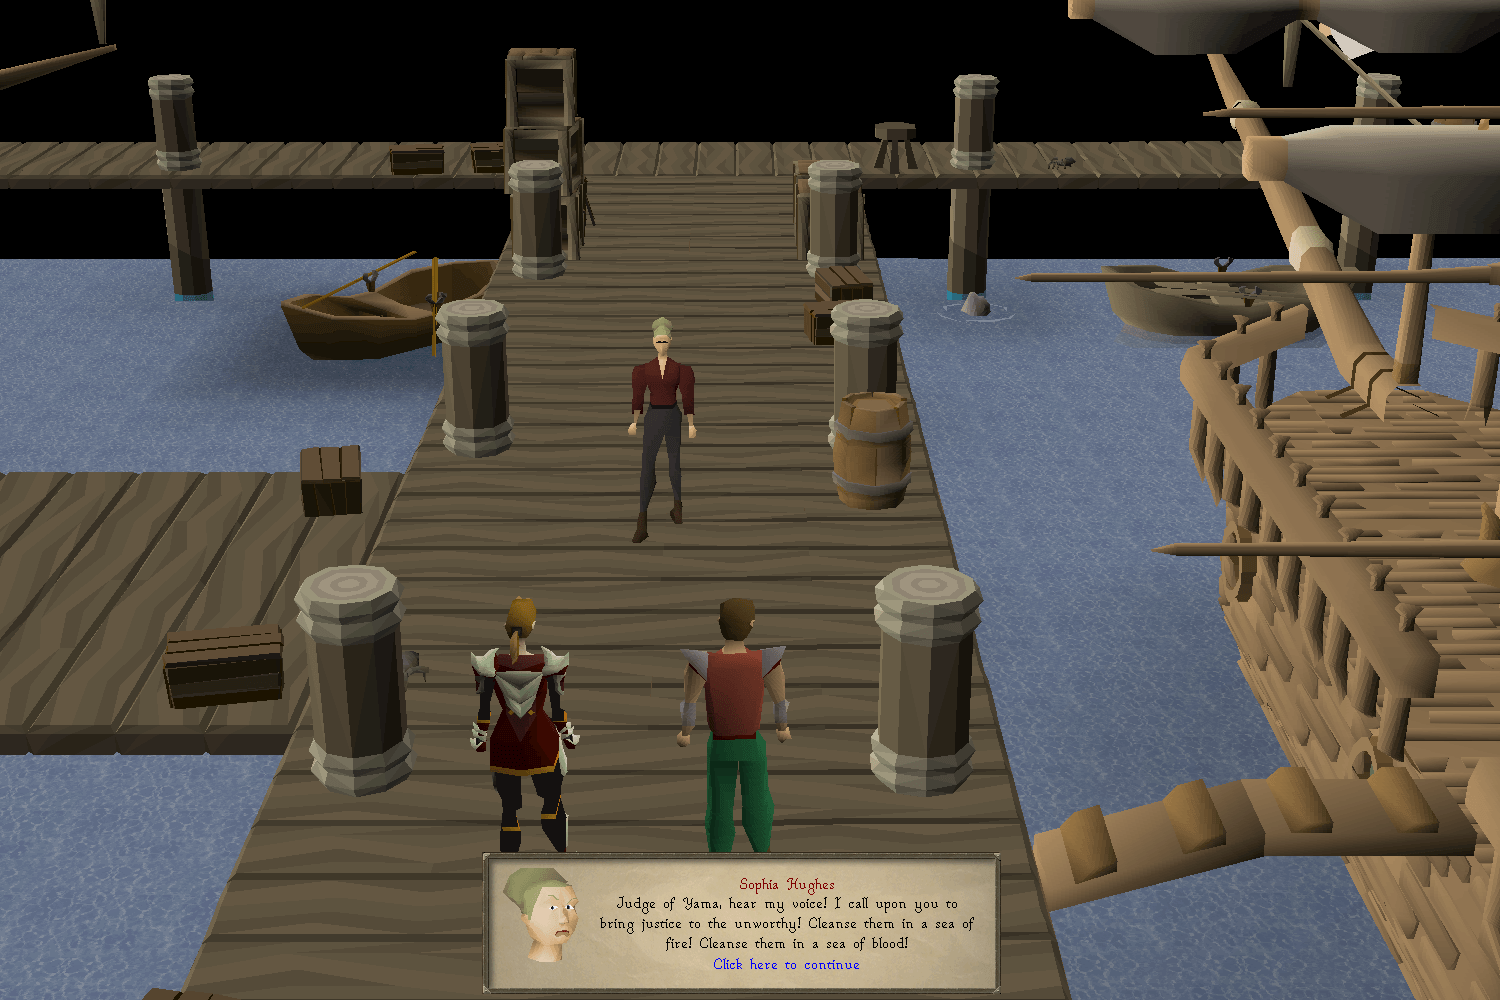
- Make your way to the Hosidius Vinery. Inspect the eastern wine barrel and head inside.
- Picklock the chest to secure a critical Shayzien journal.
- Return to Xeric’s Lookout. De-brief with all five lords.
- Speak to Commander Fullore for a major story reveal.
- Go downstairs and meet Lord Hosidius.
- One final report to Commander Fullore. A climactic cutscene wraps it all up.
OSRS Yama Recommendations
Now, we’re getting to the good part. While you can definitely head to Yama to fight him after doing the A Kingdom Divided quest, there are a few things that you might want for your character beforehand. Namely, these are the things we recommend:
- 82+ Magic so you can use Dark Demonbane
- 80+ Attack
- 80+ Strength
- 75+ Defence
- Completion of While Guthix Sleeps so that you can use the Purging Staff and Emberlight. The Purging Staff is very important as this will help you destroy void flares easily during the fight.
Gear Recommendations
Now, for the most important part, gear recommendations. For the Yama fight, it’s highly recommended to have one Mage and one Melee setup. Ranged won’t do much against Yama. The Melee character will focus mainly on dealing damage to Yama, as well as kiting most of the minions that he summons.
The Magic setup will be focused on destroying the void flares that Yama releases, while dealing damage from afar. Here are the recommended gear for both:
Magic
Mage characters have an advantage over Yama. If you’re going to solo the boss, it’s best to go with this setup. Using melee can be very hard especially when Yama goes to his enraged phase as he’s going to be constantly moving around.
By sticking with a Mage setup, you have more room for attacks and you can position yourself more strategically as well. Having something as powerful as an OSRS Tumeken’s Shadow is definitely recommended.
Option 1 | Option 2 | Option 3 | |
Head | Ancestral hat | Virtus mask | Ahrim's hood / Blue moon helm |
Neck | Occult necklace | N/A | N/A |
Back | Imbued god cape | God capes | Ardougne cloak 4 |
Body | Ancestral robe top | Virtus robe top | Ahrim's robe top / Blue moon chestplate > Bloodbark body |
Legs | Ancestral robe bottom | Virtus robe bottom | Ahrim's robeskirt / Blue moon tassets > Bloodbark legs |
Weapon | Purging staff | Tumeken's shadow | N/A |
Shield | Elidinis' ward (f) | Arcane spirit shield > Elidinis' ward | Ancient wyvern / Malediction ward / Mage’s book |
Ammo/Spell | Rada's blessing 4 | God blessing / Rada's 3/2 | N/A |
Hands | Tormented bracelet | Void knight gloves | Barrows gloves |
Boots | Eternal boots | Infinity boots / Aranea boots | Bloodbark boots |
Ring | Magus ring | Lightbearer | Ring of the gods (i) |
Spec Attack | Accursed sceptre / Seercull | Purging staff | Saradomin godsword |
Melee
Melee is the second-best choice in the Yama fight, but again, this is going to be very hectic when it comes to his enraged phase. Even if you have mastered how to play the game using a melee build, it’s still going to be challenging to do so.
If you’re looking for a good melee build, here’s an OSRS melee guide that you can check out.
Option 1 | Option 2 | Option 3 | |
Head | Torva full helm | Neitiznot faceguard / Serpentine helm | Blood moon helm |
Neck | Amulet of rancour | Amulet of torture | Amulet of blood fury |
Back | Infernal cape | Fire cape | Mythical cape |
Body | Torva platebody | Bandos chestplate | Blood moon chestplate / Fighter torso |
Legs | Torva platelegs | Bandos tassets | Blood moon tassets |
Weapon | Emberlight > Arclight | Scythe of vitur | Blade of saeldor |
Shield | Avernic defender | Dragon defender | N/A |
Hands | Ferocious gloves | Barrows gloves | N/A |
Boots | Primordial boots | Echo boots / Dragon boots | Aranea boots |
Ring | Ultor ring > Bellator ring | Berserker ring (i) | Brimstone ring |
Spec Attack | Emberlight / Arclight | Burning claws / Dragon claws | Bandos godsword |
Yama Strategy Guide
Now we’re going to head on to Yama’s strategy guide. It’s best to fight Yama in a pair, but if you’re going to solo him, you make sure to have a Mage setup for your gear. Let’s first talk about the basics.
Mechanics
Yama is capable of using all three combat styles. When using melee, he will not actively charge at you to attack but he’ll only use this whenever you’re in range. It might seem weak but this attack can go through Protection Prayers.
In most cases, he’s going to alternate between Magic and Ranged attacks if you’re choosing not to go near him. Unlike his Melee attacks, the Magic and Ranged attacks can be blocked by Protection Prayers so you can use this to your advantage. Yama can also inflict poison at 20 damage per tick, so make sure to have the necessary tools to combat this.
A unique mechanic of his is that he can change his aggression in duo encounters immediately. As that is the case, make sure to always stay on your toes and be ready to move around.
You’re going to fight Yama in five phases. The first phase wil stop once he drops to 66.6% health. The last phase starts once he has 30% health.
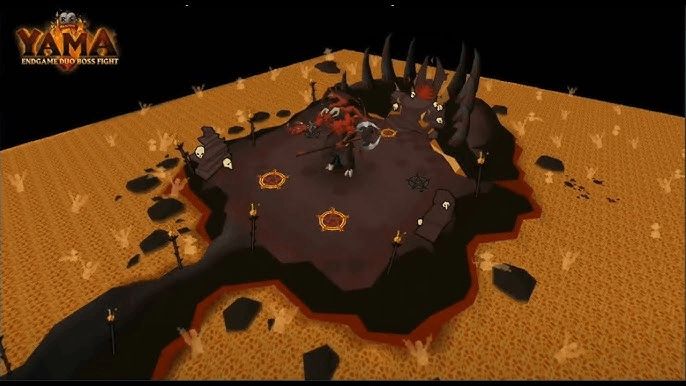
Regardless of whether you’re fighting in duo or soloing him, Yama will have 2,500 hitpoints. The same goes for his stats, which will remain the same even in a group.
When fighting Yama, it’s important to use a slash as a Melee weapon. He has a Defence of 225 and a Magic level of 250. If you want to reduce his Defence, you can do so by 80, which is still going to be significant. The damage reduction carries over from phase to phase
Attacks & Abilities
Yama’s basic attacks remain the same throughout his five phases. To give you an idea of how they look…
- Melee: He will swing his axe at his target but all those in front of him will be hit.
- Magic: He will snap his fingers and all players will start to burn.
- Ranged: He will snap his fingers and shadows will cover all players.
For his abilities:
- Shadow Waves - When used, this will cause waves to appear around the map. If you’ve fought Hueycoatl before, the mechanics here should feel similar. You need to avoid the waves as these can deal 20 damage each and can even disable any prayers that you have.
- Fire Waves - Fire appears across the map and will begin to move horizontally. If you’re hit, you’ll be unable to move for a while. It’s important to avoid this, as Yama can follow up with a more damaging attack right after
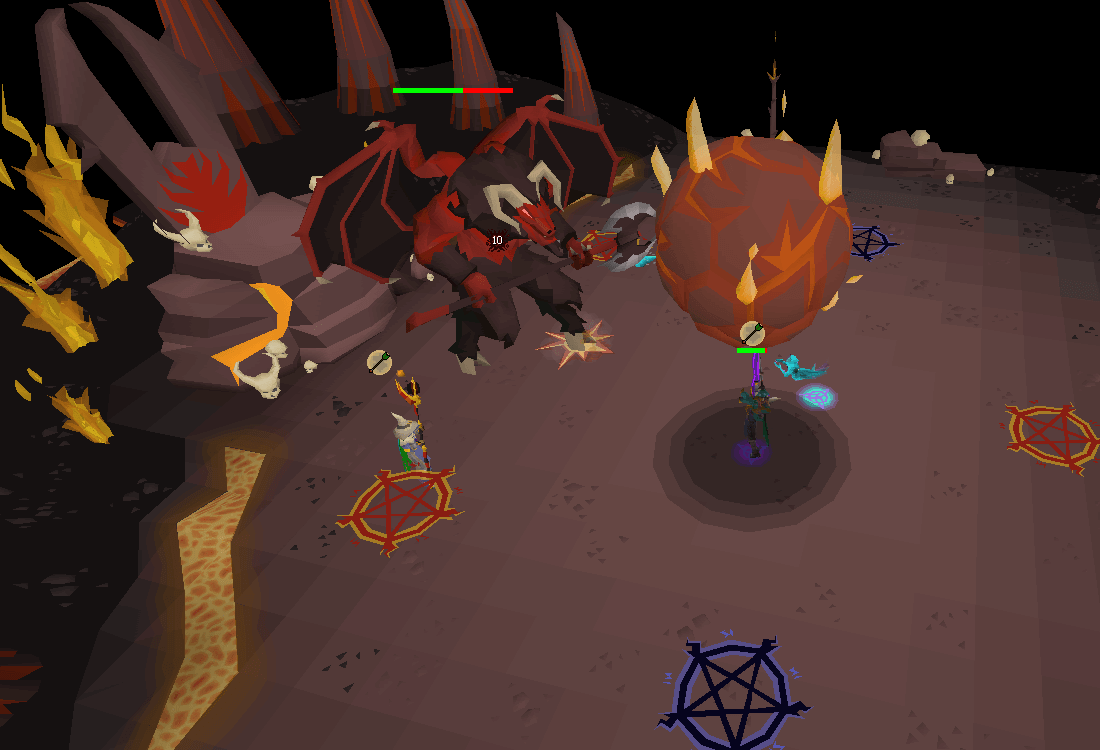
- Voild Flares - One of Yama’s most powerful attacks. When used, he will summon fire and shadow void flares on the arena. There will be a timer for this, and it’s important to destroy the orbs before the timer runs out. If you fail, the flares explode and deal heavy damage. A good strategy to this would be to destroy just one of the orbs and then stand on the glyph of another to prevent any incoming damage.
During the last phase, only shadow voids will appear and can be destroyed more easily. The problem is that these are more powerful and can heal Yama depending on how much of the void’s health is left. It’s important to attack the orbs using Mage weapons for a guaranteed max hit.
- Teleport - After his first phase, Yama will teleport all players on the map to a narrower area. In this sequence, a Judge of Yama will appear and begin launching fireballs while you’re moving. The fireballs deal heavy damage. Once you reach the Judge, he will begin using a 1x1 AoE attack. Make sure to kill the judge as quickly as possible as the chamber periodically deals 7 damage.
Yama Phase 1
During phase one, Yama can use Elemental Strike. This happens when he raises his axe in the area. This will initiate either a shadow or a fire-based attack. You can also know which one he’s going to use depending on the flames that surround him.
Stand on the right glyph to avoid getting damaged. After being used, the glyph will disappear for a while. If you don’t block the damage in time, you’ll get hit with 60 damage, and it can also cause a burning bleed for the fire-based attack.
When the battle begins, you’ll notice three glyphs of one color and two of the other. If you’re using a Bandos Godsword, make sure to use the specials on Yama so that his defence drops quickly. For Magic players, it’s best to use an Accursed Scepter to lower Yama’s Magic and Defence.
The first auto-attack he’ll be using is the opposite of the glyph color that’s most prominent on the field currently. For instance, if there are more red glyphs than purple on the arena, then you’ll be attacked with Ranged. After doing his first attack, Yama will use the opposite of the attack that he just used. In duo encounters, make sure that at least one player is standing directly on the glyph to block the damage for both players.
After that, Yama will use either Fire or Shadow Waves, depending on the glyph that’s in place. If he’s going to use shadow, the wave will appear from the southwest or southeast.
Yama can also use Void Wards. When he does this, he will not change his attack style and will continue attacking normally until he uses his elemental attack.
When there’s a ward, you have the option to either kill both or leave the one that’s more prominent up and about. At about 3 seconds before the bar fills up, move to its glyph and stand on it to avoid getting damaged.
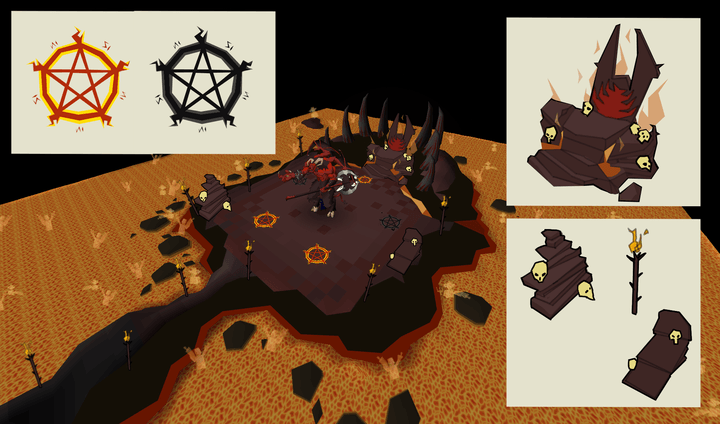
During this fight, there will be two glyphs on the arena:
- Fire Glyph - Stepping on this will deal 1-12 damage, but it will protect you from all fire-based attacks for a set amount of ticks.
- Shadow Glyph - The same as above but for shadow damage.
Yama Phase 2
In phase 2, Yama will teleport you to small areas to the sides of the map. The Judge of Yama will be at the end of the area. He’ll begin throwing fire in one or two of five areas on the strip. Make sure to avoid these as they can deal heavy damage.
Once this phase starts, the Judge will immediately pray against Melee and Ranged damage, which shouldn’t be a problem if one of you is a Mage.
Your goal is to get to the judge, passing through sets of stones. Once you hit the last set of stones, the Judge won’t be using his fire spells anymore. He’ll instead be using an AoE attack,which should be easy to dodge. You can make it so that the last fireball he throws lands on the tile under him, which can cause 20 damage to the Judge.
Both players have guaranteed max hits when hitting the Judge from a close distance. The Judge will react by praying to protect himself from what he was just attacked with. Multi-hit weapons are not recommended during this part of the fight, as they will only hit once.
Yama Phase 3
This phase is very similar to the first phase but the difference is the attacks that Yama uses. His special fire attack will be replaced by Infernal Rockfall and his shadow attack will be replaced by Shadow Stomp. The Glyph locations will be inverted as well and in this phase, two Shadow Waves will be launched at the same time.
When using Infernal Rockfall, Yama sends a massive boulder down the player’s position. While this ability is being used, your run will be disabled. You can step on a fire glyph to stop the damage of the ability but if one is not in sight, you need to move out of the AoE.
You need to move at least two spaces away from the attack. If you’re closer than this, you’ll die immediately. Being on the edges only hits you with up to 80 damage. While outside the blast radius, you’ll only receive 40 damage. The attack also inflicts burns, so keep that in mind.
When using Shadow Stomp, Yama sends an attack that will track you across the map. You need to step on the shadow glyph to prevent yourself from getting damaged.
Yama’s phase 4 will be similar to phase two so we’re going to skip that part entirely and proceed to phase 5.
Yama Phase 5
At phase 5, all of the glyphs in the arena will become disabled. That means you’ll need to be more mindful of how you move as there’s little way to prevent damage. He’ll also be enraged at this point which means all of his defenses are increased.
Yama’s new defense values will be at +297 medium Ranged, +81 Magic Defense, +135 Stab, +108 Slash, and +449 for the rest of the defense bonuses.
If you have Tumeken’s Shadow, make sure to bring it to this fight as it can heavily reduce the bonuses that he has. You might also want to bring an accursed scepter as an alternative to this.
During this phase, Yama will alternate his attack between Ranged and Magic. What you can do to somewhat control his attack is to have him delay it. His Melee attack, Hourglass Fireball, and Void Flares can actually delay what attacks he’s going to use. This is helpful for when you want to avoid a specific type of damage.
For instance, if you don’t have the defenses to get hit with Magic, one of the players can come nearby so that he’ll use his Melee attack to delay his Magic attack.
Yama will also constantly summon two Shadow Void Flares into the arena. Given the chance, he’ll use his melee attack, which also causes a flare to spawn. These flares will have 50% the health of the previous phases. You can kill these with one hit using the purging staff, Dark Demonbane with Mark of Madness, and having a 20% Magic damage bonus.
If you fail to kill the Flares in time, they’ll heal Yama and deal damage to you as well. When the flares appear, it’s important to use the purging staff’s special attack. In a duo setup, both players should stand on opposite ends of the arena to attack the flares.
When in Melee range, Yama will no longer launch fireballs but he’ll instead use a melee attack that can hit harder if you have an active prayer. This causes a void flare to spawn.
If the target is not in Melee range, he’ll launch fireballs. When this happens, yama can still attack, making it hard to avoid some of his abilities because you’ll now be dodging multiple attacks.
You can disable the fireballs and shadow waves completely as well. To do this, one player can stand next to Yama in melee range. They can use Protect from Melee to prevent damage. This will prevent fireballs from spawning. Additionally, there will be no shadow flares if the mage isn’t attacking Yama.
The key to this hectic last phase is to become as organized as possible. Yama can easily fill up the map with lots of projectiles making it near impossible to avoid some of them. One player can focus on forcing Yama to trigger certain attacks while the other focuses on dealing damage.
OSRS Yama Solo Guide
The above guide is made for duo players. If you’re up for a challenge, we’re going to give you a soloing guide for Yama as well.
Gear Setup For Soloing Yama
If you’re planning on soloing Yama, it’s always best to choose a Mage build. Going Melee is viable for the first four phases, but once you hit the last phase where he’s enraged, it’s easy to get overwhelmed and killed.
For gearing, make sure to follow the suggested BIS items for Yama above. It’s very important to have the Purging Staff and the Mark of Darkness spell to make the fight easier. The setup might vary on a solo run but here are some suggested gear and why you should bring them:
- Helmet: Virtus Mask or Ancestral Hat — Virtus grants more DPS but comes with cost; Ancestral is a solid, cheaper fallback.
- Body: Virtus Robe Top or Ancestral Robe Top — Prioritize accuracy and max mage damage here.
- Legs: Virtus Robe Bottom or Ancestral Robe Bottom — Keep your spellbook deadly and your legs nimble.
- Boots: Eternal Boots — Pure magic bonus. Nothing else compares here.
- Gloves: Tormented Bracelet — The crown jewel of mage DPS; no alternatives unless you’re broke.
- Amulet: Occult Necklace — Always. That 10% magic damage boost is too good to pass up.
- Cape: Imbued God Cape (Zamorak preferred) — More DPS. You could bring Ardougne for prayer, but you’re not here to pray—you’re here to slay.
- Ring: Seers Ring (i) — Buff that magic accuracy. You want those specs to land like meteors.
- Weapon: Purging Staff — The heart of the strat. Enables Mark of Darkness and hits hard with Dark Demonbane. It also fuels the crucial orb combo (hit → spec → fast hit).
- Shield (optional): Arcane Spirit Shield — If you’re feeling squishy or doing early attempts. Otherwise, go 2H with the staff and embrace chaos.
Solo Strategy
Once the fight starts, make sure to use Saturated Heart immediately and this will make your damage hit harder throughout all of the phases. At this point, use this time to use Mark of Darkness and then Dark Demonbane, with the Purging Staff. Using these two spells will give you increased accuracy against Yama.
Now, keep in mind that the fight will force you to use melee weapons as per the mechanics. However, you can use a basic melee weapon just to meet the requirements.
Start off by protecting yourself against Magic using a Prayer and DON’T MOVE. The Magic attack of Yama is fairly obvious so you can see it coming. If you see a smoke puff instead of fire, that’s Yama’s signal for a Ranged attack and when this happens, switch to Protect from Missiles.
Every once in a while, Yama will charge up a big energy circle around him. When this happens, move and stand on a sigil on the floor.
During the fight, a big part of surviving is just watching your character closely. Look out for the visual clues: fire = magic, smoke = ranged. Movement also matters a ton. When flame walls start moving across the room, you can dodge them by hovering your mouse about two tiles ahead of your character.
As soon as the flame reaches your mouse, just step away and you’ll avoid it. This gets more important as the fight goes on. One of the best ways to handle the orb mechanic is to use a simple pattern: hit the orb with a regular magic attack, then immediately spec it with your Purging Staff.
Things get a bit more hectic in the later phases. Flame walls and orbs start showing up more often, and you’ll need to be on your toes. Keep moving between star tiles and always be ready to shift prayers and dodge. You’ll probably mess up once or twice but it’s usually fine as long as you keep calm and recover quickly.
For healing, you can go far by relying on Guthix Rest teas for healing. It’s enough to for most players and it does enough to get you by between hits. It gives a little Prayer back as well.
During the last phase, make sure to refresh Mark of Darkness. Even if it’s not yet depleted, refresh it immediately so that you don’t have to worry about it for the rest of the fight. The fight remains relatively the same all throughout the fight and you don’t have to make too much of an adjustment.
Where To Farm Yama Contracts
These are special items that remove certain limitations that Yama has. So yes, this will make the fight much harder but the rewards are improved as well. True to his nature, Yama is tempting you to take on bigger challenges for better rewards. Here’s a list of the Yama Contracts and what you can get from them.
Contract | Reward | Qty |
Contract of catalyst acquisition | Aether catalyst | 2000 |
Contract of worm acquisition | Diabolic worms | 250 |
Contract of shard acquisition | Oathplate shards | 45 |
Contract of oathplate acquisition | Oathplate armour piece | 1 |
Contract of harmony acquisition | Soulflame horn | 1 |
Contract of forfeit breath | Purifying sigil (top) | 1 |
Contract of glyphic attenuation | Purifying sigil (bottom) | 1 |
Contract of sensory clouding | Purifying sigil (left) | 1 |
Contract of divine severance | Purifying sigil (right) | 1 |
Contract of bloodied blows | Purifying sigil (middle) | 1 |
Contract of familiar acquisition | Yami (increased drop rate) | N/A |
What Are Yama Contracts?
You can get these contracts as drops from either Yama or his demons. Of course, defeating the boss himself has the highest chance of dropping a random pact. However, if you’re looking to avoid Yama for now, you can kill demons in certain ways for a higher chance to get contracts as well.
Demon (Purple Sigil): Kill with Heavy-Ranged Weapons
Demon (Green Sigil): Kill with Spells (not including spell staves)
Demon (Red Sigil): Kill with Special Attacks
Demon (Blue Sigil): Kill with Two-Handed Melee Weapons
Demon (Yellow Sigil): Kill while it’s bound or while using binding spells
Yama Drop Table
Now, why go through all of the trouble to fight Yama in the first place? Marvelous loot of course. As with any other endgame boss, you’re definitely going to want to go after some specific items in Yama’s loot table. Here’s a broad look at it first:
Item | Quantity | Rarity | Price | Type |
Aether catalyst | 850 | ~1/12.86 | 209,950 | Resources |
Barrel of demonic tallow (full) | 1 | ~1/18 | 21,697 | Resources |
Battlestaff | 40 (noted) | ~1/22.5 | 316,240 | Equipment |
Blood rune | 400 | ~1/30 | 106,000 | Runes |
Chasm teleport scroll | 6 | ~1/22.5 | 5,958 | Resources |
Diabolic worms | 90 | ~1/12.86 | 9,000 | Resources |
Diamond | 40 (noted) | ~1/30 | 67,880 | Resources |
Dossier (Yama) | 1 | ~1/40 | Not sold | Uniques |
Dragon platelegs | 1 | ~1/45 | 160,190 | Equipment |
Dragon plateskirt | 1 | ~1/45 | 160,750 | Equipment |
Emerald | 40 (noted) | ~1/30 | 16,360 | Resources |
Fire rune | 15,000 | ~1/90 | 75,000 | Runes |
Forgotten lockbox | 1 | ~1/30 | Not sold | Uniques |
Law rune | 150 | ~1/30 | 18,000 | Runes |
Oathplate chest | 1 | Rare | 32,718,321 | Uniques |
Oathplate helm | 1 | Rare | 10,902,980 | Uniques |
Oathplate legs | 1 | Rare | 21,826,230 | Uniques |
Oathplate shards | 4-12 | ~1/16 | 44,100-132,300 | Uniques |
Onyx bolt tips | 150 | ~1/90 | 1,227,900 | Resources |
Pineapple pizza | 3–4 | ~1/12 | 2,616-3,488 | Consumables |
Prayer potion(3) | 2 | ~1/12 | 13,118 | Consumables |
Ruby | 40 (noted) | ~1/30 | 32,360 | Resources |
Rune chainbody | 8 (noted) | ~1/18 | 233,616 | Equipment |
Rune platebody | 8 (noted) | ~1/30 | 304,264 | Equipment |
Smoke rune | 350 | ~1/45 | 18,900 | Runes |
Soul rune | 500 | ~1/45 | 96,500 | Runes |
Soul rune | 1,000 | ~1/45 | 193,000 | Runes |
Soulflame horn | 1 | Rare | 10,865,829 | Uniques |
Super combat potion(1) | 1 | ~1/12 | 3,787 | Consumables |
Super restore mix(2) | 2 | ~1/12 | 9,862 | Consumables |
Wild pie | 3–4 | ~1/12 | 1,824-2,432 | Consumables |
Wrath rune | 800 | ~1/90 | 274,400 | Runes |
Yami | 1 | Very rare | Not sold | Uniques |
Zamorak mix(2) | 1 | ~1/12 | 634 | Consumables |
Oathplate Set
What you should be eyeing most in Yama’s drop table is the Oathplate set. This powerful gear set is one of the latest to be added to the game.
This is an armor set that requires 78 Defence to wear. You can get each of the pieces from Yam. If you don’t want to take a combat approach to getting it, you can harvest 1960 Crushed Infernal shale with 350 shards to create Infernal Plates. This process will require 78 Mining and 83 Smithing altogether.
While it looks good already, you can take things up a notch by upgrading your set to a radiant oathplate armor set. You can do this by using a purifying sigil. To get the sigil, you’ll need to defeat Yama in a total of five contracts: Bloodied Blows, Divine Severance, Forfeit Breath, Glyphic Attenuation, and Sensory Clouding.
This gear set is best used against enemies that have a very high Defence and are particularly weak against Slash attacks. That’s because it increases the accuracy of these weapons so if you have Soulreaper Axe, the Scythe of Vitur, or other slash weapons, this is the gear to use.
The armor provides decent stat bonuses but unfortunately, it doesn’t have any known passive effect at least for now.
Item | Attack Bonuses | Defence Bonuses | Other | ||||||||||
Stab | Slash | Crush | Magic | Ranged | Stab | Slash | Crush | Magic | Ranged | Summoning | Prayer | Strength | |
Oathplate helm | 0 | +10 | 0 | -2 | -7 | +50 | +72 | +45 | 0 | +50 | +6 | 0 | 0% |
Oathplate chest | 0 | +16 | 0 | -16 | -18 | +105 | +128 | +100 | -5 | +112 | +4 | 0 | 0% |
Oathplate legs | 0 | +12 | 0 | -12 | -14 | +75 | +100 | +73 | -3 | +81 | +2 | 0 | 0% |
Totals | 0 | +38 | 0 | -30 | -39 | +230 | +300 | +218 | -8 | +243 | +12 | 0 | 0% |
Ready To Take On Yama?
Yama is the latest addition to OSRS and is easily one of the most engaging boss fights in the game right now. We know you’re excited to get your hands on him and the loot he has for everyone. Since Magic is going to be a central part of this fight, here’s a Magic guide that will help you become the most powerful mage in the game.
FAQs
Is Yama Worth Fighting?
Yes, if you want the challenge and the rewards, you definitely should fight Yama. The oathplate set is a powerful armor set in terms of defenses, which is good for certain builds. Other than the loot, it’s also a good way to challenge yourself in the game.
Is it okay to use Ranged against Yama?
No, Yama’s setup and mechanics put Ranged builds at a huge disadvantage. It’s much better to focus on having a Magic or Melee setup. For soloing runs, it’s better to use Magic because during his enraged phase, moving around and attacking is harder for Melee builds.
What is the best strategy for soloing Yama?
If you want to do a solo run against Yama, you should definitely go for a Magic build. Ideally, you should have a Purging Staff or a Tumeken’s Shadow. Whenever Void flares appear, make sure to destroy them immediately. Glyph positioning is also important for soloers as it’s going to lessen the damage you take from certain attacks.
What Prayer is best against Judge of Yama?
The best Prayer to use Protect from Melee. This might seem counterintuitive, but it’s important to use this to get close to the Judge.
How to get Yama contracts?
First, you’ll need to sign your first contract with Yama after talking to him. A colored pentagram will appear on top of the corresponding demon’s head. If you kill one following a specific instruction, you can get a contract.