


OSRS 1-99 Sailing Guide
28.11.2025 - 16:13:32
Game Guides , Runescape

Old School RuneScape has finally received a new skill after 13 years since its conception. This update is the biggest the game has ever seen, and as such, there is a ton of content to unlock and take advantage of. Since it is a new update, it can be confusing to figure out what to do and when to do it, so in this guide, we are going to walk you through all the levels of Sailing.
Make sure to check out our runescape guide blog for future sailing guides to take full advantage of the skill!
Core Sailing Mechanics
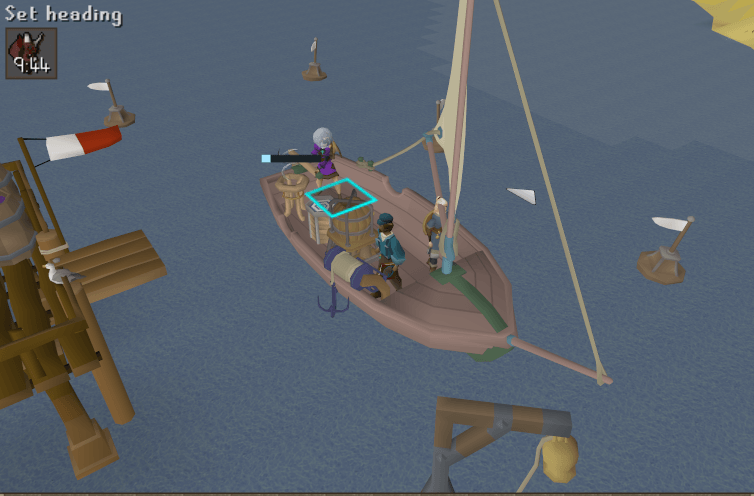
There are a few key features you need to know about sailing to speed up your gains. We will not mention these further down the line, so please take note.
Trimming Sails
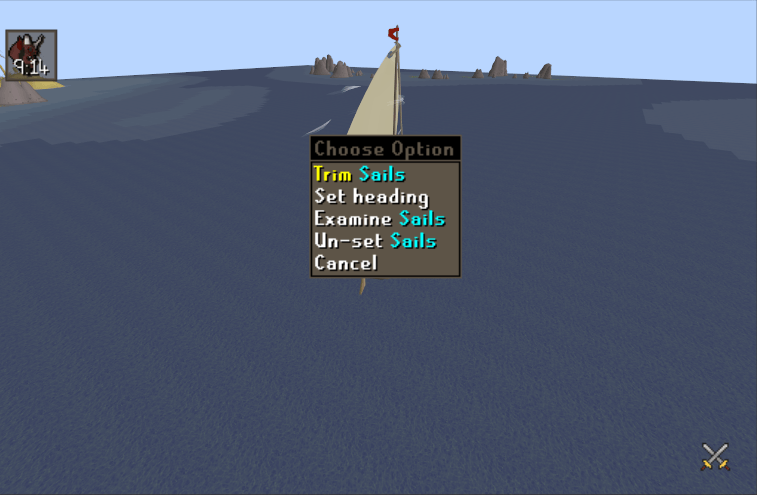
Once every minute or so, your sails will catch some wind, and you will have the option to click on them to trim your sails. Doing so will speed up your boat and yield some Sailing experience, which scales with your sail quality.
Random Encounters At Sea
During your travels on the oceans of OSRS, you will have random encounters. These encounters are like random events that happen at sea. When an encounter spawns, you will hear a little jingle, or if you have crewmates, they will call out the encounter and its relative location to your character. Doing these encounters is fairly simple and yields sailing experience. Here are the encounters you can have:
Winds
Strong winds can spawn near your ship. Going through these winds will allow you to trim your sails back to back 3 times for some nice additional exp.
Clue Turtles
You will encounter a turtle in the ocean with a clue bottle. Interacting with it will yield a clue scroll.
Clue Caskets
You can also encounter clue caskets at sea, which will give you either an easy or a medium clue casket that has a single loot roll.
Stranded NPCs
These NPCs are holding onto dear life on top of a broken wooden piece. Saving them will yield Sailing experience. Regular NPCs yield experience 15x the player’s Sailing level. The dog encounter yields 20x the player’s Sailing level. (You must take them to a dock.)
Lost Crates
These crates can occasionally be found whilst Sailing. Simply move near them to collect it. These crates provide some resources.
Blue Glow
In this encounter, you will notice a small blue glow in the sea. To interact with it simply drive over it, which will yield some experience to you and spawn another blue glow near you that will give you even more experience. Repeat this process 5 times to end the event. Once the event ends, you will also receive a gem on your boat.
Giant Clam
This event is a sure way to make some money. You can place an item in this giant clam and, in turn, it will reward you with a pearl depending on the value of the item you put in. Each pearl has a flat coin value, just like ancient emblems from Revenants. There are 11 different pearls in total, ranging from tiny to radiant. The most profitable trades currently are: Blessed Spirit Shield, Grid Master Torch Scroll, and Grid Master Altar Scroll, which will profit you 662K, 868K, and 860K, respectively.
Ocean Man
This guy just chills on the open oceans, talking to him will give the player a cocktail.
Upgrading Your Boat

Upgrading your boat can be done by right-clicking on a shipwright and selecting the “customise ship” option. The better your boat, the more experience you will receive overall. If you are especially going for the fastest experience rates, make sure your ship always uses the highest-tier material that you have access to.
You can check out our Boat Upgrade Guide to see the list of upgrades you can get with their respective levels.
Upgrading your ship is a core part of Sailing and will cost you a lot of gold to do so. If you are in need of OSRS Gold, you can check out our RS Store for safe and fast transactions!
Crewmates

Starting at level 40, you can start hiring some crewmates to help you use your ships. Each crewmate has 3 stats that can go from 1–4:
- Helmsmanship: The ability to control the ship. The higher it is, the more trimming experience you will get and the longer your speed boosts will last when a crewmate is steering your ship.
- Privateering: The higher privateering an NPC has, the better they are at using your cannons. Only crewmates with Privateering level 4 can use rune and dragon cannons.
- Deckhandiness: This affects your crewmate's ability to repair your ship, carry crates, and use salvaging hooks. Only a crewmate with level 4 deckhandiness can use a dragon salvaging hook.
You can assign your unlocked crewmates to your ship by talking to the crew manager in Pandemonium. To give commands to your crewmates, you can either use the sailing interface or click on them directly. Crewmates are essential for all activities aside from Barracuda Trials.
Levels 1-30 Quests, Charting & Cargo
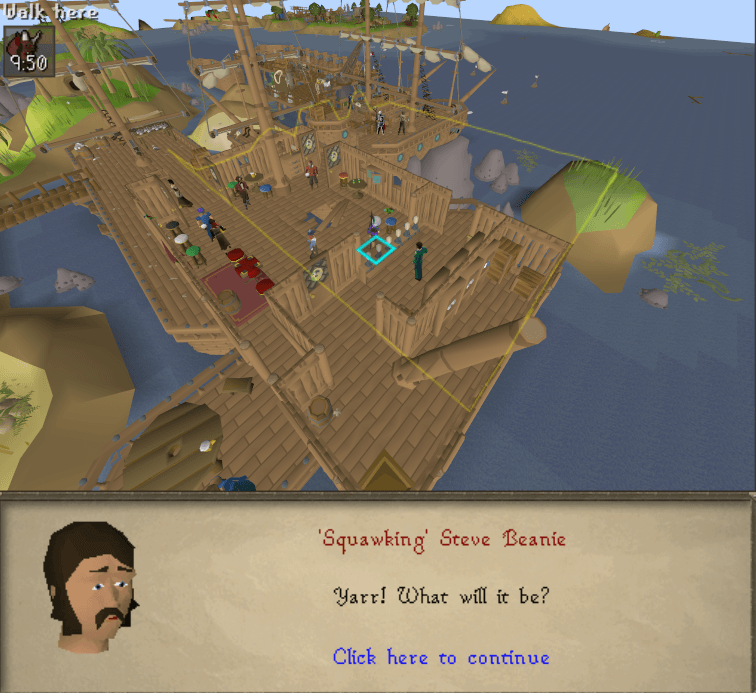
The early game of Sailing is pretty slow, but once you are past the initial hurdles of this skill, you will be gaining a ton of experience in no time.
Pandemonium
Once you are ready to train your Sailing skill, make your way over to the Port Sarim docks, where you will find two NPCs, Will and Anne. Talk to them and do the starting quest “Pandemonium”. This will give you 300 exp in Sailing and will unlock your first new island, Pandemonium.
Level 4 - 12 Cargo Tasks
After the quest, you should be at level 4 Sailing. At this level, the best activity to do is delivery port tasks. In each port, you will find a notice board. From that notice board, you can pick a delivery task. Once picked, take the cargo from the dock, load it onto your ship, and travel to your destination to deliver the cargo. At this level, you can only pick one cargo task, so you should always choose the ones that start in the port you're currently in.
At level 7 Sailing, you will be able to pick two tasks instead of one, so make sure to do that to double your experience gained.
At level 10 Sailing, you can expand your deliveries to Musa Point, which is between Pandemonium and Port Sarim, so feel free to take that task whenever you can.
Level 12 - 15 Prying Times
At level 12, you can complete the second Sailing quest, Prying Times. It is a fairly simple quest that requires 30 Smithing. Doing this quest is essential for sea charting, so it is highly recommended that you do this quest as soon as possible. Finishing it will reward you with 800 Sailing experience alongside the ability to chart forgotten drinks, which also gives Sailing experience.
Level 15 - 22 Cargo Tasks
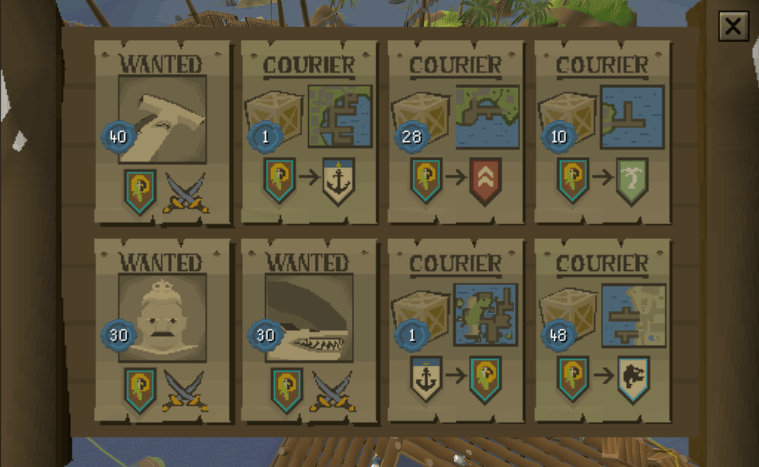
Before continuing on with your delivery missions, make sure you talk to a shipwright and purchase yourself a nice skiff. This boat has access to facilities and is faster than your previous one.
Level 22 - 24 Current Affairs
At level 22, make your way over to Catherby and complete the short and easy Current Affairs quest. This quest will unlock the final item that will help you chart the Seas and will also reward you 1400 Sailing experience alongside an important mayor.
Level 24 - 30 Cargo Tasks
At this point, you have options that you can pick — the first one and the fastest one is continuing on with your delivery tasks.
Alternative 24 - 30 Shipwreck Salvaging
If you are tired of delivering cargo, you can instead craft a salvaging hook on your ship to start salvaging some loot from sunken ships. Salvaging at this level is really slow, but AFK. Additionally, you can tick manipulate to double your salvaging experience. Salvaging at this level is not recommended.
Alternative 24 - 30 Sea Charting
The last option you have is to chart the seas on your boat using the crowbar, duck, and spyglass. You can open up your captain’s log in-game and sort the completion by “incomplete”, sea by “nearest”, and ocean by “nearest”. This will list all the charts that you have yet to do. Clicking on the question marks will tell you where you need to go.
Alternatively, you can use the quest helper plugin to help you out with this. This is a pretty solid alternative to cargo deliveries since you will need to chart the seas eventually anyway.
Level 30 - 55 The Tempor Tantrum
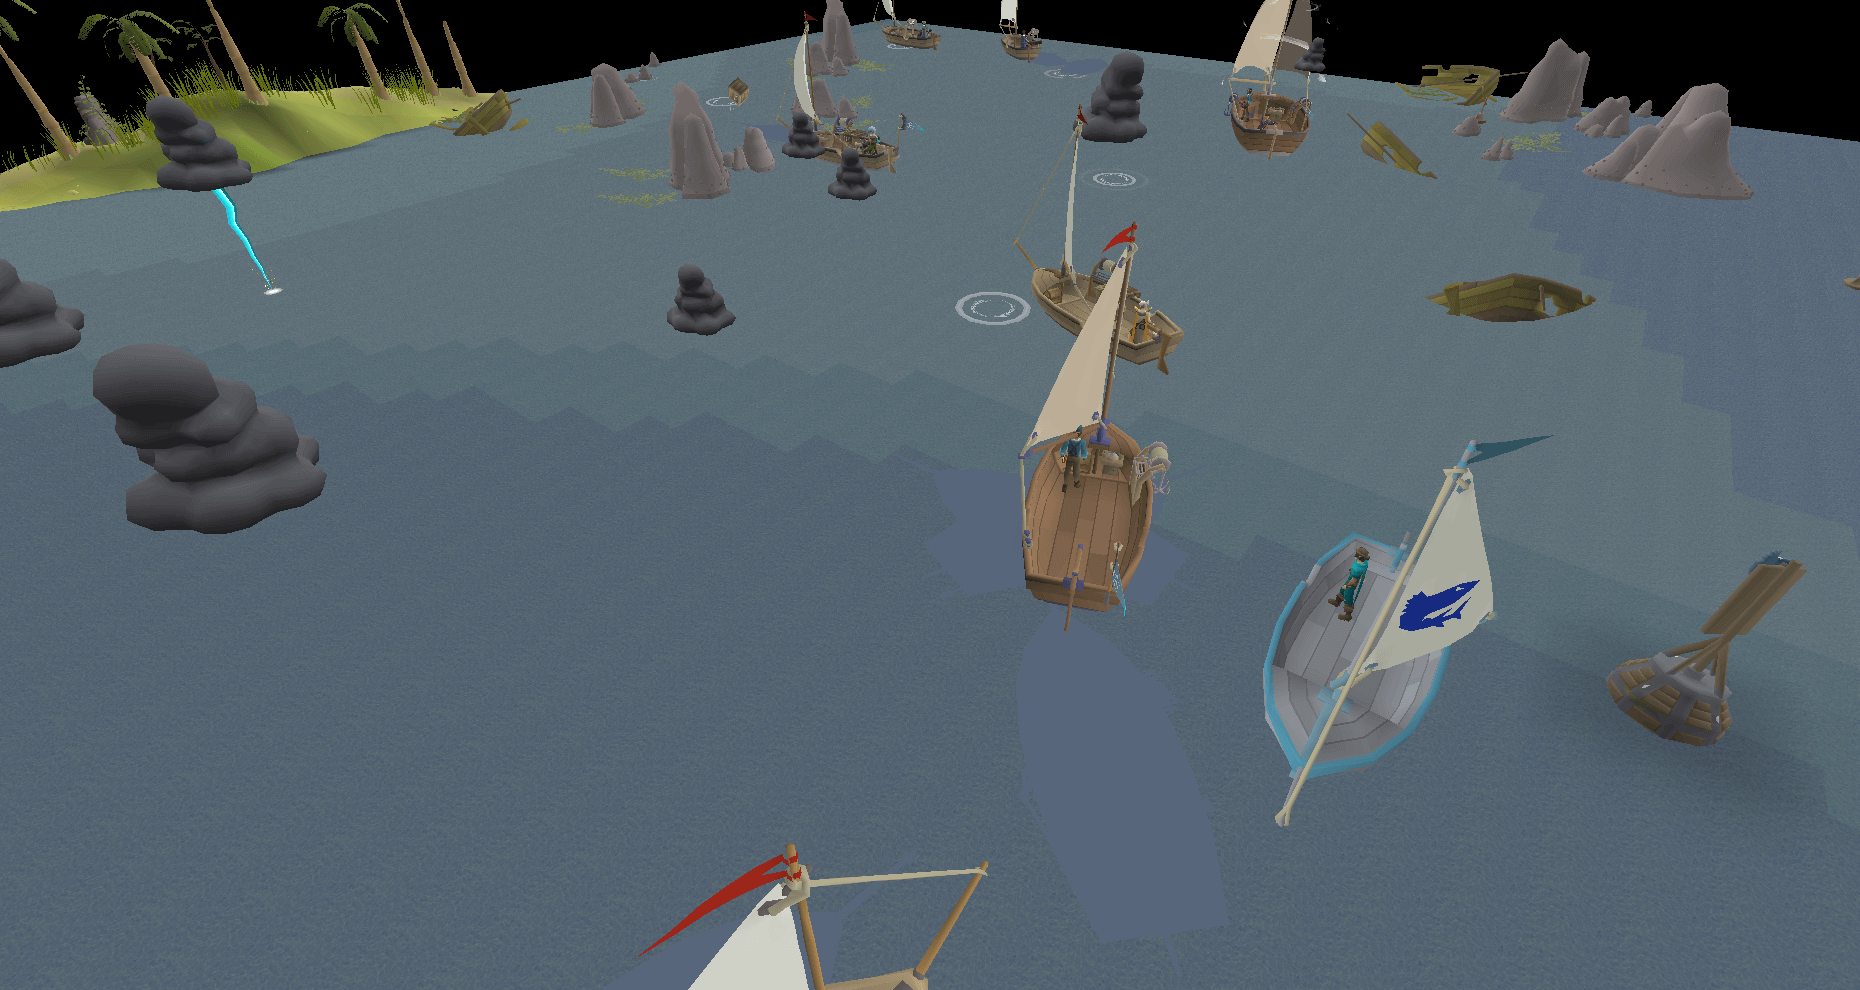
At level 30, the slow part of Sailing is over, as we can now do our first Barracuda Trial. This trial can be found near Pandemonium. The concept of the first Barracuda Trial is pretty simple: you sail around in a circle from your starting point and collect all the lost cargo you can see on the sea. You must also collect a bottle of rum from a ship on the opposite side of your starting position. Once you bring everything back, you will complete the trial.
It is recommended that you mark all the crates using the object marker or use the sailing plugin that will have them marked for you. Doing this is highly recommended to not miss any crates.
Like all Barracuda Trials, this one has 3 levels and completing each for the first time will yield a juicy additional sailing experience alongside some unlocks. Because of this, it is necessary to complete each trial at least once, even if you do not like doing them. (The most important reward is always on the shark/medium difficulty trial, so make sure to get that at the very least.)
Don’t get too stressed, however, since even if you are late on your time to finish the trial, you will still receive the full experience reward of the trial. Doing this trial over and over again will yield:
Swordfish: 20K experience per hour
Shark: 22K experience per hour
Marlin: 24K experience per hour
After claiming the shark rank, you can talk to Rum-dashed Ralph (the trial NPC) and ask him for some rewards to receive 2 whirlpool surprises. This will also make this drink available for purchase from the bar in Pandemonium. Also, with the initial barrel stand reward from the trial, you can craft a keg on your ships. This is essential for future sailing, so do built one on every ship.
Level 45 - 46 Troubled Tortugans
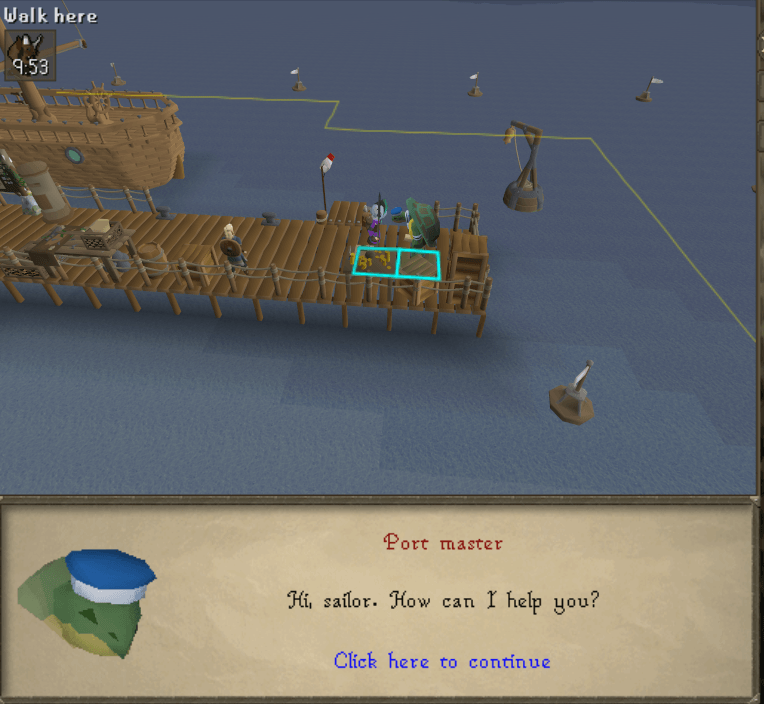
You can do the Troubled Tortugans quest at level 45 to unlock a brand new island and receive 10K Sailing experience. This quest also unlocks new trees, new coral farming, a new Slayer creature, and a boss that has a unique drop. The quest only takes around 15–20 minutes, so it is recommended to do it.
Alternative 50/53-55 Large Shipwrecks
Large shipwrecks require level 53 to salvage, but can also be salvaged by boosting your Sailing starting at level 50 with a Whirlpool Surprise. For this method, you should hire Jobless Jim and purchase yourself a sloop (which unlocks at level 50). Upgrade your sloop as best you can and add 2 salvaging hooks and a salvaging station to it. If you are level 50, bring around 40 Whirlpool Surprises with you in your cargo hold as well.
Put Jobless Jim on one of the hooks and get on the other one to start salvaging. Make sure that the side your crewmate is on always directly faces the shipwreck; otherwise, they will not work. Alternatively, you can tick manipulate between the two hooks to get better experience rates.
Once your cargo hold is full, salvage everything and drop the outcomes to continue salvaging.
Unlocking Bonus Experience
The Keg that you have just built on your ship can store different drinks inside it, which provide passive buffs to your character. These drinks, however, are locked behind some requirements. The most important drink out of them all is Horizon’s Lure, which requires you to chart 70 seas across all oceans.
After charting 70 locations, make your way over to the Pandemonium cave and talk to the NPC there to claim 25 Horizon’s Lure. This drink, when put inside the keg on your boat, will boost your Sailing experience gained by 2.5%.
Levels 55 - 72 The Jubbly Jive
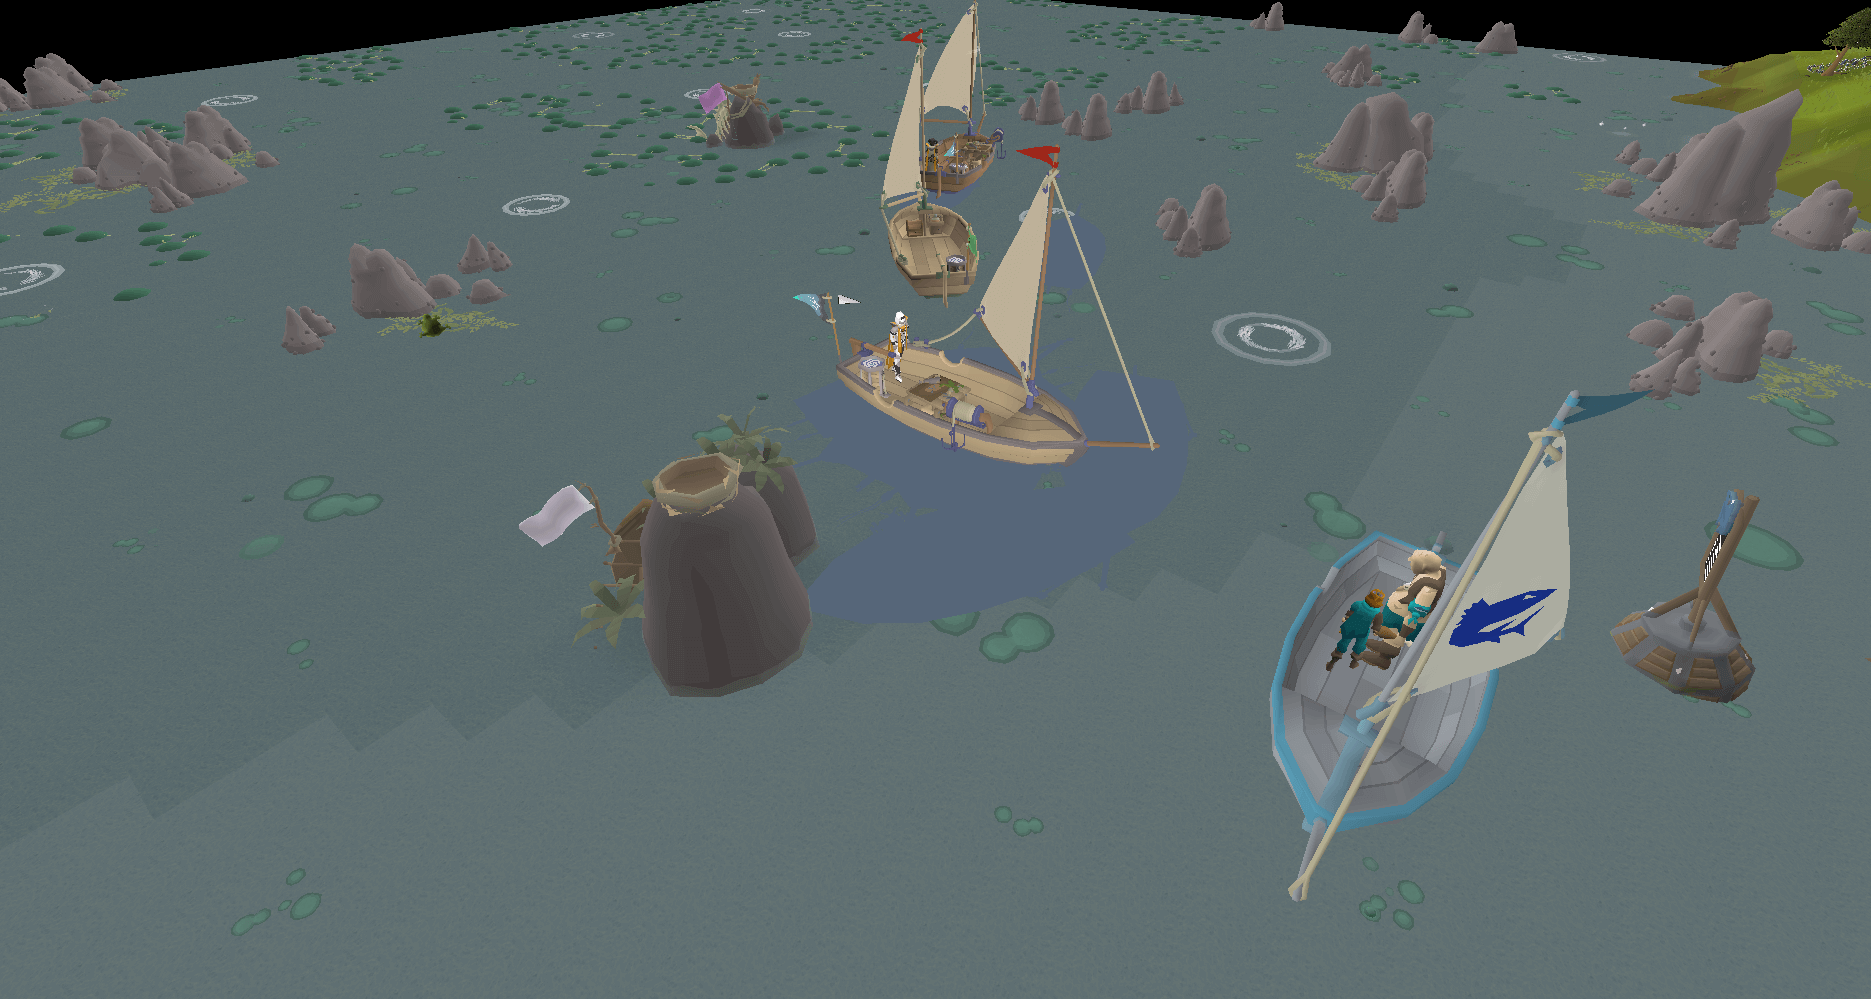
The fastest for these levels is the second Barracuda Trial. This one can be located near Feldip Hills, and the easiest way to get there is by starting at Corsair Cove and going northwest. Once again, this trial has 3 different tiers, and the reward from its shark tier is required to complete the final Marlin tier.
To simply explain this trial, you must once again go around the course and collect lost cargo, but this time you must also throw frogs on pillars to lure jubly birds back to the start. Make sure to build a wind catcher on your boat once you unlock it from the Shark tier. Doing this trial will give you:
- Swordfish: 40K - 60K Experience per hour
- Shark: 50K - 70K Experience per hour
- Marlin: 60k- 90K Experience per hour
As such, doing this course will skyrocket your Sailing levels.
Alternative 61 - 72 Pirate Shipwrecks
Just like the large shipwrecks, you can boost your Sailing level starting at level 61 to salvage pirate shipwrecks. The experience rates are much slower than the Barracuda Tria,l but it is a fairly chill activity.
Alternative 62 - 72/99 Cargo
If you have a fairly good end-game account, doing Cargo deliveries is also viable. To do this method efficiently, you must have the following unlocked:
- A quetzal whistle to access the sunset coast.
- An enchanted lyre or Fremennik sea boots to get to Relekka easily.
- A teleport facility on your boat to summon it.
- Sailor’s amulet
- A teleport to Aldarin
Here is the route that you have to take for this method:
- Make your way to the Relekka port
- Check the notice board for any of these tasks: Aldarin/Sunset Coast/Port Roberts to Relekka.
- Sail to Etceteria if you are level 65. Check tasks for the mentioned locations.
- Use Quetzal to get to the Sunset Coast and summon your boat there.
- Load your boat and set sail to Aldarin.
- Check the notice board for any of these tasks: Aldarin > Rellekka, Aldarin -> Etceteria, Aldarin -> Port Roberts, Aldarin -> Port Piscarilius
- Fill your remaining empty task spots, if you have any, with the ports along the Varlamore/Zeah coast.
- Sail up the coast of Varlamore / Zeah, turning in cargo, try and get more tasks from the notice boards as long as it's on the same route to Relleka/Etceteria.
- Once your last cargo is delivered, return to step 1.
After level 70:
- Make your way to the Prifddinas port.
- Take tasks Aldarin/Port Tyras/Deepfin point to Prifddinas. Prioritise Aldarin to Prifddinas if it's there.
- Head over to Port Tyras. You can use your Sailor’s amulet to teleport to Pandemonium and charter a ship to get there.
- Take these tasks: Aldarin > Port Tyras, Deepfin Point > Port Tyras, Port Tyras > Prifddinas.
- Teleport to Deepfin point, take these tasks: Aldarin > Deepfin Point, Deepfin Point > Port Tyras
- Teleport to Aldarin take these tasks: Aldarin > Prifddinas, Aldarin > Port Tyras, Aldarin > Deepfin Point
- Summon your boat here and pick up your cargo, make your way to your tasks pick up relevant tasks as you deliver your cargo.
- Once you are out of cargo, return to step 1.
Doing this at level 62 will give around 60k experience per hour. At level 65, this will rise up to 75K experience per hour due to Etceteria being unlocked. At level 70 Sailing this will rise up to being 65K-70K experience per hour.
Level 72 - 87/99 Gwenith Glide
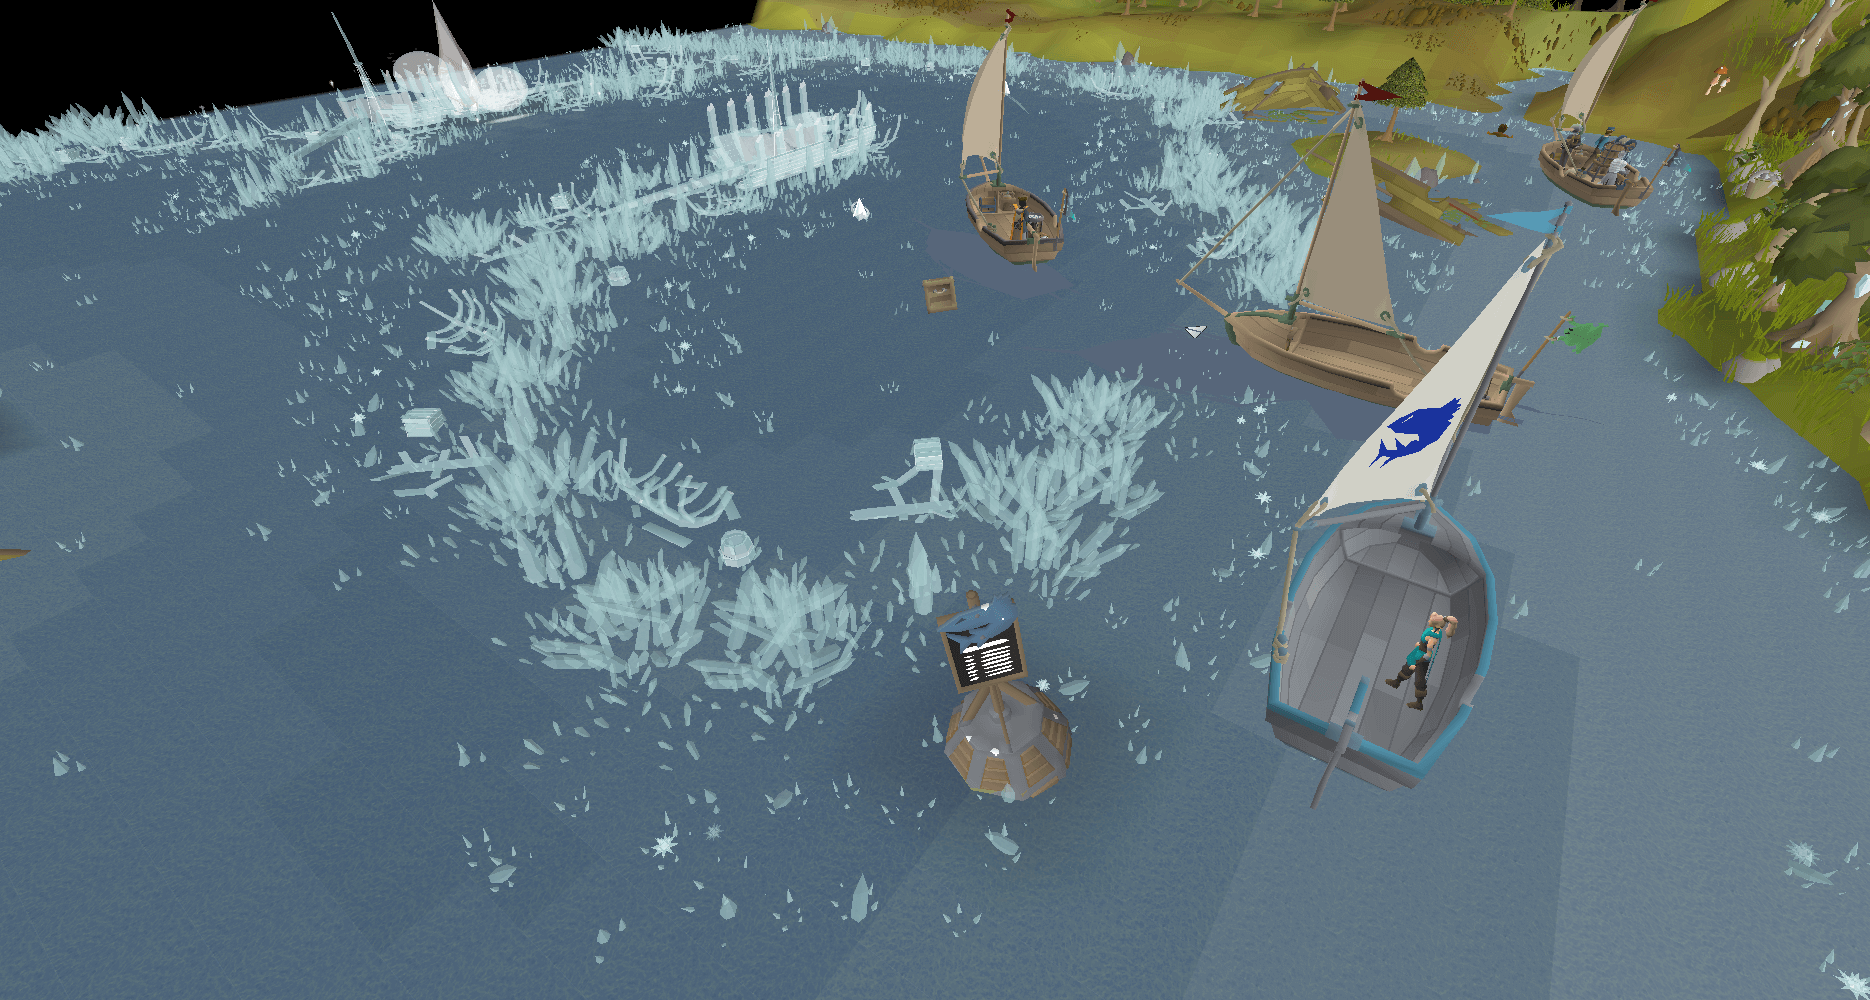
Level 72 Sailing unlocks the fastest Sailing method in the game, the Gwenith Glide. To do this trial, you will need to have the quest Regicide completed. This trial can be located near the elven city of Priffdinas, so having access to the city and, therefore, its port is highly recommended for easy access.
This course consists of collecting lost cargoes and activating crystals. Crystal activation is pretty simple to do. There are portals all around the course, and as you are doing the course, you will be using them to move around, which in turn will activate the crystal.
Instead of speed boosts in this course, there are wind nodes spread across it, which will give you a wind node charge as you pass through them. You will need to manage these wind charges well if you want to finish this course on time and claim that fat XP drop. Completing a trial usually requires an 80-90% wind speed boost time throughout the entire course, meaning any time that you are not wind boosted, you are doing something wrong.
After beating the shark, you will be able to build a crystal extractor on your ship with the item that you have received. This extractor will gather wind every minute and can be harvested to get a wind charge and 600 Sailing experience, so it is a must-build for all ships.
Beating all courses will require at least a fully decked-out Ironwood ship. If you are struggling, you can upgrade your wind catcher to hold 3 wind charges instead of 2. Doing this course will result in the following experience rates:
- Swordfish: 75k Exp/h
- Shark: 104K Exp/H
- Marlin: 170k - 225K Exp/h, depending on your ship upgrades and skill
Level 84-99 Merchant Shipwrecks
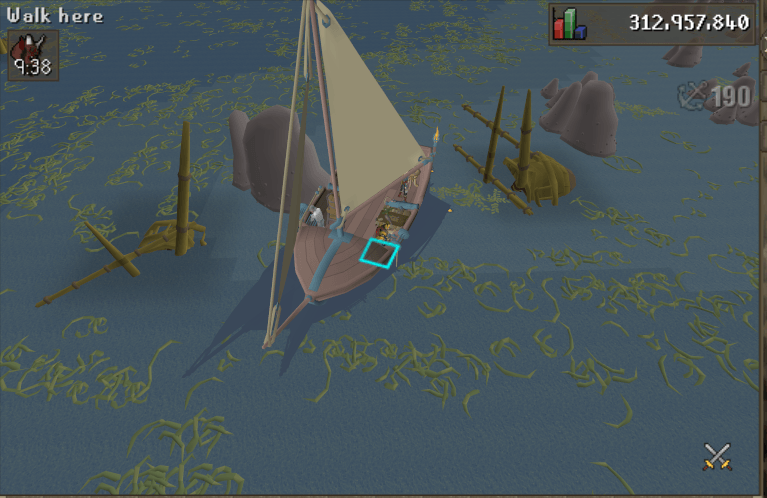
At level 84, you can start boosting your Sailing level to salvage merchant shipwrecks, which are the highest-tier shipwrecks that are currently available. Just like other shipwrecks, these are AFKable, and you can actually make bank from doing them, as it has a rare drop called the dragon cannonbarrel, which is used to craft a dragon cannon on ships. Currently, this item is going for 26M each.
There are multiple spots you can find merchant shipwrecks at, but the best one can be found south of the Isle of Serpents near the edge of the map. In this spot, there is a double shipwreck spawn that you can place your ship right in between. This allows you to salvage and AFK more.
AFK: 80K Experience per hour
AFK with Crystal Extractor: 100K Experience per hour
Alternative Bounty Tasks 80 - 99
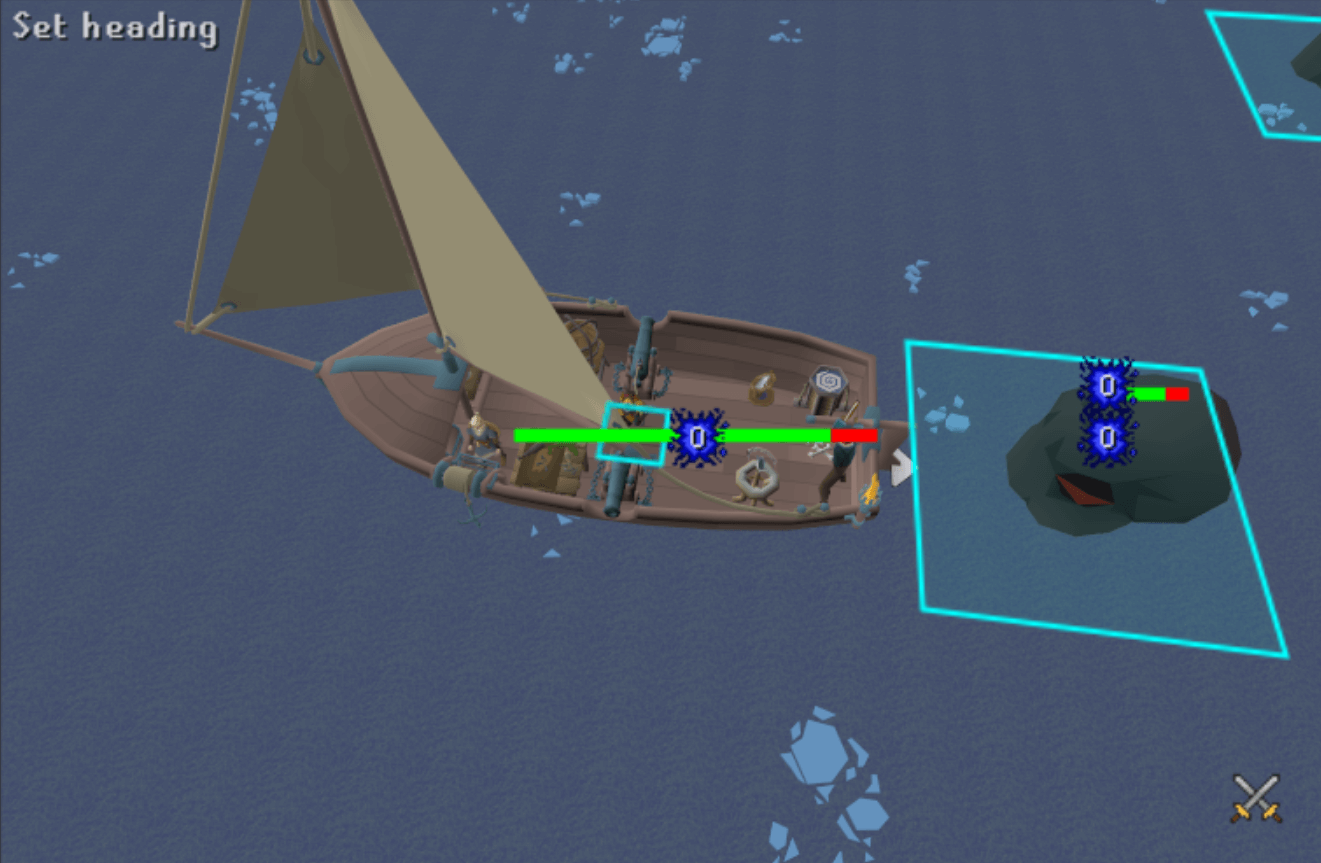
If you don’t feel like doing any of the methods above, or if you want to make some money on the side while training Sailing, you can start doing bounty tasks. These are tasks you can pick up from ports to kill sea creatures, similar to Slayer. At any given time, you can pick up two tasks for the same creature, which increases your experience rates. The best tasks that yield good experience alongside decent gold are as follows.
From good to worse:
- Vampyre Krakens
- Great white sharks
- Armored Krakens
- Albatross
- Orca
- Narwhal
Hope you found this guide useful, and good luck on your sailing journey!