


OSRS Doom of Mokhaiotl Guide
15.12.2025 - 03:31:33
Game Guides , OSRS Guides , Runescape


Doom of Mokhaiotl, more commonly known as the delve boss, is one of the most challenging end-game bosses in Old School RuneScape. It is a solo encounter where you are required to have incredible reflexes and prove your skills. As the boss delves deeper into the ground, the challenge gets harder and harder, but the rewards also get better and better. It is one of the most profitable bosses out there for players who have the skill for it. In this guide, we will take a look at this boss, break down its mechanics, and show you how you can defeat it to make bank!
Requirements & Gear
Before we get into the mechanics of the fight, let’s talk about its requirements and the gear you will need to defeat this boss. You will need the following if you want to have a chance against the doom:
- Completion of the quest While Guthix Sleeps for demonbane weapons
- Completion of the quest A Kingdom Divided for the Arceuss spellbook
- Completion of the Hard Western Provinces diary for elite void and crystal halberd
- 90+ Ranged
- 70+ Defence
- 75 Agility for shortcuts
- 74+ Prayer for rigour
- 90+ melee stats for melee punish phases
- Double death charge from Yama is recommended, but not a necessity
Gear
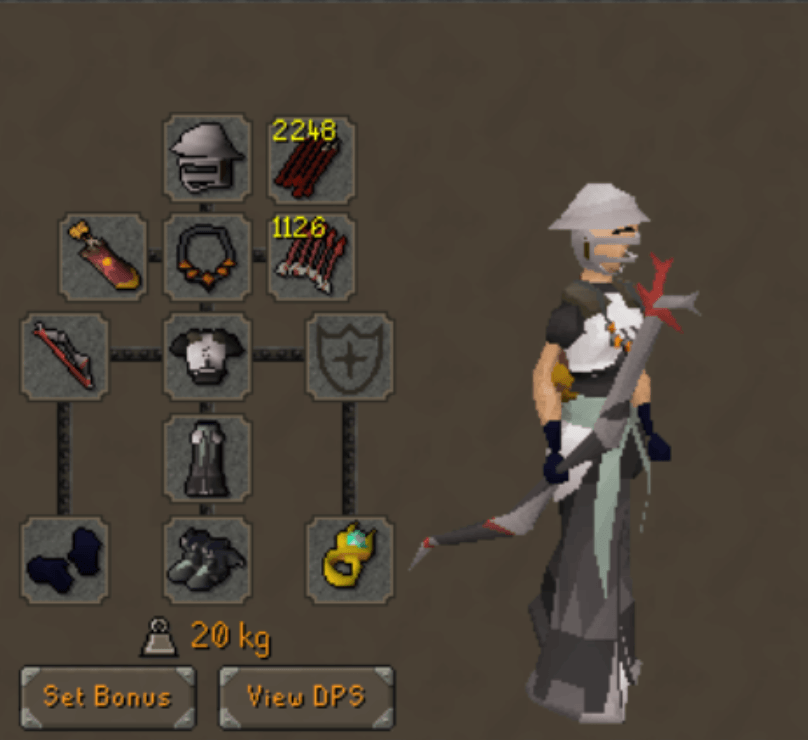
Doom of Mokhaiotl has very low defence, alongside phases that have no defence, so the accuracy stat is less important than the ranged strength stat for this boss. The following is the best in slot gear for this boss:
- Void ranger helm
- Necklace of anguish
- Dizana’s quiver
- Elite void top
- Elite void robe
- Twisted bow
- Dragon arrows and ruby bolts (e)
- Void knight gloves
- Avernic treads (max)
- Lightbearer
As for your inventory:
- Zaryte crossbow
- A melee demonbane weapon
- Scorching bow
- A staff that can cast demonbane spells or Eye of Ayak
- Scythe of Vitur or Noxious halberd, or Crystal halberd for melee punish
- Book of the Dead
- Rune pouch with death, blood, fire, and aether runes
- Extended anti-venom potion
- House teleport tablets or a tp out
- 3 Marlin
- 1 divine ranging potion, 2 regular ranging potions, 7 Sara brews, 5 super restores, or you can use the new Armadyl brews and bring 9 brews instead of 2 regular ranging potions.
Optionally, depending on your proficiency with the boss, you can bring dragon knives for extra damage during the car phase, a toxic blowpipe to heal, an ancient godsword, and an edlritch nightmarestaff to heal and restore prayer on volatile earths. A lunar spellbook instead of an Arceuss one to use “cure me” for venom, and spellbook swap to use death charge.
The gear above is not cheap, but it is required to effectively farm Doom. If you require gold to purchase this gear, we have got you covered with our fast and secure OSRS Gold deliveries!
Mechanics
Mechanics
The delve boss’s mechanics are based on its delve level. The deeper you go, the more mechanics the boss will have, and the difficulty of existing mechanics will increase as well.
Standard Attacks
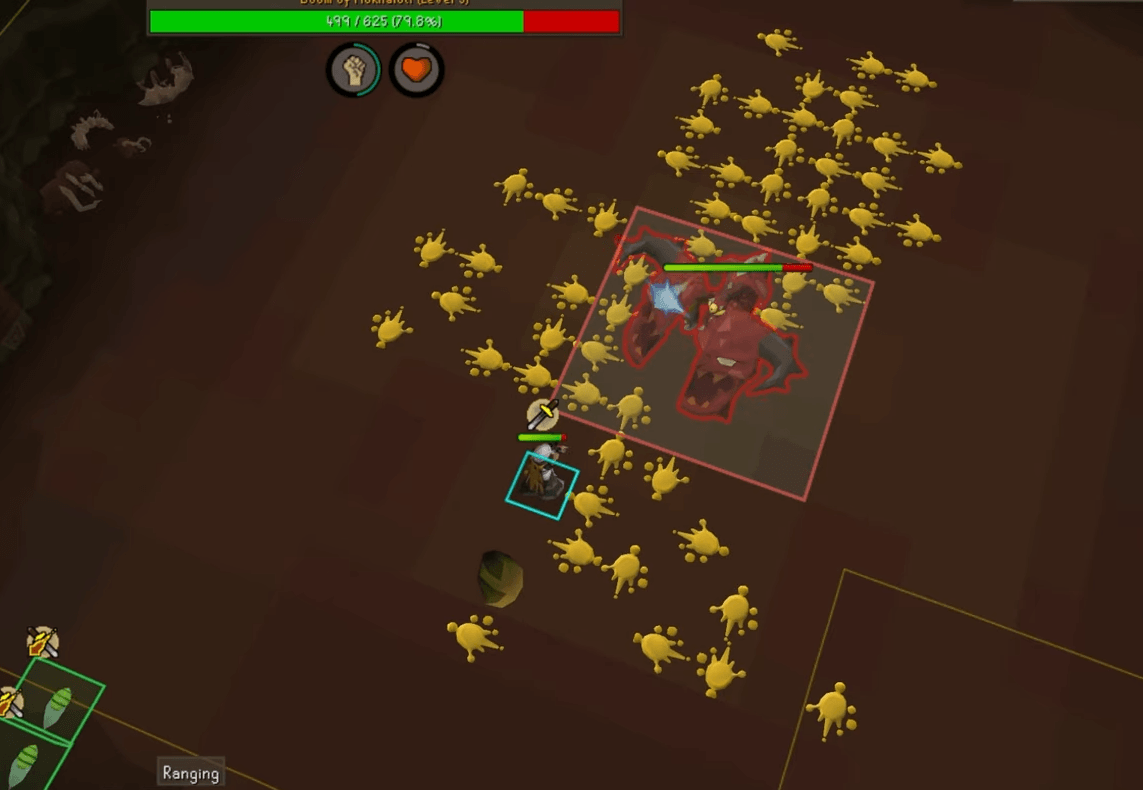
The Delve boss has a standard projectile attack, where he shoots a projectile at the player. This projectile can be ranged (green), magic (blue), or melee (red) and should be prayed accordingly. There is also an unavoidable melee attack if the player stands at melee distance from the boss.
Larvae
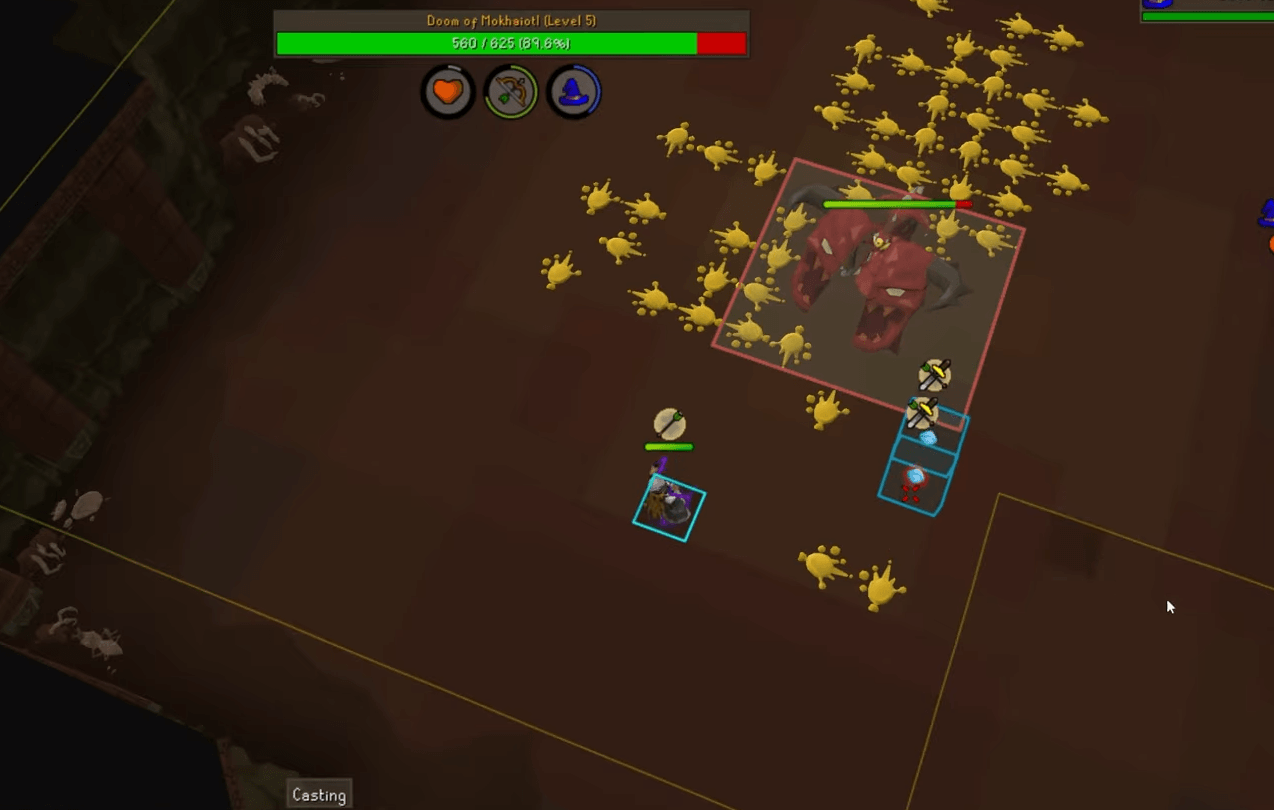
From time to time, demonic larvae will drop from the ceiling and start crawling toward the Doom, always spawning around your current position.
If a larva reaches the very centre of the Doom, it will heal the boss, damage you, and add one stack of Demonic Charge. At base, this heals the Doom for 10 HP and deals 1 damage to the player, but each additional stack increases both the healing and damage. These stacks carry over between delve levels, so leaving larvae alive for too long can snowball the fight very quickly. Because of this, you should kill them whenever possible.
Demonic larvae have 2 Hitpoints and can only be one-shot with demonbane weapons, multi-hit weapons, or the Eye of Ayak. Any other weapon will only deal 1 damage per hit, meaning you’ll need two attacks to kill a single larva. Demonbane weapons are especially useful here since they don’t cause an attack delay, letting you instantly swap back to the Doom after killing a larva.
When killed, larvae explode, dealing up to 21 damage in a 3x3 area. However, if the explosion hits the Doom instead, it will deal 5–10 damage (or 100 shield damage) and you won’t take any damage from the blast.
As delve levels increase, the larvae become more dangerous:
- Delve levels 1–3: Larvae spawn with one random protection prayer.
- Delve levels 4+: Larvae gain two protection prayers. Their colour shows which combat style to use:
- Blue = Magic
- Green = Ranged
- Red = Melee
Melee larvae only appear during the shield phase.
- Delve levels 5–7: Two larvae can spawn at once outside the shield phase.
- Delve levels 8+: A giant ranged or magic larva may spawn outside the shield phase. These have double HP, a 4x4 explosion radius, and triple penalties if they reach the Doom. For example, even with zero charge stacks, a missed giant larva will heal the Doom for 30 HP and deal 3 damage to the player.
Larvae will despawn roughly 20 seconds after spawning, but only if the Doom repositions during the burrowing phase. Otherwise, they will always have enough time to reach the Doom if left unchecked.
Boulder Throw
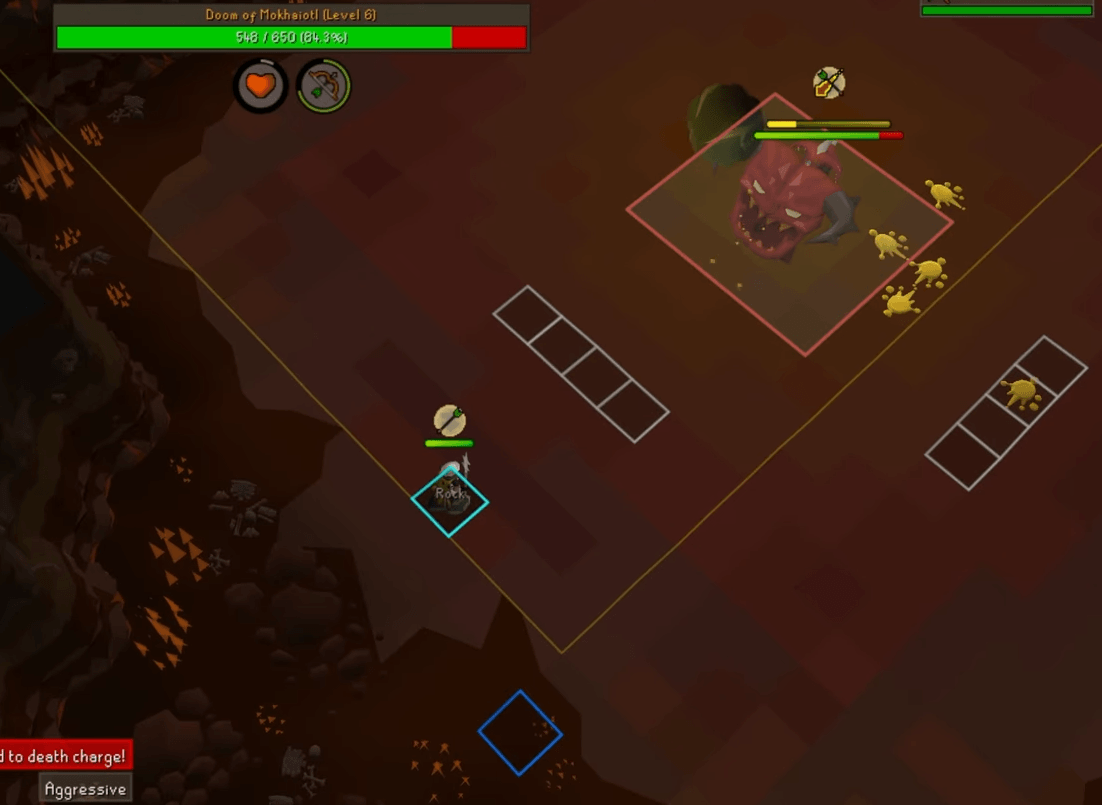
The Doom will occasionally hurl a massive rock into the air, which explodes after 7 ticks and rains down smaller rocks onto the area where you were standing. These are marked by dark shadows on the ground. One rock will always land on the exact tile you were on when the explosion happens and will stay there as an obstacle, while the rest disappear after landing.
Stepping into one of these shadows will hit you for 15–20 damage. If you don’t move off your original tile before the explosion, the landing rock will push your character to a random empty tile near you.
When the rock explodes, it will disable your protection prayers and shoot projectiles at you. If the rock was normally colored, the first projectile will be ranged; if the rock was blue, the first projectile will be magic. Each projectile is always different, so if the initial one was ranged, the second will be magic, and the third will be ranged. This attack will not use melee projectiles. Here are the differences for this attack between the delve levels:
- At level 1 delve, only 1 projectile is launched.
- At levels 2 and 3 delve, two projectiles are launched.
- At level 4+ delve, three projectiles will be launched.
- At level 7 delve, projectiles are much faster, reaching the player 2 ticks after the debris lands.
- At level 8 delve, two identical rocks are thrown. The player should start praying only after the second rock explodes.
Beam Attack
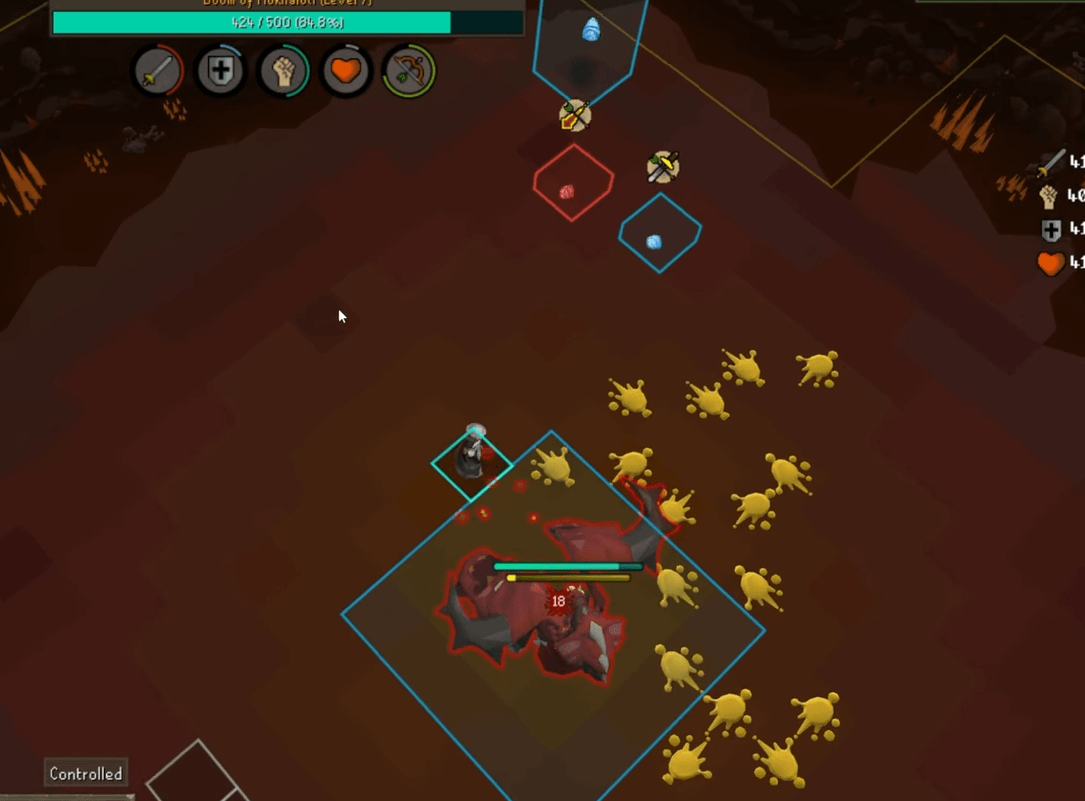
Doom will enter a charging state, indicated by a yellow bar appearing above it alongside Protect from Ranged and Magic prayers. At delve levels 1–3, you need to hit Doom once with any melee weapon to break this charge. All attacks against Doom will have 100% accuracy. Hitting Doom with a multi-hitting weapon, such as a scythe, will deal additional damage per hit splat.
From level 4 onwards, Doom will have a 500 health shield while performing this attack. Only an attack from a demonbane weapon will reset its charge. During this phase, larvae will spawn constantly and will deal 100 damage to the shield if they explode near Doom.
From level 5 onwards, Doom will enter a car phase after the shield is depleted. If the player fails to stop the charge attack, the boss will deal 60–99 damage depending on your delve level.
Shockwave
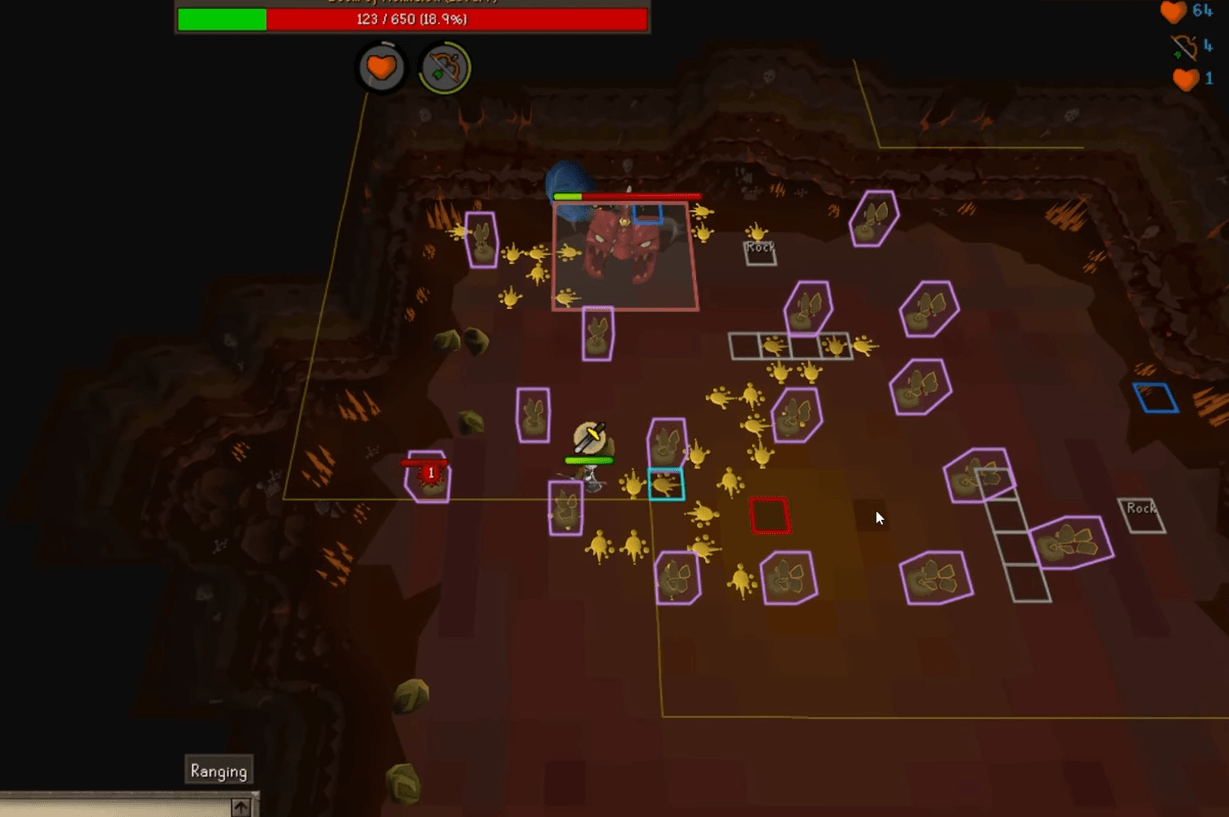
This mechanic usually happens about one minute into the fight and is signaled by multiple volatile earth spawning around the arena. 12 seconds after they appear, Doom unleashes its shockwave attack, dealing 30–41 damage per wave.
Before the shockwave begins, Doom will perform three attacks, one of which is always a standard Rock Throw. To survive the shockwave, you need to destroy two volatile earths to create an earthen shield, then stand inside it. Attacking volatile earth is instantaneous; although they only have 1 hitpoint, the damage dealt equals your maximum hit. This is a good opportunity to use healing or prayer-restoring special attacks like the toxic blowpipe or eldritch nightmare staff at higher delve levels.
The first volatile earth you destroy determines where the shield will move, while the second decides where it spawns. Once created, the shield moves at walking speed, favoring diagonal movement before going straight toward its destination. The shield’s center tile also clears any acid blood it passes over.
The earthen shield disappears either when it reaches its destination or once the shockwaves end, whichever comes first. Timing matters, so spawn the shield at the right moment and choose two points far enough apart so it lasts the entire attack. Use it strategically to clear acid blood, which stacks between delves and can block progress if ignored.
If you kill Doom before the attack occurs, you can still destroy two volatile earths to clear some acid.
Acid Blood
From delve level 3 onward, Doom will start spraying acid blood in a square-shaped area around itself. The exact tiles are chosen randomly and can land on tiles already covered in acid. Standing on these tiles deals up to 7 venom damage per tick and inflicts venom on the player.
Acid blood is triggered whenever Doom takes damage outside its shield or car phase, including damage from thralls and multi-hit weapons. Be cautious at deeper delves, especially when using thralls or weapons like the Crystal Halberd or Scythe of Vitur, as they can rapidly flood the arena with acid.
Acid blood persists between delve levels, with one exception: upon reaching delve level 6, the arena is cleared once. After that, the only ways to remove acid blood are by triggering holy water projectiles (up to delve level 8) or using the earthen shield’s center tile as it moves.
Holy water projectiles are created by defeating Doom with a melee punish.
Car Phase
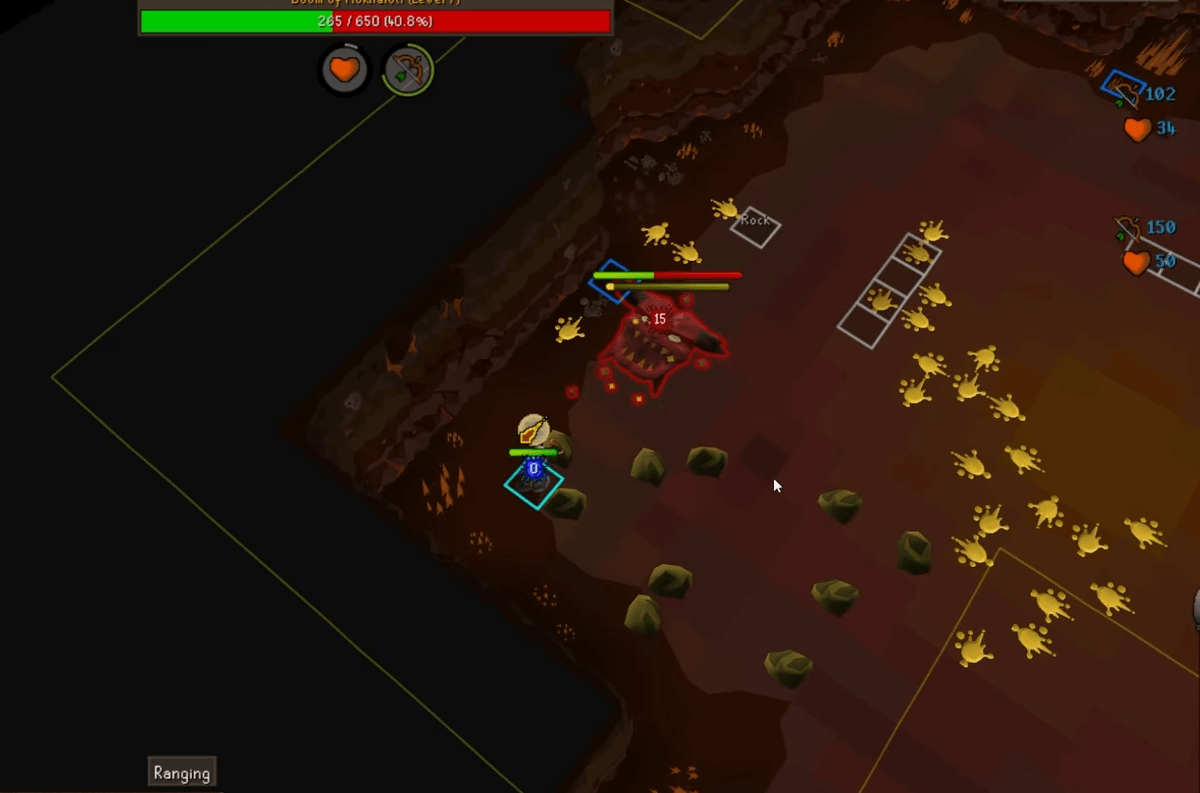
Starting from delve level 5, Doom enters a car phase after its shield phase. In this phase, it will turn toward the player, with an eye appearing in that direction. Doom then moves toward that location and repeats the attack. Being caught in its path will deal damage.
During this phase, Doom continues charging its attack, so all attacks against it have 100% accuracy. It’s recommended to use a Dragon Knives special attack (if Doom is low) or a Zaryte Crossbow special attack during this phase. The car phase becomes more challenging at higher delve levels:
- Level 5: Doom moves twice per car phase.
- Level 6: Doom shoots projectiles with each movement and performs a slam attack at the destination. Hide behind rocks to avoid damage; rocks in the attack path are destroyed.
- Level 8: Doom’s movement speed is increased.
You can also lure Doom onto a rock, which will block the entire slam attack if positioned correctly.
If this encounter seems overwhelming, check out our OSRS Services where we can clear all delve levels on your account for you, allowing you to unlock all achievements!
A Full Rotation
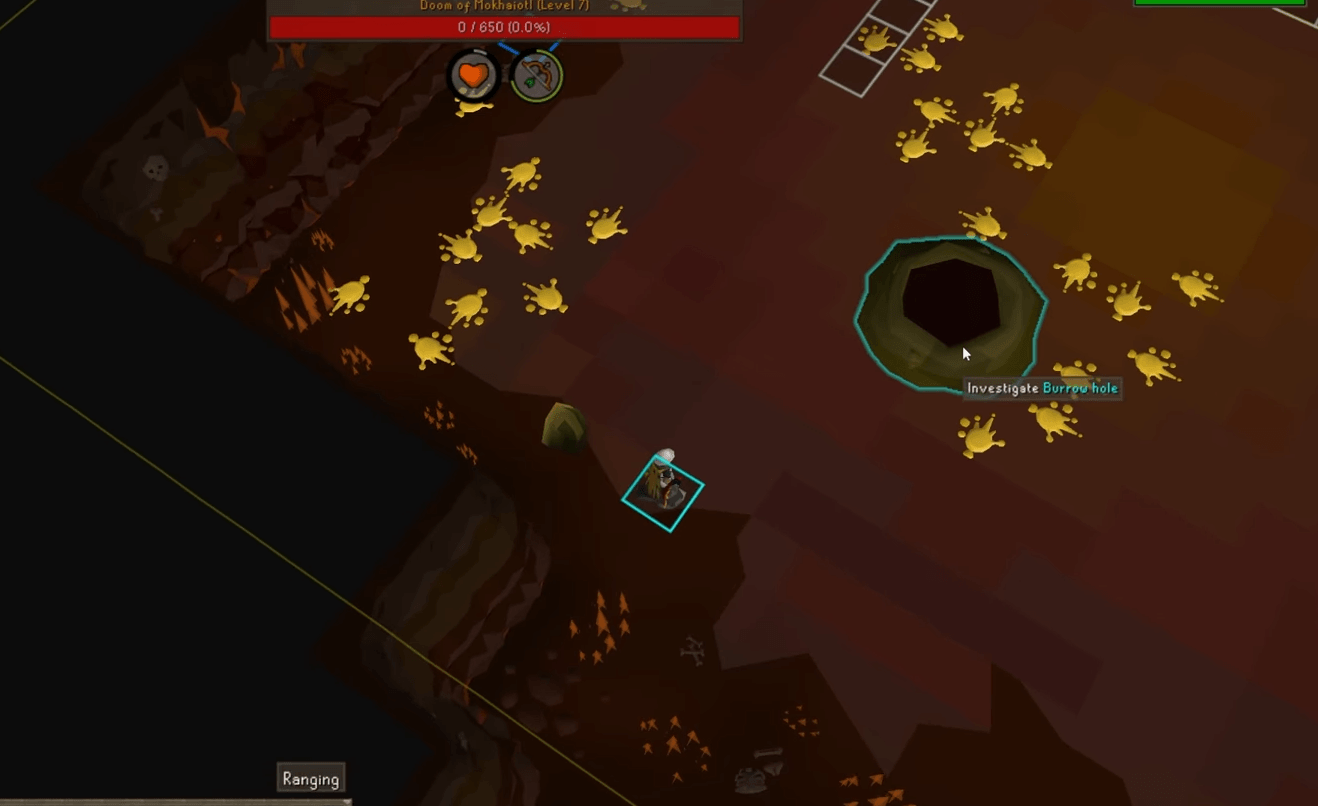
Now that you are geared up, let's go over an entire kill, step by step.
Delve 1, 2 & 3
- Enter the boss's room and use your Zaryte Crossbow special attack once. Summon your thrall and start praying against incoming projectiles.
- Attack the boss with your Twisted Bow and kill the larvae near the boss to deal extra damage. Activate your Death Charge to restore special attack energy.
- Avoid falling rocks from Boulder Throw attacks and reactivate your protection prayer after each boulder impact.
- Punish charge attacks with a melee hit. If using a multi-hitting weapon like a Scythe of Vitur or Crystal Halberd, maximize damage with each hit.
- If volatile earths spawn, wait 8 seconds and target two of them to spawn an earthen shield. The first shot should be far from you, and the second shot close to your character to position the shield effectively. Walk with the shield to avoid shockwave damage. Expect more shockwaves as delve levels increase.
Delve 4
The main change in Delve 4 is the shield phase. Always hit the boss with a demonbane weapon to interrupt its charge attack, while simultaneously killing any larvae near the boss. Each larva that dies near the boss deals 100 damage to its shield, speeding up the phase. If the shield is nearly broken, prioritize finishing off any larvae regardless of their location.
Delve 5
At Delve 5, the car phase starts immediately after the shield phase. Use your special attack weapons on the boss to deal extra damage, heal, or restore prayer during this phase. The rest of the fight mechanics remain the same as previous delves.
Delve 6
Delve 6 introduces projectiles during the car phase and ground slam attacks after each movement. Pray against incoming projectiles and hide behind rocks to avoid shockwaves. Position Doom carefully to avoid destroying too many rocks, as they are limited for cover.
Acid pools now persist, so use the earthen shield to clear acid whenever possible. Avoid using thralls to prevent excessive acid spread, and focus on using your special attacks during the car phase.
Delve 7
At this level, all mechanics are faster and more lethal. Pay close attention to timing and positioning, as mistakes are punished more severely.
Delve 8
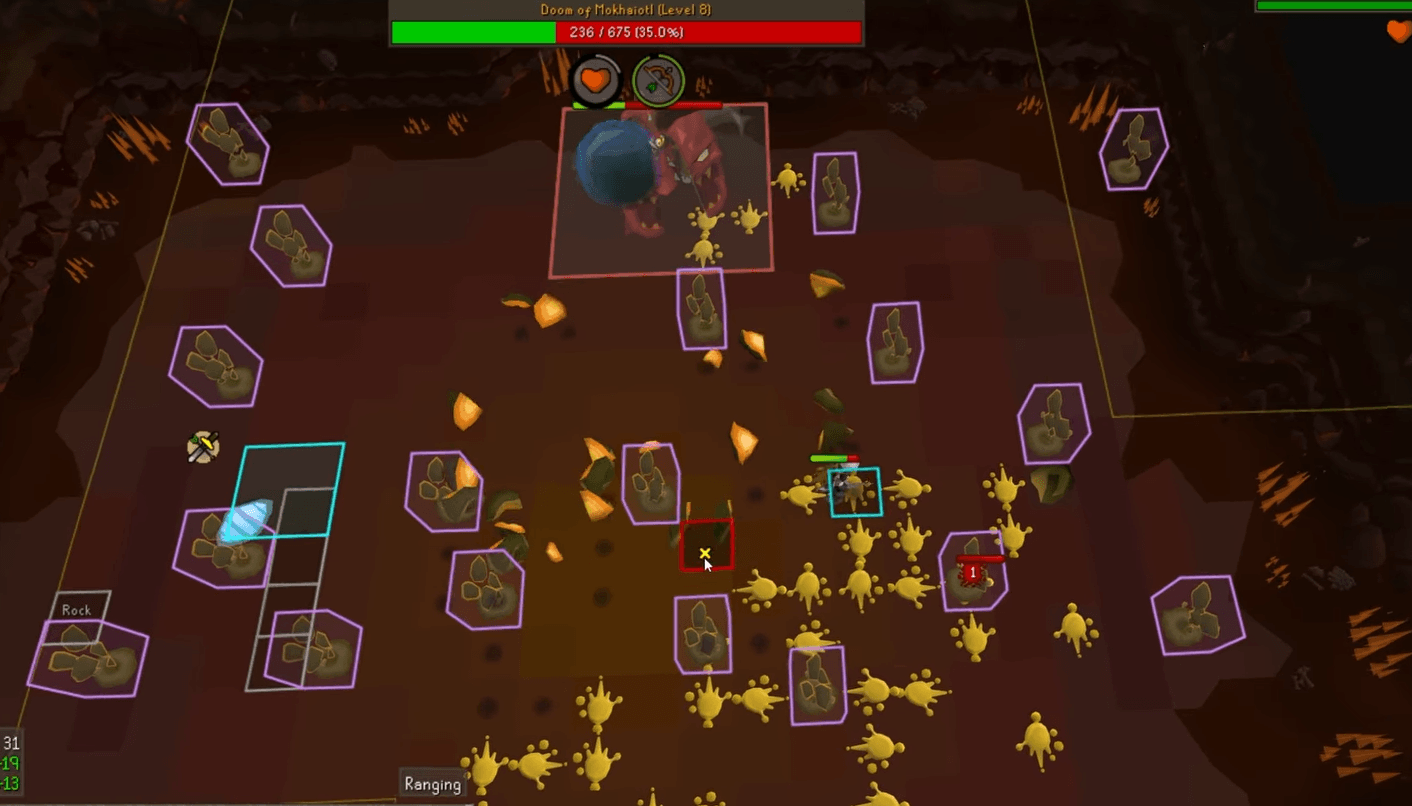
Delve 8 introduces giant larvae, which take two hits to kill. Double boulder throws occur, and all mechanics are faster overall. No new mechanics are added, but juggling double boulder throws, larvae, and acid pools requires practice and precise execution. This level is heavily reliant on muscle memory and experience.
Happy Doom hunting!