Diablo 4: Endgame Objectives
27.07.2023 - 12:35:36
Diablo 4 , Game Guides , Gameplay Guides

Any Diablo player knows that the end of the game’s campaign is just the beginning of the full Diablo experience. The same goes for Diablo 4 once the credits roll. In fact, Sanctuary opens up to so many more objectives, stories, and things to do, once you foil Lilith’s plan. For any newcomer, the Diablo 4 endgame can be very overwhelming.
If you’ve just finished the game and want to get the full experience, then you should jump right into the action. Here’s a checklist of everything that you need to in Diablo 4.
Beat The Capstone Dungeons
Once you beat the game, you can gain access to amazing loot and gear. However, those will only drop on World Tier 3 and 4. You can’t change into these World Tiers immediately though. There are a few prerequisites you need to finish, which are:
Reach level 50
Beat the game
Finish the Capstone Dungeons
Be on World Tier 2
The first Capstone Dungeon will be in Kyovashad and it’s called Cathedral of Light. The area recommends a level of 50. The dungeon is lengthier than most you’ve been to and yes, it’s possibly the hardest area you’ll have to go through at that point.
Once you beat the Capstone Dungeon, you can change into World Tier 3 and unlock better gear. The other Capstone Dungeons will unlock at level 75 and level 100.
Completing the Cathedral of Light will unlock new tiers of equipment, higher XP and gold rates for monsters, and more. If you want to take your character to a whole new level, beating the first Capstone Dungeon is a must.

Once you reach level 70, your next Capstone Dungeon will be in the Fallen Temple at Dry Steppes. This dungeon is significantly harder but beating it will help you unlock World Tier 4 and even better rewards.

Complete Tree of Whispers
One of the first major questlines after beating the game is the Tree of Whispers. If you don’t remember what this place is, it’s the huge tree in Hawezar with all the hanging heads. It’s also where our friend Lorath will spend the rest of his eternity when he passes.
The quest is pretty straightforward but the rewards are very important. Basically, you’ll be taught how you can accrue Grim Favors. Gathering 10 Grim Favors will net you a special Cache from the Tree of Whispers. The Cache will contain great gear and many other items.
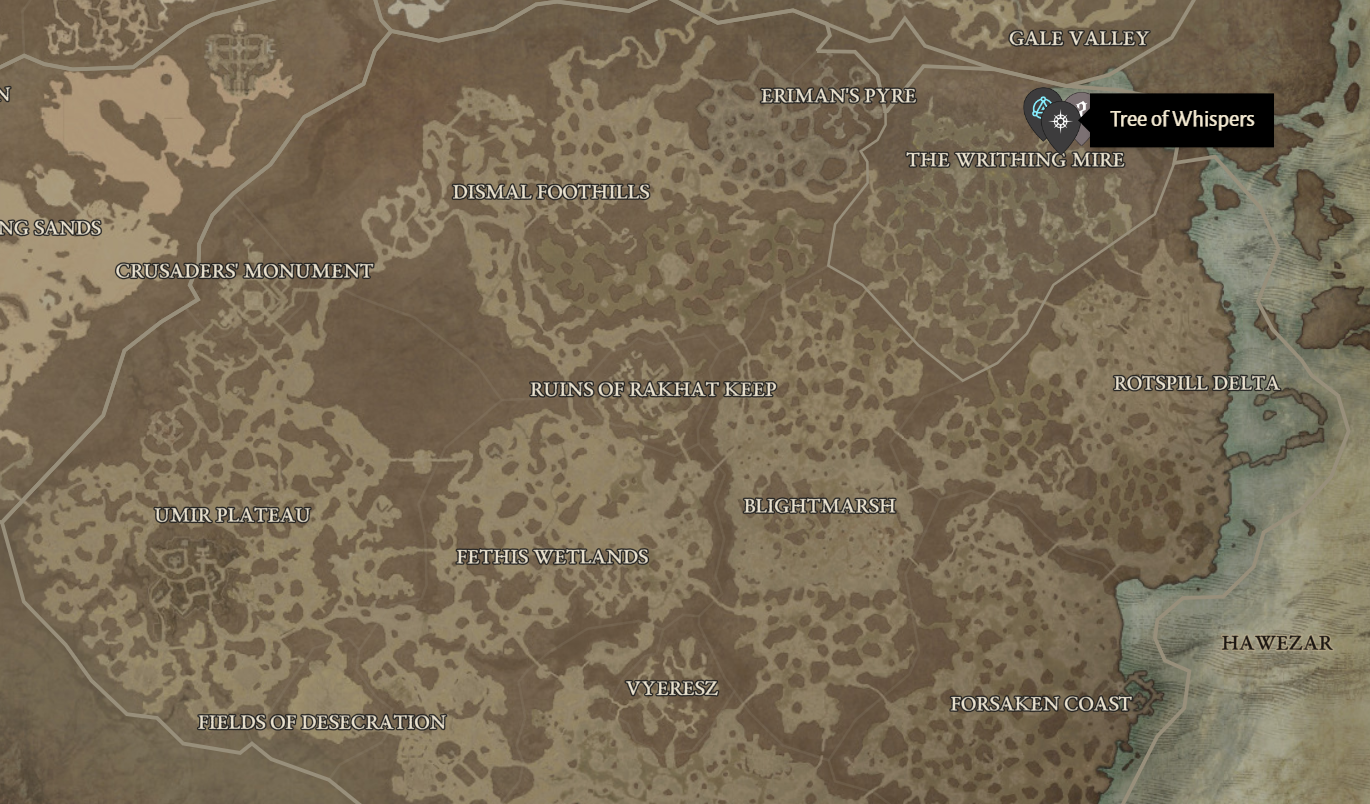
The Grim Favors mechanic won’t be activated until you finish this quest so make sure to do it first.
Start Completing Nightmare Dungeons
The challenge in Diablo 4 truly begins once you start doing the Nightmare Dungeons. To start unlocking these, you actually need to reach World Tier 3 first. With some luck, you can get a Nightmare Sigil from enemies or from caches given by the Tree of Whispers.
Your goal is to try out Tier 3 Nightmare Dungeons. To do this, you’ll first need a Tier 3 Nightmare Sigil. Luckily, there are three ways to get them.
Focus on getting to World Tier 4 as soon as you can. Once you’re in the Torment difficulty, farm Grim Favors and exchange them for rewards at the Tree of Whispers. There’s a chance that you can get a Nightmare Sigil from the cache they give.
The other method is simply relying on luck. Enemies can drop Tier 2 Sigils in a Tier 1 Dungeon. Tier 3 Sigils can drop from enemies in a Tier 2 Dungeon. Unless you’re farming for XP, we don’t suggest this step as it can be very time-consuming.
The last method is only applicable if you have friends who are deep into the endgame already. You can simply join them while they’re doing a Tier 3 Nightmare Dungeon and once they finish it, you can unlock a crafting quest that will help you make Nightmare Sigils on your own.
Pick A Build
The majority of the time you’ll spend on Diablo 4 will be spent on building your character and maximizing their efficiency in PvP and PvE endgame combat. What’s great is that there are so many ways to build your character in the game. With Season 1, you can even use Caged Hearts to make your character more powerful.
In most cases, quick leveling builds that you use throughout the campaign aren’t going to cut it in the end game. Don’t be afraid to go online and look for recommended builds.
Maximize Your Renown
You’ve probably built up your Renown a few levels before beating the game. The endgame is reserved for maximizing your Renown for the amazing rewards that it brings. For each region, you’re going to get the following:
Tier 1: Bonus XP, 3,000 Gold, one Skill Point
Tier 2: Bonus XP, 10,000 Gold, one Potion Capacity
Tier 3: Bonus XP, 25,000 Gold, one Skill Point
Tier 4: Bonus XP, 60,000 Gold, 80 Max Obols
Tier 5: Bonus XP, 150,000 Gold, 4 Paragon Points
In total, that’s 10 skill points, 5 potion capacity, 400 max Obols, and 20 Paragon Points. Now, maximizing your Renown is easy but it is time-consuming as well. For starters, you should first focus on two things - collecting all Altars of Lilith, beating all enemy Strongholds, and unlocking all Waypoints. Doing these things will most likely get you to Tier 4.
Here are the rewards for each activity:
Here are the Renown values for each activity:
Waypoints: 20 Renown per
Strongholds: 100 Renown per
Side Quests: 20 Renown per
Areas Discovered: 5 Renown per
Side Dungeons: 30 Renown per first completion
Altars of Lilith: 10 Renown per Altar
If you want to maximize your Renown ASAP, then here’s what you should focus on.
Altars of Lilith
There are 160 Altars of Lilith in the game. Every altar will give you 10 points for a total of 1600. But keep in mind that the 160 altars aren’t spread out evenly across the map. Aside from this massive boost to your Renown, you’re also getting the following bonuses:
Now, finding the Altars of Lilith is a bit difficult and some of them are well-hidden. As such, we recommend following an optimized guide for this.
Locations, Waypoints, And Strongholds
Completing these things rewards you with the following points - Waypoints: 20 Renown, discovering locations: 5 Renown, defeating Strongholds: 100 Renown. Throughout the campaign, you might’ve done most of these already. However, you can go through the entire story without having to discover all of them.
Here’s a quick guide to Strongholds and Waypoints per region.


Other Renown Tips
Completing the Altars, Waypoints, and Strongholds, and even discovering all locations won’t net you Tier 5. You’ll still need to do a bit more to get your Renown high enough for those rewards.
If you’re focused mainly on increasing your Renown, then we suggest focusing on doing side quests instead. Each side quest will grant you 20 Renown. Clearing dungeons actually reward you with 30 Renown but these are longer to beat.
On the other hand, some side quests can be finished in around five minutes or less.
Beat The Echo of Lilith
Lilith might be gone but her spirit lingers on. If you want to experience the full brunt of the game’s difficulty, then you need to face and beat the Echo of Lilith. She’s a level 100 version of the Lilith you faced in the campaign. She’s stronger, faster, and out for revenge.
First off, to find the Echo of Lilith, you need to have beaten the game first. You should also unlock World Tier 4 by beating the Fallen Temple Capstone Dungeon. Once you reach World Tier 4, you can try and fight Lilith immediately.
She’s located inside the Echo of Hatred Dungeon near the Nevesk Waypoint. This is where your Diablo 4 journey began. The dungeon itself has a recommended level of 90. Players suggest fighting Lilith at level 100. Even then, she can be hard to beat.
Echo of Lilith Strategy
For starters, make sure that you’re going into this fight with your best gear, best build, and your Paragon Board fully decked out. Even then, you’ll have a serious fight against Lilith.
The first phase of the encounter is very similar to how you faced her in the campaign. She’ll come at you with familiar moves such as summoning minions, scratching the ground, and performing high-impact aerial attacks. But now, everything is an upgraded version. There are more minions, her scratches cover more area, and her aerial attacks become unpredictable. The only attack that remains somewhat unchanged is her double-hit wing combo.
Once her initial form is defeated, the second phase begins and proves significantly harder. Lilith will spawn increased amounts of damaging blood onto the floor and move at a faster pace.
Her Fear Flight ability, where she streaks across the battlefield while blanketing it in corrupted blood, now extends to the edge of the floor area which shatters and becomes unusable. Your only survival strategy is to remain on the collapsing side until the skill’s effects end. Once that happens, quickly move to the other side to avoid falling to your death.
However, the disintegrating area isn't as safe as in her prior form. Apart from the constant collapse, she also triggers a blood explosion on the "safe side". So even after navigating past the tainted area, stay alert for the blood explosion to evade it.
Bear in mind, this is an EXCEPTIONALLY challenging fight. Echo of Lilith's strikes can easily annihilate you in one hit, forcing a total restart of the battle. After all, she is the genuine final boss of the game.
Once you’ve beaten her, you basically finished all that Diablo 4 has to offer.
There are Still Ways To Go After Beating The Campaign
Content-wise, Diablo 4 is very meaty and filled with hours upon hours of content. This endgame checklist serves as a good guide that will help you follow through what the game has to offer once the credits roll. Even after you’ve done all of these, you’ll still have a lot to do in Diablo 4 and in the following seasons.
