


2025 OSRS Chinning Guide
29.05.2025 - 11:19:51
Game Guides , OSRS Quests & Achievements , OSRS Skills & Skilling , Runescape


Ranged training can be tedious, as with other combat training in OSRS. However, it's a lot easier if you know how to do Chinning.

Training your Ranged Skill in OSRS isn't particularly hard, but it does take a lot of time to do so. Aside from the right build, you'll also need the right methods to ensure that you're getting Ranged XP in the most efficient way possible. F2P account training methods are fairly limited but if you want to maximize your character's growth, you might want to invest in a P2P account.
With a P2P account, you'll have more ways to train Range. One of the most effective methods—explained in detail in our Ranged Guide (OSRS)—is by Chinning.
What Is OSRS Chinning?
Utilizing chinchompas, often referred to as "chinning," to attack maniacal monkeys proves to be the most efficient method for Ranged training in OSRS. These monkeys can be found in Kruk's Dungeon on Ape Atoll, accessible only to those who have initiated chapter II of the Monkey Madness II quest. Despite its swiftness, chinning comes at a cost, making it a more expensive option compared to alternative training methods.
OSRS P2P Ranged Training Level 1-45
Your Ranged Skill needs to be at least level 45 before you can start chinning. To make the process easier for you, here are a few ways you can get to level 45 fast.
Level 1-32: Questing
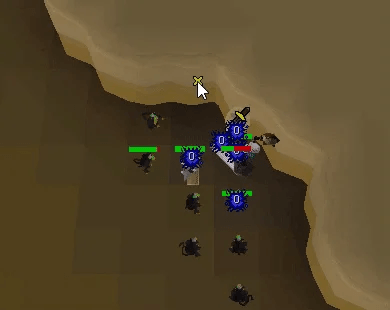
Levels 1–32 can be efficiently progressed through questing. By completing quests like Shadow of the Storm (allocating the experience reward to Ranged), Death to the Dorgeshuun, and Horror from the Deep, players can amass a total of 16,662.5 experience, swiftly advancing from level 1 to 32. To surpass the level 40 ranged requirement for Temple of Ikov, players can wield knives or darts in conjunction with ice arrows, securing an additional 10,500 experience and propelling them to level 36. Here are all of the quests that give you Ranged XP.
Quest | Members | Experience reward | Ranged requirement | Other requirements | Enemy to defeat |
Big Chompy Bird Hunting | Yes | 735 | 30 | Fletching 5 , Cooking 30 | Wolves (level 64) (optional) |
Recipe for Disaster (Skrach Uglogwee subquest) | Yes | 1,500 | 30 | Cooking 41 , Firemaking 20 | None |
Death to the Dorgeshuun | Yes | 2,000 | - | Thieving 23 , Agility 23 , The Lost Tribe | Multiple low level NPCs |
Zogre Flesh Eaters | Yes | 2,000 | 30 | Smithing 4 , Herblore 8 | Multiple high level NPCs |
Heroes' Quest | Yes | 2,075 | - | Quest Points 55 , Cooking 53 , Fishing 53 , Herblore 25 , Mining 50 | Multiple high level NPCs |
Horror from the Deep | Yes | 4,662.5 | - | Agility 35 , Alfred Grimhand's Barcrawl | Multiple high level NPCs |
Temple of Ikov | Yes | 10,500 | 40 | Thieving 42 | Multiple med level NPCs |
Chompy Bird Hunting (miniquest) | Yes | 30,000 | 30 | Completion of Big Chompy Bird Hunting | 4000x Chompy Bird (level 6) |
Total | 53,472.5 | ||||
Level 1-45: Dwarf Multicannon
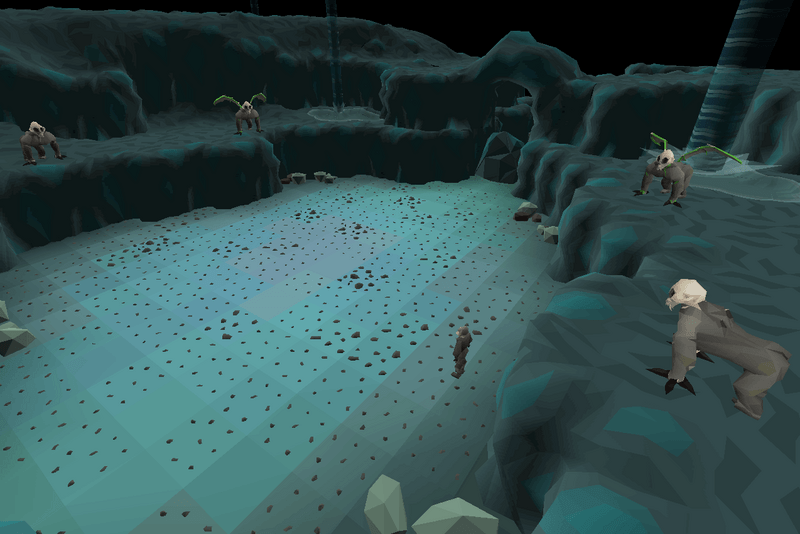
The fastest route to level 45 involves employing the dwarf multicannon. To access this method, players need to complete the Dwarf Cannon quest, although there are no specific level requirements to operate the cannon. The dwarf multicannon boasts a superior damage output at lower levels, with a maximum hit of 30 using regular cannonballs (35 with granite cannonballs), irrespective of the player's Ranged level. However, this method can be quite costly due to the expense of cannonballs.
Cannoning with Slayer
Efficient Slayer training provides passive Ranged experience through the use of the dwarf multicannon. It is advisable to incorporate the cannon wherever possible, as the time saved justifies the cost. Tasks that involve melee combat can take nearly twice as long without the cannon. For example, during multi-combat tasks like dagannoth and kalphite, the cannon deals most of the damage while providing substantial Melee experience. If funds are limited, it is recommended to prioritize earning RS Gold for cannonballs rather than training Slayer without the cannon.
Ranged Experience from Slayer
The Ranged experience gained from Slayer varies based on the player's task list, but players can anticipate accumulating at least around 5 million Ranged experience from level 99 Slayer.
Cannoning Caged Ogres
Cannoning ogres in the Combat Training Camp post-Biohazard quest is a viable option for quick leveling at lower levels. This method has no level requirements for cannon usage.
Cannoning Ice Trolls
Although slower, cannoning ice trolls offers a more budget-friendly alternative. Completing The Fremennik Trials quest enables players to set up a cannon south of the coal rocks west of the eastern mining icon in the Fremennik Isles, allowing for effective safespotting. Depending on Ranged level and the number of cannonballs brought, players can gain 60,000–100,000 experience per hour while potentially making a profit.
It's recommended to have telegrab for drop retrieval without incurring damage and the ability to low or high alch drops. Bringing a small amount of food for safety is advisable. Lower-level players should exercise caution, as ice trolls can deal significant damage without Protect from Melee. With level 70 Prayer, a dragonbone necklace, bonecrusher, and Neitiznot shield, players can maintain infinite prayer points while using Protect from Melee.
Preparing For Chinning
Once you've reached level 45 Ranged, it's time to prepare a bit more for chinning. Aside from level 45 Ranged, you'll also need these:
- Partial completion of Monkey Madness II (reached Kruk's Dungeon).
- 43 Prayer for Protect from Melee.
- 62 Magic for ancient magicks multi-target spells.
Where To Find Chinchompas In OSRS
Maniacal monkeys inhabit Kruk's Dungeon on Ape Atoll, with the entrance located in the north-western part of the island. Various methods can be employed to access the dungeon:
- Post-Monkey Madness II Completion:
- After finishing Monkey Madness II, players can efficiently reach the dungeon by using the gnome glider to Ape Atoll and heading south.
- Pre-Monkey Madness II Completion:
- Players who have not completed Monkey Madness II need to wear a greegree to avoid damage from aggressive monsters. Access can be gained by:
- Utilizing the Ape Atoll Teleport on the standard spellbook and proceeding west.
- Using the Ape Atoll Teleport on the Arceuus spellbook and moving north.
Once inside the dungeon, follow these steps to reach the optimal location for hunting maniacal monkeys:
- Locate the Second Hole with Vines:
- Refer to the map of Kruk's Dungeon, and find the second hole marked as "2."
- Climb down the vines associated with this hole.
- Navigate to the Large Room:
- Head south-east from the hole until you reach a spacious room.
- Checking for Other Players:
- To ensure an uninterrupted experience, check if another player is present down the hole.
- Right-click on the hole and select "look in hole" to inspect the area.
It is advised against sharing a world with another player, as this practice significantly reduces XP rates by nearly 40% for both players.
General Chinning Strategy
When engaging maniacal monkeys, it's advised to maintain Protect from Melee at all times for protection. Utilize the 1-dose prayer potions dropped by the monkeys to sustain your prayer indefinitely. Alternatively, players equipped with the bonecrusher can opt for either the dragonbone necklace or the bonecrusher necklace to automatically restore Prayer points as needed.
As the aggression of maniacal monkeys diminishes roughly every 10 minutes, execute a strategic move. Run west along the south passage to reach the designated yellow box on the map. When adjacent maniacal monkeys reinitiate the attack, it signifies that the aggression has been reset, allowing you to return to your training spot. This reset may occur before or after the bend in the path.

For budget-conscious players seeking to recover some of the expenses incurred on runes or chinchompas, a strategy is available. At level 71 Hunter, players can fill their inventory with Imp-in-a-box, bank 4-dose Prayer potions, and discard the surplus magic boxes. This approach assumes the usage of the bonecrusher necklace or the dragonbone necklace with a bonecrusher method, eliminating the need for prayer restoration through potions. For example, ice bursting players who leave and return after using up all Imp-in-a-box can expect to "refund" approximately half the cost of the runes spent on that trip.
Solo Methods
There are various solo methods to stack maniacal monkeys, as illustrated in the gallery below. These methods differ in click-intensity, with higher click-intensity methods potentially yielding higher experience rates by hitting larger groups of monkeys. While Ice Burst and Barrage spells can hit a maximum of 9 targets, chinchompas have a higher limit of 11 targets. Therefore, the high-intensity methods hold greater significance when training Ranged as opposed to Magic.
- Low-intensity: Enable auto-retaliate for all attacks. Periodically, run north-east and then return to the starting spot to clump the monkeys as needed.
- Medium-intensity: Employ auto-retaliate for all attacks. After each attack, manually click on a 3x3 clump of maniacal monkeys.
- High-intensity: Tailored for chinning. Click back and forth after every attack to efficiently stack the monkeys, as depicted in the animated image. Utilize auto-retaliate for seamless combat.
These methods allow players to choose the level of engagement that suits their playstyle and objectives, with higher-intensity methods potentially offering enhanced experience rates by hitting larger groups of monkeys.
2 Dancing Account Method
An alternative method to automatically stack maniacal monkeys involves utilizing two accounts, where one account follows the other in front of the player. This approach allows for a fully AFK experience, eliminating the need to manually run back and forth to stack the monkeys.
To initiate this method, both players should wait for approximately 10 minutes to lose the aggressiveness of the monkeys. Following this, the second player should commence following the first and proceed to one of the stacking corners illustrated in the videos above. If the second player successfully follows the first one at the right time, the characters will engage in a 'dancing' movement, essentially moving around each other. This marks the completion of the preparation phase.
Now, the account intending to train can run to one of the corners near the two dancing players, and the monkeys will automatically stack. The 'dancing' movement functions as an automatic shuffling mechanism, effectively stacking the monkeys without requiring direct player intervention.
Chinning Methods
There are three appropriate builds and methods for chinning which are based on the chinning method that you want to use. We'll detail each of those builds with this section.
Ranged Build
In the context of maniacal monkeys with a Defense level of 10, the impact of equipping the best-in-slot ranged accuracy gear at Ranged levels 80/99 is minimal, resulting in only a 0.75%/0.60% increase in accuracy. This translates to approximately 14 missed hits per hour, making the difference negligible.


Given this scenario, prioritizing prayer bonus over ranged accuracy proves advantageous, leading to a reduction of 23-42 prayer potion doses per hour or less time spent without a necklace of anguish equipped when employing the bonecrusher method. While using max ranged bonus gear may yield an additional 5,000 experience per hour if players can efficiently pick up prayer potions without disrupting their rhythm, the likelihood of spending more time collecting and consuming prayer potions outweighs the marginal damage output gain from ranged accuracy gear. As a result, prayer bonus gear is deemed superior, contributing to a less intense training experience.
A potential exception arises in specific situations and setups (requiring a DPS calculation) where the player does not achieve a max hit from wearing the necklace of anguish. In such cases, opting for the bonecrusher necklace while favoring high ranged accuracy equipment over prayer bonus items (e.g., pegasian boots, archers ring (i)) becomes slightly more optimal, ensuring a consistently high prayer level due to the effects of the bonecrusher necklace.
Slot | Options |
Head | Void ranger helm, Masori mask (f), Mitre, Halos, Saradomin coif, Blessed coif / Armadyl helmet |
Neck | Necklace of anguish, Bonecrusher necklace / Dragonbone necklace, Stole, Unholy / Holy symbol, Amulet of fury |
Back | Ava's assembler, Soul cape, Ardougne cloak 4 (or best variant), Cape of Accomplishment (t), Vestment cloak |
Body | Elite void top, Masori body (f), Void knight top, Vestment robe top / Monk's robe top, Blessed body / Armadyl chestplate |
Legs | Elite void robe, Masori chaps (f), Void knight robe, Vestment robe legs / Monk's robe, Blessed chaps / Armadyl chainskirt |
Weapon | Black chinchompa, Red chinchompa, Chinchompa |
Shield | Twisted buckler, Dragonfire ward, Odium ward, Book of law, Unholy book |
Ammo/Spell | Rada's blessing 4, Peaceful / God blessing / Rada's blessing 3/2, N/A |
Hands | Void knight gloves, Zaryte vambraces, Blessed bracers, N/A |
Boots | Devout boots, Holy sandals, Blessed boots, Pegasian boots, Ranger boots |
Ring | Ring of the gods (i), Ring of suffering (i), Explorer's ring 4, Archers ring (i), Ring of life |
Item Category | Items |
Neck | Bonecrusher necklace (for switch) |
Head | Kandarin headgear 4 (light source) |
Tools | Karamjan monkey greegree, Royal seed pod |
Potions | Prayer potion(4) ×1–2, Stamina potion(4), Divine ranging potion(4) |
Teleport/Utility | Transport to Ape Atoll + escape method (e.g., seed pod) |
Light Source | Kandarin headgear / Firemaking cape / Bullseye lantern |
Special Case Item | Monkey greegree (if MM2 not complete), Holy wrench (if no Ring of the gods (i)) |
Chinchompas | Bring only what is needed (lost on death) |
Notes
- Void Knight Equipment: Must wear full set to activate its bonuses.
- Prayer Restoration: Bonecrusher necklace or Holy wrench are essential.
- Potion Usage:
- Use stamina potions + divine ranging potions throughout trip.
- 2:1 Stamina:Divine ranging recommended for regular training.
- If stacking monkeys with dancing alts, bring 1 stamina + rest divine ranging.
- Monkey Stacking: To maximize XP, use dancing accounts to stack maniacal monkeys.
- Reference Data: Based on red chinchompa use from Ranged levels 80–90.
- Potion Usage: Assumes Ranged potion every 6 levels.
- Prayers Active: Protect from Melee, Preserve, Eagle Eye (or Rigour).
- Level Scaling:
- Slightly higher XP at low Ranged levels.
- Slightly lower XP at high levels.
- Rigour vs. Eagle Eye:
- Rigour gives ~7% better XP and cost-efficiency.
- Defensive Training:
- Using Long-ranged splits XP evenly to Ranged & Defence.
- Same gp/xp, but lower total XP/hr.
Ice Barrage Build
When facing maniacal monkeys with a Magic defense of 1, the primary goal is to enhance magical accuracy since increasing it beyond 1% won't significantly impact hit accuracy. The key focus is on maximizing the max hit of the spell with the highest magic damage bonus. In this case, Ice Barrage boasts a base hit of 30, and the maximum hit with all magic damage bonuses reaches 42. The priority for items when Ice Barraging is as follows:
- Equipment that increases the max hit.
- Equipment that boosts prayer bonus.
- Equipment that enhances magical accuracy.
For players who have completed the Morytania Hard Diary, utilizing a Bonecrusher necklace is an option to eliminate the need for picking up prayer potions. While this choice isn't entirely AFK, as NPC aggro must be reset every 10 minutes, it offers a convenient way to manage prayer levels. If budget constraints are a consideration, the recommended order to purchase equipment is as follows:
Equipment & Inventory Table (Magic Setup)
Slot | Options |
Head | Virtus mask, Ancestral hat, Mitre, Helm of neitiznot / Saradomin halo, Best Magic attack gear |
Neck | Occult necklace, Saradomin stole, Unholy / Holy symbol, Amulet of fury, Amulet of glory |
Back | Imbued saradomin cape, Soul cape (red), Ardougne cloak 4 (or best variant), Cape of Accomplishment (t), Vestment cloak |
Body | Virtus robe top, Ancestral robe top, Saradomin robe top, Monk's robe top, N/A |
Legs | Virtus robe bottom, Ancestral robe bottom, Saradomin robe legs, Monk's robe, N/A |
Weapon | Kodai wand, Eldritch / Volatile / Nightmare staff, Staff of the dead (no autocast), Ancient sceptre (autocast), Master wand, Ancient staff |
Shield | Elidinis' ward (f), Elidinis' ward, Book of darkness, Unholy book, Broodoo shield / Holy book / God book |
Ammo/Spell | Rada's blessing 4, Peaceful / God blessing / Rada's blessing 3/2, N/A |
Hands | Tormented bracelet, Holy wraps, White gloves, Barrows gloves, Infinity gloves |
Boots | Devout boots, Holy sandals, Guardian boots / Eternal boots, White boots / Infinity boots, Wizard boots |
Ring | Ring of the gods (i), Ring of suffering (i), Explorer's ring 4, Seers ring (i), Ring of life |
Item Category | Items |
Teleportation | Royal seed pod (or alternative Ape Atoll transport and exit) |
Light Source | Kandarin headgear / Other light source (with tinderbox if needed) |
Utility | Rune pouch (optional), Holy wrench (if no Ring of the gods (i)), Monkey greegree (if MM2 incomplete), Optional bonecrusher |
Potions | 4x Prayer potion(4) |
Runes | Blood rune (2/spell), Death rune (4/spell), Water rune (6/spell unless using Kodai wand) |
Notes
- Rune Usage per Cast:
- Blood runes: 2
- Death runes: 4
- Water runes: 6 (not needed if using Kodai wand)
- Rune Pouch Limitation: Holds enough for ~4,000 spell casts.
Experience & Cost Data
Kodai Wand | Master Wand | |
Casts per hour (Ice Burst) | 1,085 casts/hr | 1,085 casts/hr |
Hourly Cost | 1,130,678.50 gp/hr | 1,356,250 gp/hr |
Method Intensity | Low-intensity | Low-intensity |
XP Rates Source | Based on Ice Bursting over 6 hours of data, scaled by damage dealt |
Ice Burst
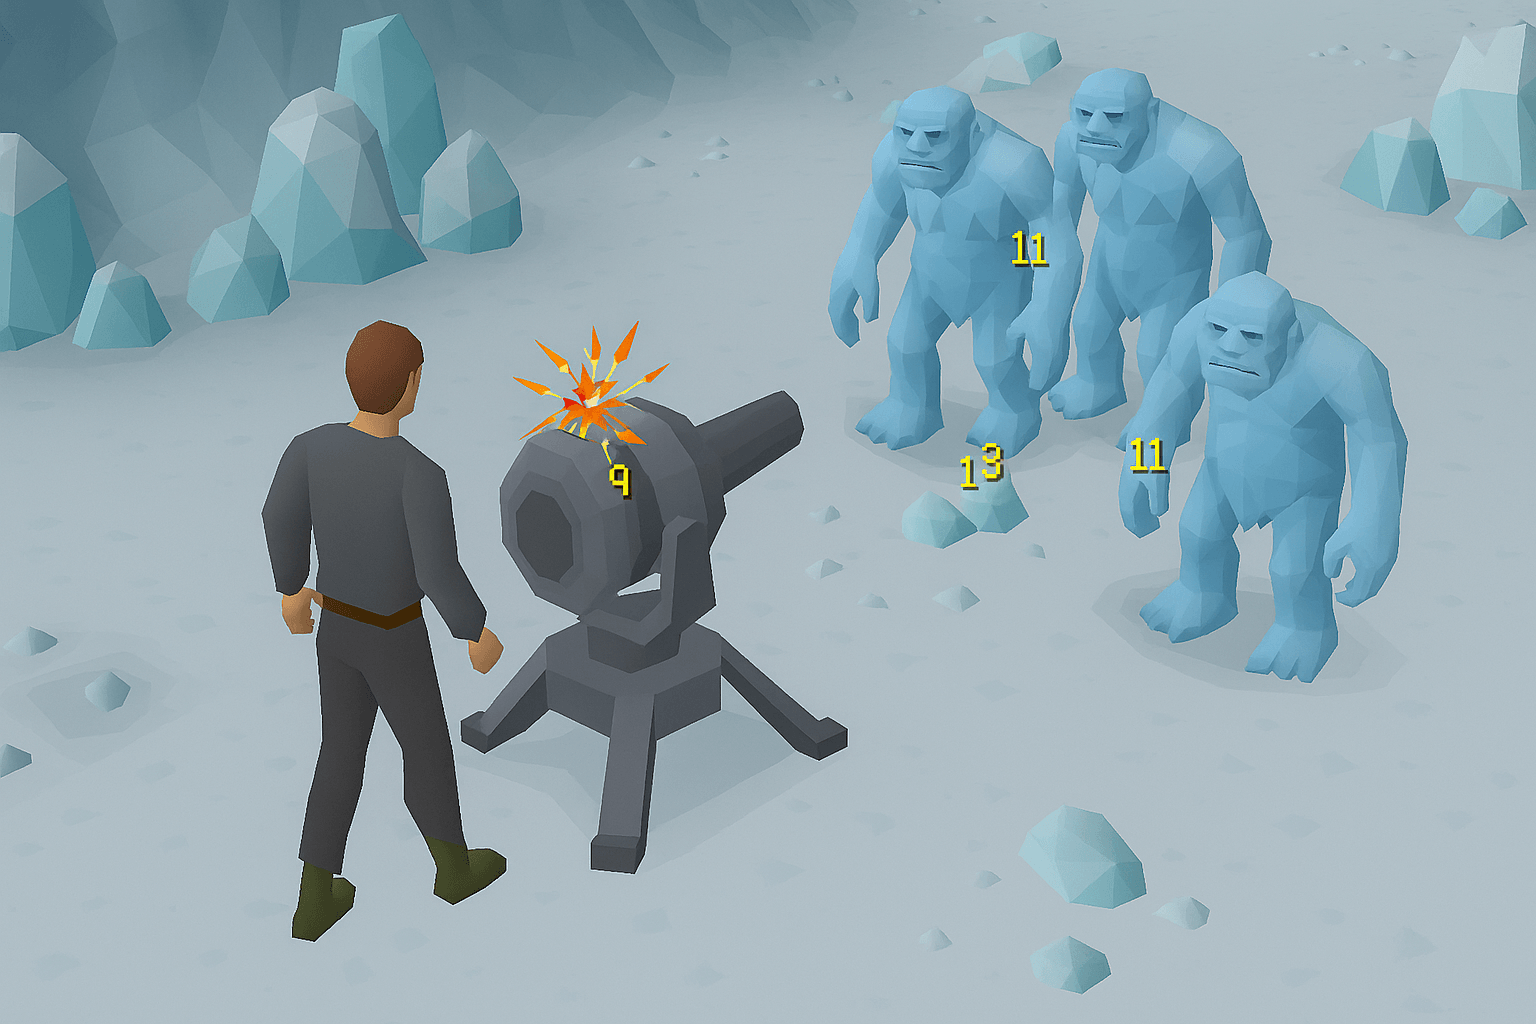
When dealing with maniacal monkeys with a Magic defense of 1, the primary focus is on increasing magical accuracy, as it will impact hit accuracy by no more than 1%. The goal is to enhance the max hit of the spell with the highest magic damage bonus. In this scenario, Ice Burst has a base hit of 22, and the maximum hit with all magic damage bonuses is 31. Items for Ice Bursting should be prioritized as follows:
- Equipment that increases the max hit.
- Equipment that boosts prayer bonus.
- Equipment that enhances magical accuracy.
For players who have completed the Morytania Hard Diary, the Bonecrusher necklace provides an option to eliminate the need for picking up prayer potions. However, this method is not entirely AFK, as NPC aggro must be reset every 10 minutes. If budget considerations are a factor, the recommended order to purchase equipment is as follows:
Equipment & Inventory Table (Magic + Prayer Hybrid)
Slot | Options |
Head | Virtus mask, Ancestral hat, Saradomin mitre, Helm of neitiznot / Saradomin halo, N/A |
Neck | Occult necklace, Bonecrusher necklace, Dragonbone necklace, Saradomin stole, Unholy / Holy symbol |
Back | Imbued saradomin cape, Soul cape (red), Ardougne cloak 4 (or best variant), Cape of Accomplishment (t), Saradomin / Vestment cloak |
Body | Virtus robe top, Ancestral robe top, Proselyte hauberk, Saradomin / Vestment robe top, Monk's robe top |
Legs | Virtus robe bottom, Ancestral robe bottom, Proselyte cuisse, Saradomin / Vestment robe legs, Monk's robe |
Weapon | Kodai wand, Eldritch / Volatile / Nightmare staff, Staff of the dead (no autocast), Ancient sceptre (autocast), Master wand, Ancient staff |
Shield | Elidinis' ward (f), Elidinis' ward, Book of darkness, Unholy book, Broodoo shield / Holy book / God book |
Ammo/Spell | Rada's blessing 4, Peaceful / God blessing / Rada's blessing 3/2, N/A |
Hands | Tormented bracelet, Holy wraps, White gloves, Barrows gloves, Infinity gloves |
Boots | Devout boots, Holy sandals, Guardian / Eternal boots, White / Infinity boots, Wizard boots |
Ring | Ring of the gods (i), Ring of suffering (i), Explorer's ring 4, Magus ring, Seers ring (i) |
Item Category | Items |
Teleportation | Royal seed pod (or alternative transportation to/from Ape Atoll) |
Light Source | Kandarin headgear / other light source (tinderbox if needed) |
Prayer Utility | Holy wrench (if not using Ring of the gods (i)), Bonecrusher (optional) |
MM2 Requirement | Monkey greegree (if Monkey Madness II not completed) |
Runes (per cast) | 4x Chaos runes, 2x Death runes, 4x Water runes (unless Kodai wand equipped) |
Other | Rune pouch (optional; holds 4,000 casts worth of runes) |
Potions | 4x Prayer potion (4) |
Spell Resource Breakdown
Rune Type | Amount per Cast | Notes |
Chaos rune | 4 | Required for each spell |
Death rune | 2 | Required for each spell |
Water rune | 4 | Not needed with Kodai wand |
Rune pouch | Optional | Holds up to 4,000 spell casts' worth |
Parameter | Kodai Wand | Master Wand |
Casts per hour (Ice Burst) | 1,085 casts/hr | 1,085 casts/hr |
Hourly Cost | 750,711.50 gp/hr | 900,550 gp/hr |
XP Rate Source | Based on 6-hour low-intensity testing using Prayer + Magic combo at monkeys | |
Rate Variability | Affected slightly by aggro, looting, repositioning, and route efficiency | |
XP Impact of Levels | Prayer / Magic levels have minimal effect on XP/hr |
- Aggro Cycling: Regularly leaving and re-entering area resets aggression for better clustering.
- Prayer Management: Bonecrusher or Holy wrench helps reduce Prayer potion consumption.
- Customization: Adjust for available resources (e.g., rune prices, gear ownership).
- Flexibility: The method is forgiving for players not using tick-perfect techniques.
Chinning To Success
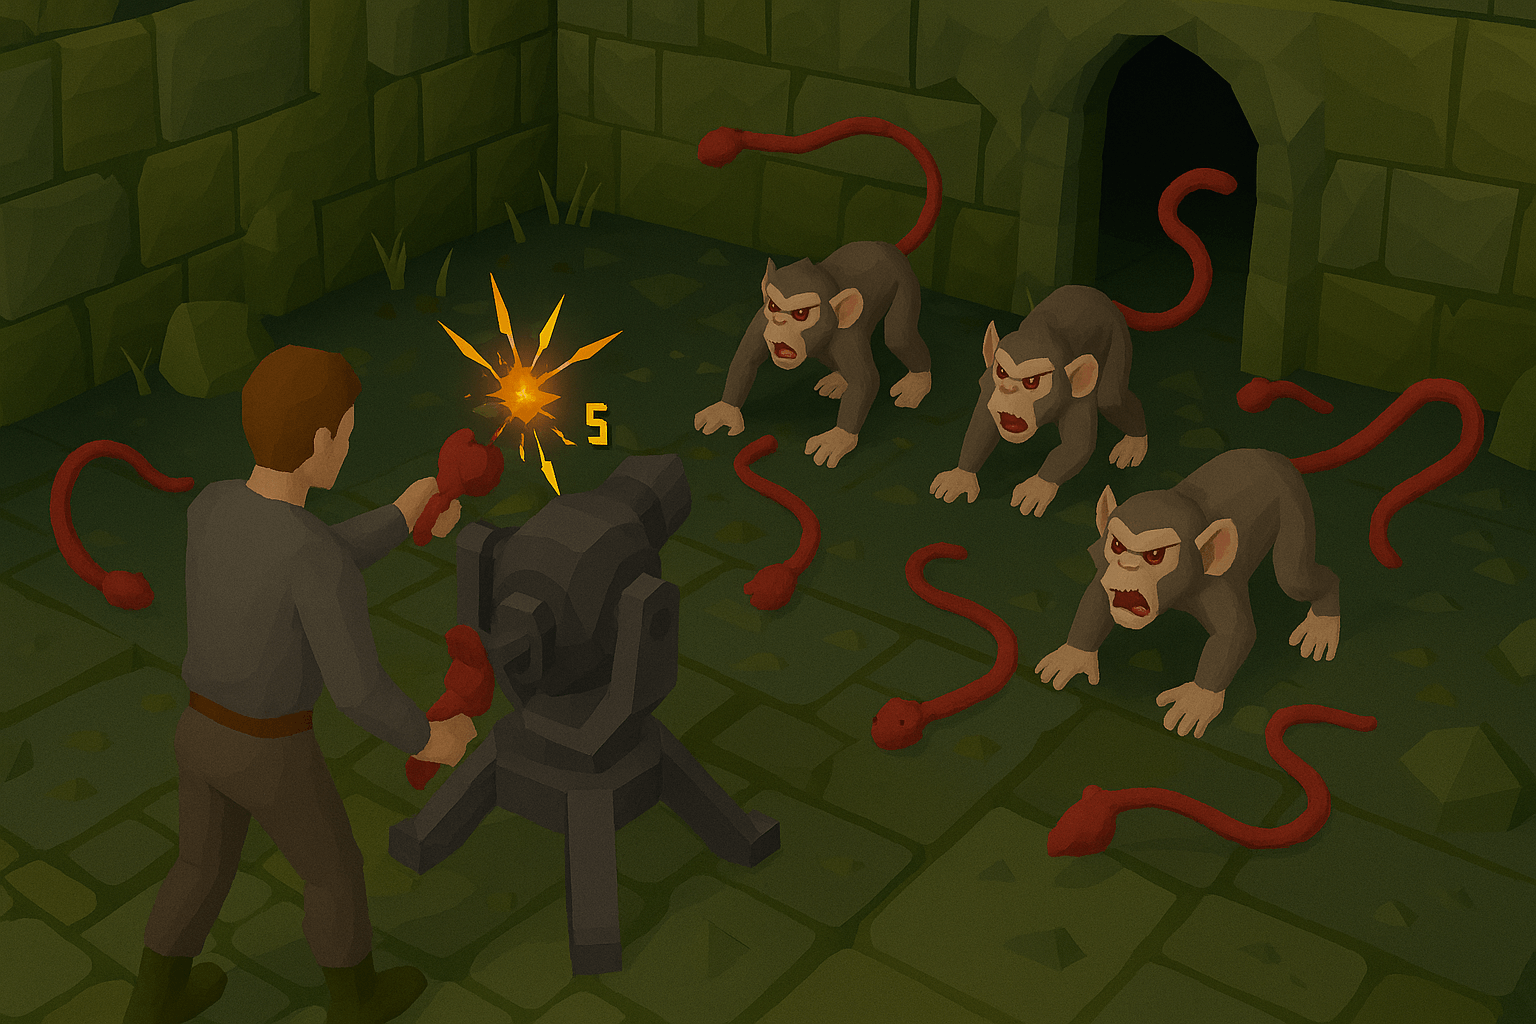
Ranged training can get very bothersome real quick but the good news is that Chinning offers a great way to reduce the time it takes to get it done. With this guide, you're one step closer towards making sure that your Ranged level is going to be 99 soon. Next up, you might want to start training Strength next to round out your character.
FAQs
1. What is chinning in OSRS and why is it so effective for ranged training?
Chinning is a training method using AoE weapons against Red or Grey chinchompas. This is usually in Ape Atoll or in the areas that are a part of Monkey madness 2. It has some of the highest XP gains for Ranged, so it's popular with players.
2. Where is the best place to chin in OSRS: Ape Atoll vs. MM2 Caves?
The most popular area for it is the MM2 caves. It has a huge cluster of skeletal monkeys and the small area makes it easy to kite their aggression. At max performance, you can get 600k/hr XP.
3. What gear and prayer setup is best for chinning in OSRS?
The best setup for this is either Void Knight or Elite Void so that you can max out your DPS relatively easy. Make sure to bring Ava's Assembler and the Necklace of Anguish at the same time. For protection, Rigour and Protect from Melee are both important too.
4. Should I use red or grey chinchompas for training Ranged in OSRS?
If you're aiming for max XP gain, you're going to want to do Red chincompas but be aware that they're the more powerful variant. If you can't beat them yet, you can focus on grey chinchompas first.
5. What are the requirements and quests needed to start chinning in OSRS?
At a minimum, chinning requires:
- Range level 65+ (recommended: 85+ for efficiency)
- Completion of Monkey Madness I for Ape Atoll Dungeon
- Monkey Madness II for access to MM2 Caves
- Optional: Recipe for Disaster (for Barrows gloves), Elite Void (for damage boost)
![OSRS Gold (1M) [⏱️ 5-10 Min via In-Game Trade]](/img/tmp/product_mini_2_2939.jpg?time=1783539129)
![OSRS Services [Achievements, Fire Cape, Infernal Cape, Minigames, PvM, Raids, Quests]](/img/tmp/product_mini_2_52597.jpg?time=1783539129)

![Twisted Bow [OSRS Item]](/img/tmp/product_mini_2_3337.jpg?time=1783539129)
![Scythe of Vitur (Uncharged) [OSRS Item]](/img/tmp/product_mini_2_4419.jpg?time=1783539129)