


RS3 Beginner Guide 2026: Welcome to RuneScape 3
31.12.2025 - 04:58:23
Game Guides , RS3 Guides , Runescape


RuneScape 3 has been around since 2001, and over the years, it has grown into a massive game packed with systems, bosses, and skills. That sheer amount of content can feel overwhelming for new players. In this guide, we’ll break down everything a beginner needs to know to get started smoothly in RuneScape 3.
If you want to skip the early game and get straight into late game action, you can check out our RS3 Accounts to find a suitable account for yourself!
Gamemodes
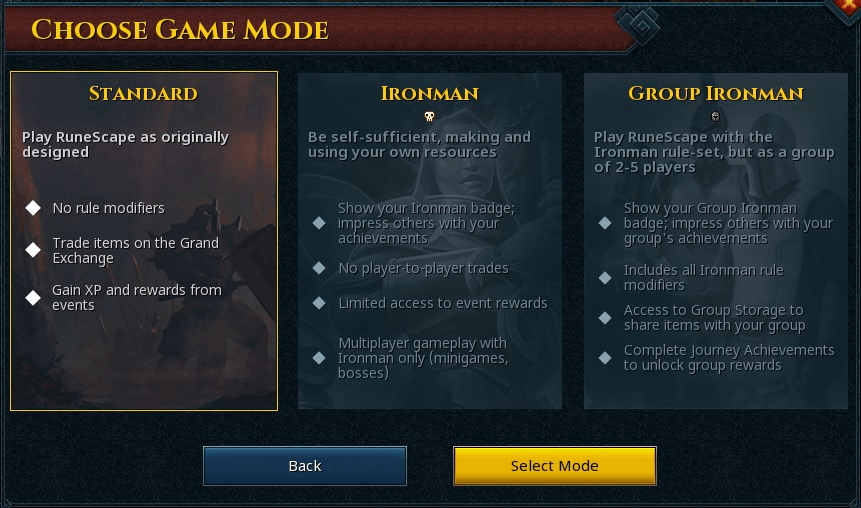
Before even getting to play the game, you will be presented with some choices. These choices will decide how you will approach Runescape 3, so it is a good idea to know what you are getting into.
- Regular account: This account type has no restrictions and can use the Grand Exchange and any microtransaction. It is the most common account type.
- Ironman: This is a self-sufficient account type where you can’t use the Grand Exchange or trade with other players. You will need to gather everything yourself, but you can still engage in group activities with other players.
- Hardcore Ironman: This has the same ruleset as a regular ironman but you will have 3 lives. (Second life unlocks at 1000 total levels, and third life unlocks at 1600 total levels.) If you lose all your lives, you revert to a regular Ironman account.
- Group Ironman: You can set up a group Ironman mode with up to 5 players. These players can trade with each other and access a shared bank space. This mode splits into two, being the competitive and regular. On the regular variant, you can do group activities with anyone, but the competitive variant restricts that to only your group.
If you picked Ironman and decided to change your mind, you can de-iron and become a regular account instead, but regular accounts cannot become an Ironman. It is recommended that you start with a regular account to get the full MMORPG experience without any restrictions that are designed for veteran players.
Interface Setup
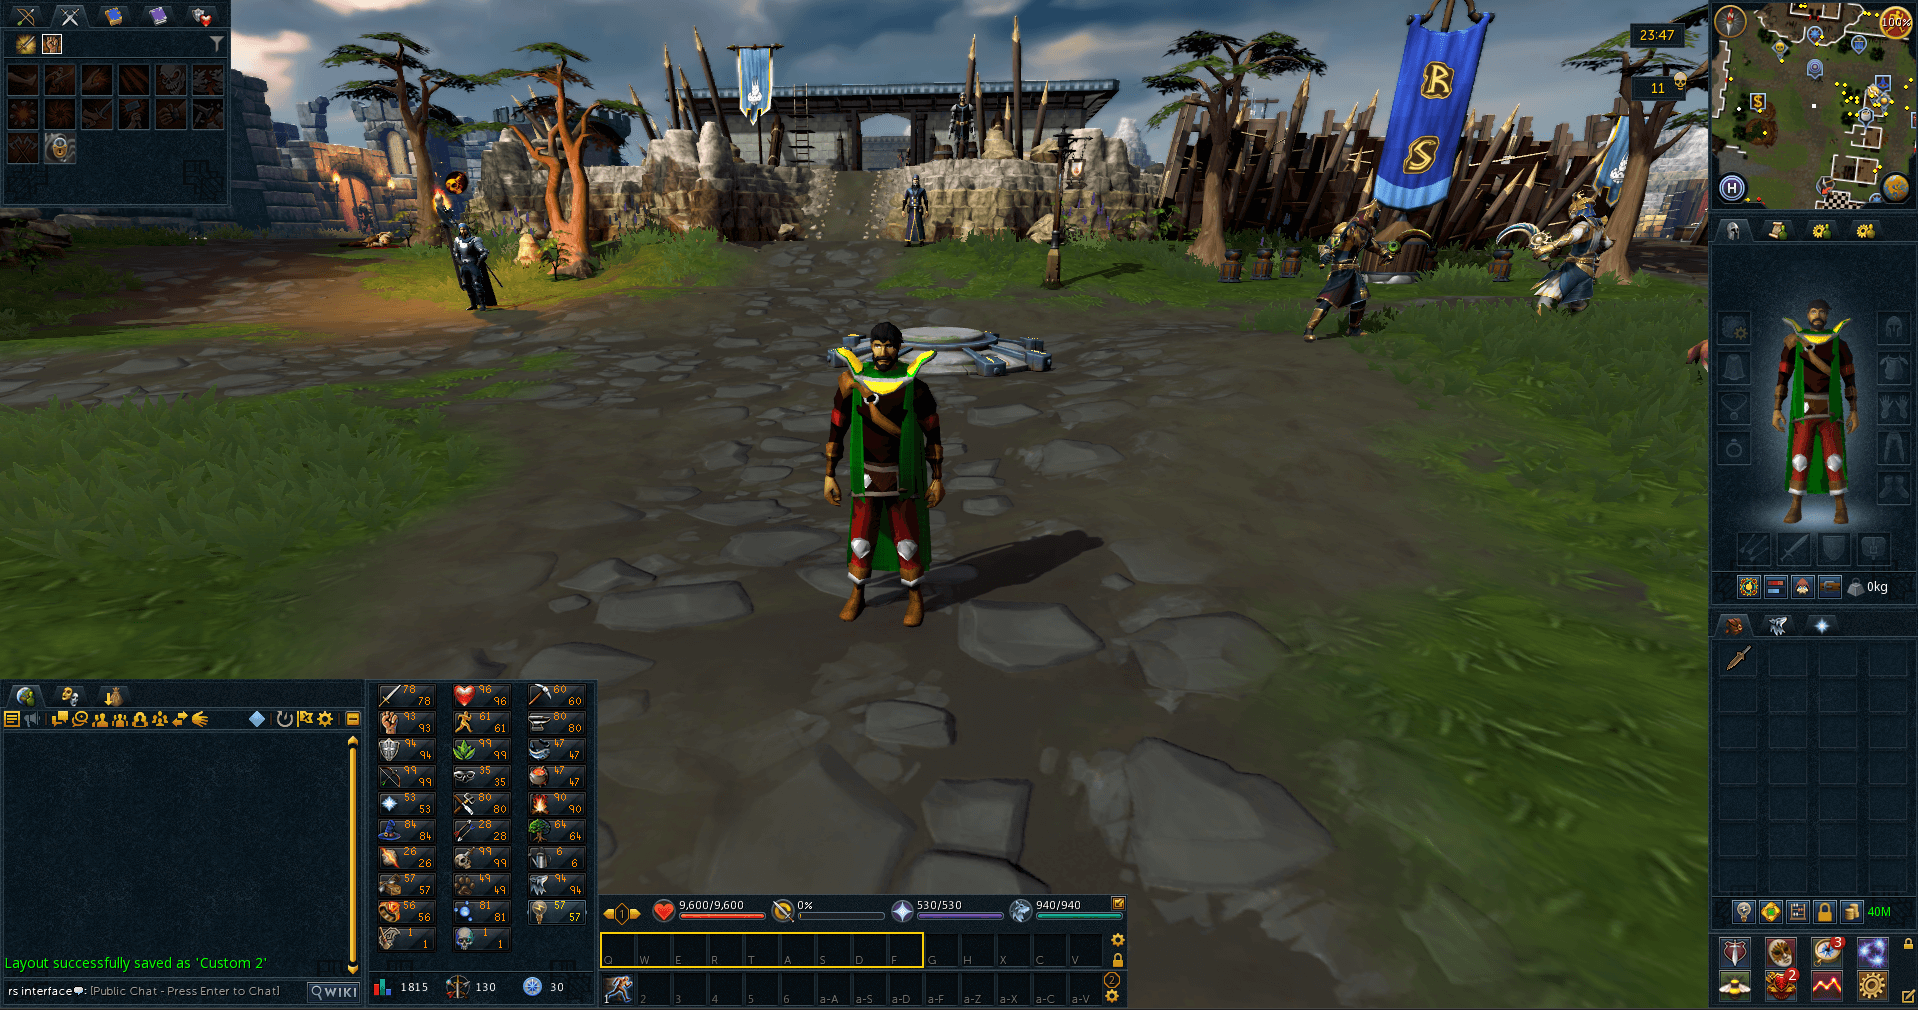
Runescape 3 has a lot of interfaces, but thankfully, you are free to customise them as you like. This is a really important part of the game, and if you don’t set it properly, it will hinder your gameplay. Crafting your own interface setup might seem confusing, especially to a newer player, but you can actually load other players' interfaces. To do this, do the following steps:
- Press escape
- Select "Edit Layout Mode"
- Type "rs interface" in the "Load From A Player" box. (or the username of any other player.)
- If you typed rs interface, select Custom 1 if your resolution is 1080p, select Custom 2 if your resolution is 1440p.
- In the Save Layout section, use the dropdown to select Custom 1 and click save
- Click save and exit
This should get you started with a pretty solid and clean interface setup, which you can customise later. If you are an Old School player, you can turn on the legacy interfaces by:
- Hit escape and open settings
- Type "Legacy" in the search bar
- Toggle on "Legacy Interface Skin"
This is not recommended since it limits the layout functions and will hinder gameplay towards the endgame.
If you want to make any changes to your setup, you can hit the lock icon to unlock your interfaces and move them around as you wish. You can then save your setup by:
- Pressing escape and "selecting edit layout mode"
- Clicking "save to preset"
- Select the preset you wish to overwrite
- Hitting save
- Clicking "Save and Exit"
Recommended Settings
As mentioned in the title, these are recommended settings, so you do not need them to play or enjoy the game, however we believe that these will help make your experience smoother.
| Setting | Location | State |
| Remove Roofs | Graphics > Advanced | Always |
| Foreground FPS | Graphics > Advanced | Make it equal to or a little bit higher than your monitor's refresh rate. |
| Background FPS | Graphics > Advanced | 60+ |
| Loading Screens | Graphics > Advanced | Off |
| Skip Boat Cutscenes | Gameplay > Interfaces > Game Interaction | On |
| Hide Title Bars when Locked | Gameplay > Interfaces > Appearance | On |
| Shift-click to Drop Items | Gameplay > Interfaces > Inventory | On |
| Slim Headers | Gameplay > Interfaces > Appearance | On |
| Automatically Trigger Regenerate | Gameplay > Combat & Action Bar > Action Bar | Off |
| Camera Shake | Gameplay > Camera > System | Off |
| Hide Familiar Options | Gameplay > Skills & Experience > Summoning | Off |
| Multiple Items open Loot Inventory | Gameplay > Item Drops > Loot System | On |
| Single Items open Loot Inventory | Gameplay > Item Drops > Loot System | On |
| Use Area Loot | Gameplay > Item Drops > Loot System | On |
| Open Loot Interface from the 'Choose...' | Gameplay > Item Drops > Loot System | Off |
Action Bar

Your action bar is going to be the interface that you will use the most. You can drag and drop any ability or item to this action bar to use them through a keybind. It also displays 4 icons from left to right:
- Lifepoints: Shows your current lifepoints. Outside of combat, you can click on it to activate your Regenerate ability.
- Adrenaline: Adrenaline is the currency you build up and use in combat. Basic abilities generate adrenaline while powerful abilities use it. You can also turn on and off auto-retaliate by clicking on this icon.
- Prayer points: Shows your current and maximum prayer points. Prayer points are used up while you have any prayer turned on. You can right-click this icon to set up quick prayers. After setting it up, you can turn on those prayers by left-clicking on the icon. You can also drag the icon to your action bar to turn on your quick prayers via a keybind.
- Summoning points: Shows your current and maximum summoning points. You can right-click it to select a summoning-related option. One of those options can be configured into the left-click option.
By default, you will have 1 action bar on screen, but you can add 4 more action bars from combat settings. You can also preset bars for different attack styles, for example, you can set up a bar for 2-handed magic combat, and your primary action bar will automatically switch to that whenever you equip a 2-handed magic weapon.
Keybinds

Runescape 3 is an ability-based game, and boy, does this game have abilities to click on. In the late game, there will be so many things to click on that it will become difficult to optimise if you were using just 1 through 0 keybinds. Proper keybinds will make moving through the game and combat much easier.
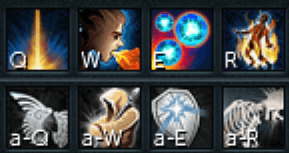
Your first goal with your keybinds should be to minimise your hand movement for inputs. Make sure to group your abilities near where your hand naturally rests, and separate them into rows. For example, you can make Q through Y your basic ability row. Every combat style in the game has basic abilities, so it will be a good idea to build up muscle memory for it. You should decide on where you want to have your:
- Basic abilities
- Threshold abilities
- Ultimate abilities
- Defensive abilities
- Overhead prayers
- Item switches
- Movement abilities
- Potions and food
If you can't fit everything perfectly on your rows, there are two things you can do. You can either assign abilities to mouse buttons if you own a mouse that has them or you can assign Modifier keys. Modifier keys are keys that require a modifier key input in addition to a normal key input. These modifier keys can be Shift, Control, or Alt. Using modifier keys allows you to use the same row of keys for different abilities or items.
Combat Basics
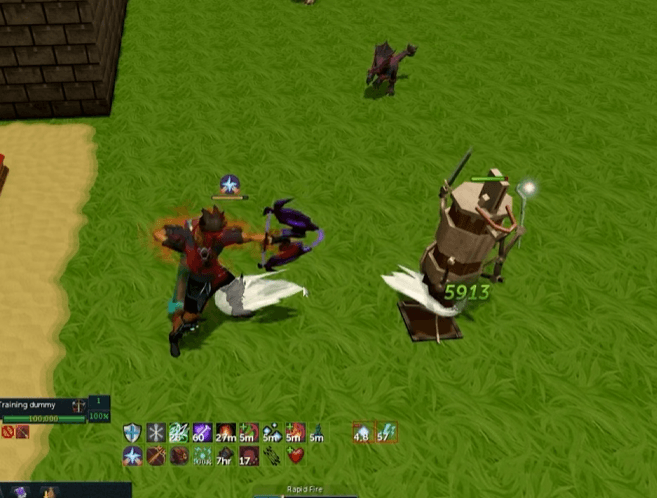
Runescape 3 abilities are all about the adrenaline they use or generate and the effect they provide. Hovering over any ability will reveal everything you need to know about them. Most abilities are unlocked as you level up, but some have requirements such as quests, items, challenges, etc. Each ability also has a separate cooldown timer; basic abilities are usually quick to recharge, while threshold or ultimate abilities take longer to do so.
Ability Types
There are 5 ability types in total.
- Basic Ability: These abilities are the ones that generate adrenaline and will deal small to moderate amounts of damage. Some of them have additional effects, but they are mainly used for adrenaline generation. These abilities will be a large part of your rotation, so learning which to use in what order will be important.
- Threshold Ability: These abilities can only be used after you have at least 50% adrenaline. When used, they will use 15% of your adrenaline and deal a moderate to large amount of damage.
- Ultimate Ability: These abilities are the most powerful ones and use up 100% of your adrenaline. There are two types of ultimates: one boosts your damage, and the other deals damage.
- Special Ability: Some weapons in this game contain their own abilities. They can be completely irrelevant or can be a core part of your damage output.
- Ability: These are the abilities that don't fit into any 4 categories. They are Necromancy abilities and movement abilities.
Target Types
- Self-Target: These abilities are cast on your character. They do not require a target to cast. They include: movement, damage boosting, and defensive abilities.
- Single-Target: Single-target abilities affect only the selected target.
- Area-Target: These abilities affect a certain area around the selected target or the player.
- Multi-Target: These abilities are cast on a target but then spread to other targets close to that target.
Damage
Very briefly, damage is calculated based on a few things:
- Base Damage: This is the base damage of your weapons, ammunition, and spells.
- Armor Bonuses: Power armor will increase your damage.
- Accuracy: Your accuracy determines how much of your full damage you are actually dealing. You can see this near the health bar of the creature you are targeting. If it reads 100%, you are dealing the full potential of your damage. The lower your accuracy, the lower your hits will be.
- Prayers: Offensive prayers can boost damage and accuracy.
- Critical Strikes: Every player has a base crit chance of 10%, which can only be increased via the usage of items. Your critical strikes increase your damage by 10% at level 1, and this number goes up to 50% at level 90. Due to this, any piece of gear that buffs critical chance and damage is huge.
Early Goals
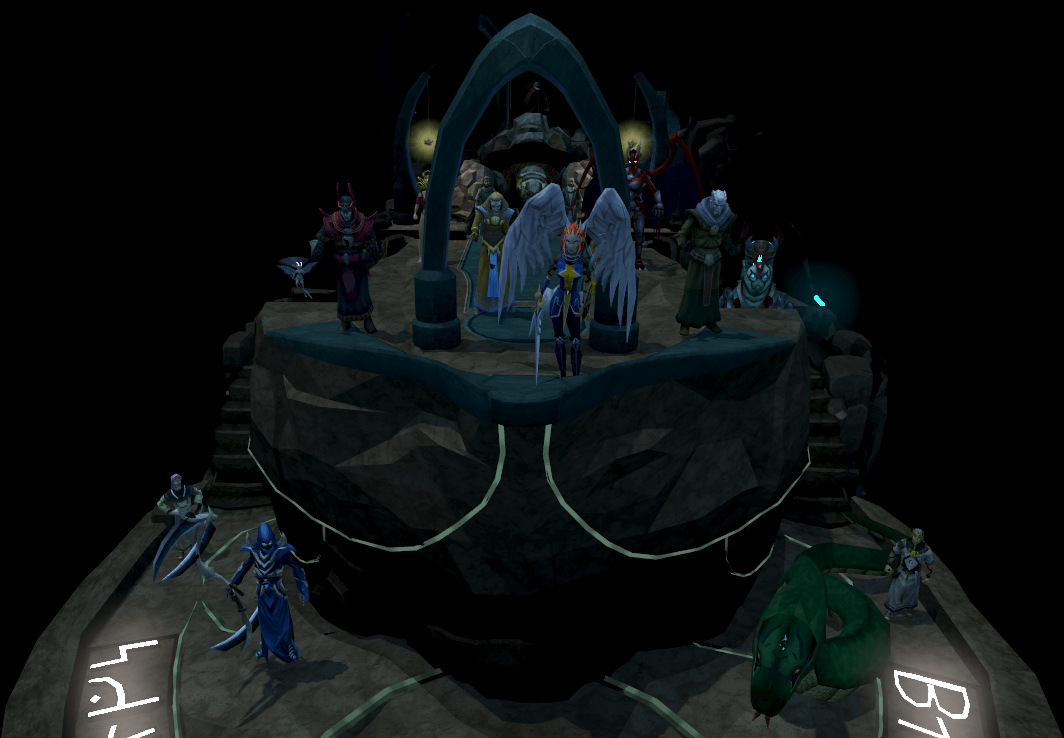
Runescape 3 has a massive early game with tons of skills to train, upgrades to unlock, and areas to explore. As this is your experience playing this MMO, you should always first do what you want to do, but for those of you who want some sort of direction in the early game, here are a few:
- Dailies: Runescape 3 is filled with dailies, weeklies, and monthlies, and any player should take advantage of that. There are so many to list here, but you should definitely do Guthixian Caches and Wilderness Flash Events every day. If you do not enjoy dailies, however, stop doing them and don’t ruin your fun. You can check out our Daily Guide for more information.
- Desert Treasure: Desert Treasure is a solid early-game quest that unlocks Ancient Magicks. This opens the door for magic-based PvM activities, since the spell book offers a variety of high-damage, area-of-effect spells, making it great for Slayer training.
- Dig Site: Completing this quest will give you a head start in the slow skill, Mining, but more importantly, it will unlock three powerful abilities: Shadow Tendrils, Blood Tendrils, and Smoke Tendrils. It will also unlock a healing ability called Ice Asylum. Furthermore, this quest is one of the prerequisites for unlocking ancient curses later down the line.
- Haunted Mine: This quest is essential for all combat training in the early game, where your gear is limited. From this quest, you can get a Salve amulet, which you can then enchant. This amulet increases both your damage and accuracy against undead by 20%, making it a must-have. You can use this amulet to train your stats against undead in the early game, and you can use it for undead bosses later on in the game.
- Lunar Diplomacy: This quest unlocks the Lunar spellbook, which offers a variety of utility spells like Plank Make. It is also a requirement for an important mid-game quest: While Guthix Sleeps.
- Penguin Quest Series: Completing this series will unlock the Penguin Hide and Seek DnD. This is one of the strongest weeklies in the game, yielding upwards of 500K experience per month.
- Royal Trouble: Finishing this quest gives you full control over Miscellania, allowing you to get bountiful harvests from the kingdom. This is great for gathering resources for various skills, especially if you are an Ironman.
- Succession: Completing this quest unlocks the ability to place your Infernal Puzzle Box on your toolbelt, turning its effect into a passive. It prevents adrenaline from raining outside of combat, which is huge for all combat styles. It also unlocks the Dive ability, one of the crucial movement abilities.
- The World Wakes: This is a must-do quest that marks the end of the early game. It rewards the player with 450K experience in lamps that you have freedom of choice in, plus an additional 110K Slayer, and 250K Prayer lamp. It also unlocks two of the most powerful ultimate abilities, being Sunshine for Magic and Death’s Swiftness for Ranged.
These quests, their rewards, and requirements will get you up to a solid spot within the game.
Gear Recommendations
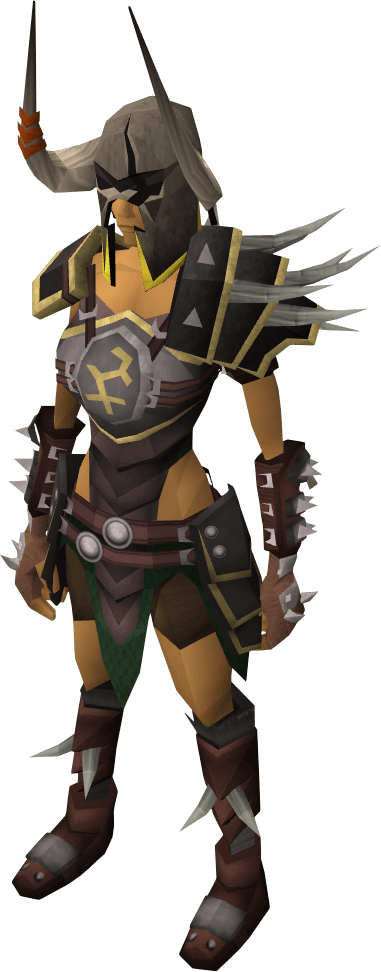
Here are some gear recommendations for every combat style for the early game. These weapons and armor are on the cheaper side of things, but making money in the early game can be difficult; thankfully, we have a guide specifically made for that. If you are indeed of some starter cash, feel free to check out our RS3 Money Making Guide For Beginners guide, which covers methods that can make you up to 14M per hour with low stats.
Magic
| Tier | Weapon | Armour |
|---|---|---|
| Tier 1 | Caitlyn's staff | Wizard robes |
| Tier 30 | Batwing wand and book | Batwing armour |
| Tier 50 | Mystic wand and orb | Mystic robes |
| Tier 60 | Guthix staff | - |
| Tier 70 | - | Subjugation armour |
| Tier 75 | Vanquish or Abyssal wand and orb | Ganodermic armour |
Melee
| Tier | Weapon | Armour |
|---|---|---|
| Tier 1 | Reeses' swords | Bronze armour |
| Tier 30 | Mithril halberd | Mithril armour |
| Tier 40 | Adamant halberd | Adamant armour |
| Tier 50 | Rune halberd | Rune armour |
| Tier 60 | Dragon halberd | - |
| Tier 70 | - | Bandos armour |
Ranged
| Tier | Weapon | Armour |
|---|---|---|
| Tier 1 | Kayle's chargebow | Leather armour |
| Tier 30 | Maple shortbow | Carapace armour |
| Tier 45 | Gray chinchompa and offhand adamant crossbow | - |
| Tier 50 | Rune crossbows | Blue dragonhide armour |
| Tier 55 | Red chinchompa and offhand rune crossbow | - |
| Tier 60 | - | Black dragonhide armour |
| Tier 70 | Black salamander | Armadyl armour |
| Tier 75 | Vanquish or Mechanized chinchompas + offhand Armadyl crossbow | Undead dragonhide armour |
Necromancy
There is no gear variety in Necromancy. Just complete the Kili Row quests as you unlock them to upgrade your Death Guard.
This is it for this guide. Hope you have a smooth and enjoyable Runescape 3 journey, and if you ever need help, feel free to contact our specialist on our RS3 Store. Merry Christmas!